

Choosing Your Perfect Sandwich Prep Table
Imagine a kitchen that just flows. Every ingredient is perfectly chilled, right where you need it, exactly when you need it. Chaotic rushes transform into a smooth, efficient service. That's the real power of a great sandwich prep table. This isn't just a piece of equipment; it's the command center for speed, consistency, and food safety.
Building Your Kitchen's Command Center
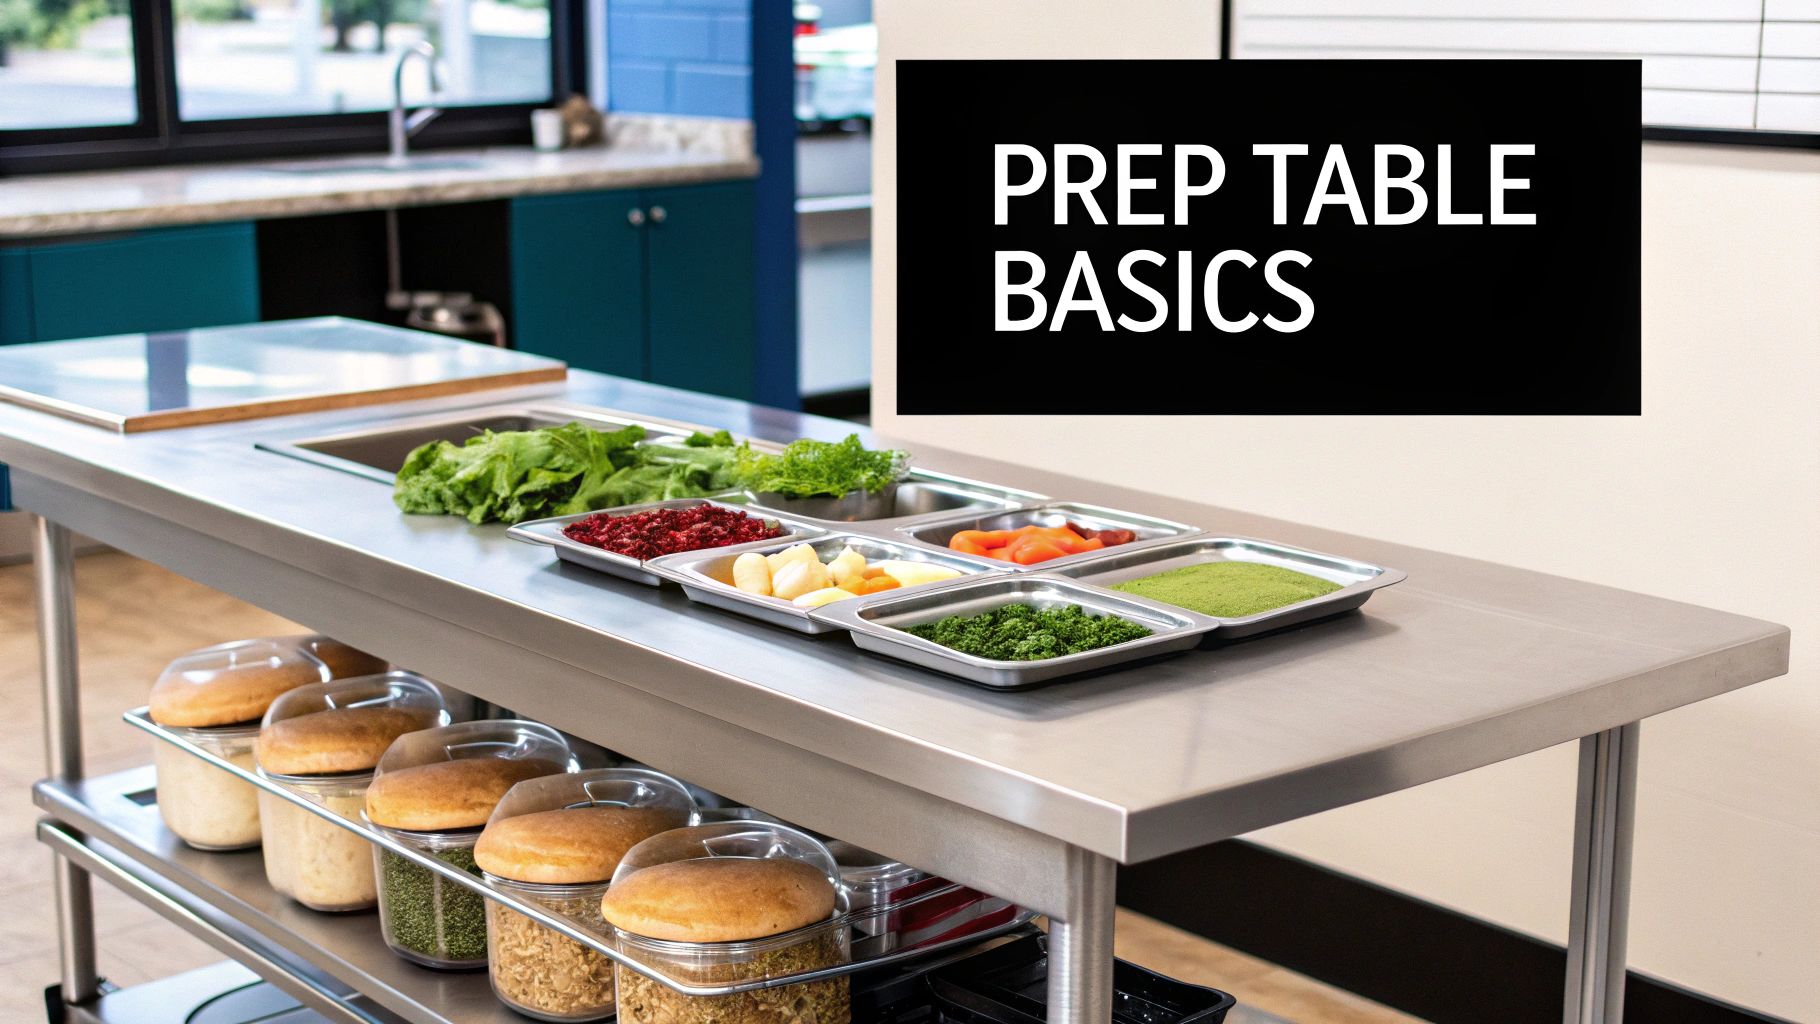
Before diving into specialized units, let's talk about the foundation of any commercial kitchen: the stainless steel prep table. These tables are the unsung heroes of the back-of-house, providing tough, hygienic surfaces for everything from chopping vegetables to plating dishes. They come in several forms, each designed to meet different operational needs. The most basic is the standard work table, a flat, sturdy platform for general prep.
However, when your menu relies on assembling items with chilled ingredients, you need something more specialized. This is where refrigerated prep tables completely change the game by building cold storage right into the workstation. These units aren't just tables; they are self-contained stations built for maximum efficiency.
Specialized Prep Tables for Every Menu
Within the refrigerated category, the two most common types are sandwich prep tables and pizza prep tables. While they look similar, their designs are fine-tuned for very different tasks.
A sandwich prep table is engineered for assembling salads, wraps, and, of course, sandwiches. It features a cutting board and a refrigerated top rail designed to hold pans of fresh produce, sliced meats, and cheeses at a perfect, food-safe temperature.
A pizza prep table, on the other hand, is built to handle the unique demands of a pizzeria. It has a much deeper cutting board to provide ample room for working with large pizza doughs. The refrigerated rail is also often raised and extra-chilled to keep toppings like pepperoni and dense cheeses within easy reach while maintaining optimal cold temperatures.
By integrating refrigerated storage directly below the work surface, a specialized prep table can reduce an employee's steps by over 50% during peak hours, dramatically improving ticket times and reducing kitchen congestion. This efficiency gain is crucial for high-volume establishments.
Understanding these different types of stainless steel tables is the first step in choosing the right command center for your kitchen. A basic work table gives you a workspace, but a refrigerated unit like a sandwich prep table creates an entire workflow. It brings storage, prep, and assembly together in one compact footprint, making it an absolute must-have for any operation focused on speed and quality.
Comparing Commercial Prep Table Types
Not all commercial prep tables are built the same. A standard stainless steel work table is like a basic sedan—it gets the job done for general purposes. But when your kitchen's menu demands specialized performance, you need a piece of equipment designed for a specific task.
A sandwich prep table is like a nimble sports car, engineered for speed and precision. On the other hand, a pizza prep table is more like a heavy-duty pickup truck, built to handle much larger, heavier loads. Each one is designed with features that cater directly to different workflows, and understanding these differences is key to choosing a unit that will actively boost your kitchen's efficiency.
The main distinctions really boil down to three things: the refrigerated pan rail, the size of the cutting board, and the airflow system. These are the features that determine how smoothly your team can assemble orders, maintain food safety, and keep the line moving during that chaotic lunch rush.
To make these differences clear, here’s a quick comparison of the most common prep tables you’ll find in commercial kitchens.
Prep Table Feature Comparison
| Table Type | Key Feature | Best For | Typical Cutting Board Depth |
|---|---|---|---|
| Sandwich Prep Table | Flush rail, narrower cutting board | Sandwiches, salads, wraps, grain bowls | 10-12 inches |
| Pizza Prep Table | Raised rail, extra-deep cutting board | Stretching dough, assembling large pizzas | 19+ inches |
| Mega Top Table | Extra rows of ingredient pans | High-volume build-your-own concepts | 10-12 inches |
As you can see, the design directly reflects the job it's meant to do. Now let's dig into the specifics of what makes each one tick.
The Anatomy of a Sandwich Prep Table
A sandwich prep table is all about keeping delicate, fresh ingredients perfectly chilled without accidentally freezing them. Think crisp lettuce, sliced tomatoes, and deli meats. The refrigerated rail is typically designed to sit flush with the work surface, which gives your cooks quick, easy access to a whole lineup of toppings.
This setup is perfect for building sandwiches, wraps, salads, and bowls. The cutting board is usually between 10 to 12 inches deep, which is plenty of space for bread or tortillas without being so big that it gets in the way. This narrower design also keeps the ingredient pans closer to the chef, which minimizes how far they have to reach and speeds up the whole assembly process.
This simple diagram shows how the core parts of a sandwich prep table work together to create an efficient workstation.
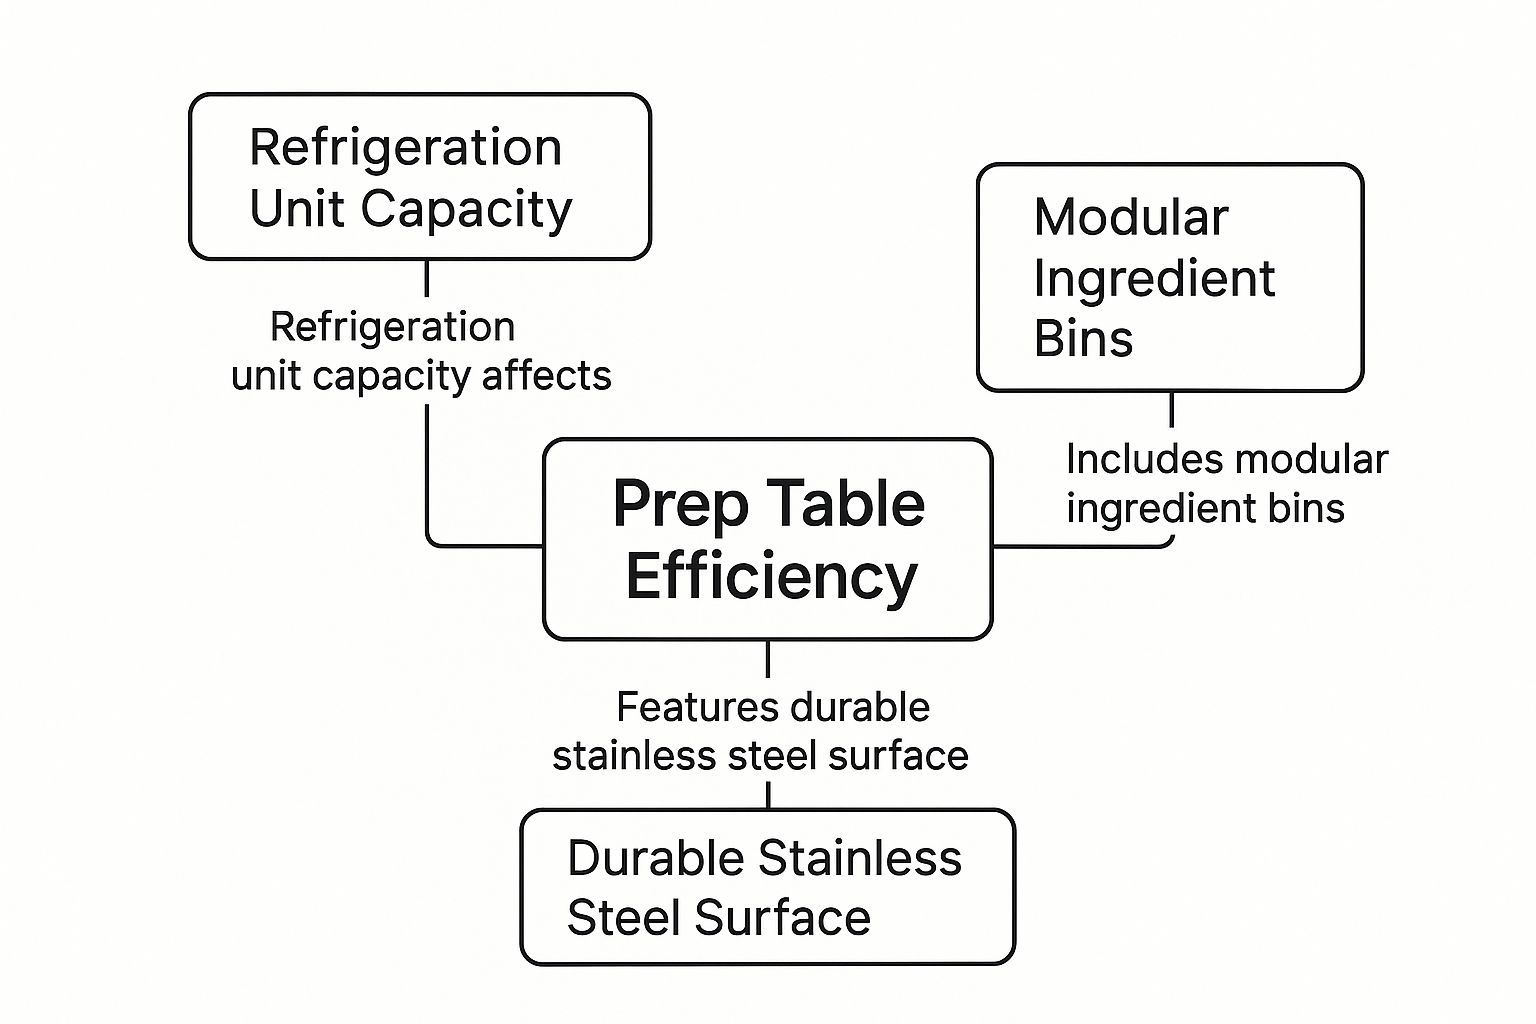
As the visual shows, it’s the combination of a durable surface, organized ingredient storage, and a powerful cooling unit that makes this table so effective.
Why Pizza Prep Tables Are Different
Pizza prep tables, on the other hand, are built for a completely different mission. Their most obvious feature is an extra-deep cutting board, often 19 inches or more. That massive surface is non-negotiable for stretching and saucing large pizza doughs—a process that demands way more real estate than making a simple turkey club.
To make room for that huge board, the refrigerated rail on a pizza table is usually raised and angled toward the person working. This design keeps heavier toppings like shredded cheese and pepperoni exceptionally cold while still being easy to reach. The refrigeration system itself is also beefier, calibrated to safely handle dense, high-moisture ingredients.
The core difference is purpose-driven design. A sandwich table prioritizes quick access to a wide array of light ingredients, while a pizza table dedicates its space to the heavy-duty task of dough preparation. Using one for the other's job is possible but highly inefficient.
Exploring Different Models and Configurations
Beyond the basic sandwich vs. pizza split, prep tables come in several other configurations to match specific operational needs.
- Standard Top: This is the most common model you'll see, with a single row of ingredient pans. It’s a versatile workhorse for most delis, cafes, and restaurants with a fairly standard menu.
- Mega Top: Just like the name suggests, a mega top table offers more ingredient capacity. It usually has an extra row of pans, sometimes bumping up your topping storage by 30% or more. This is a lifesaver for businesses with tons of options, like a build-your-own salad or sandwich spot.
- Drawer Models: Instead of cabinet doors, these units feature refrigerated drawers below the work surface. These drawer-style prep tables are really popular in busy shops because they reduce how much cold air escapes when opened and make grabbing backup ingredients super fast. This design helps with energy savings and improves workflow, which is a huge deal for high-volume chains. You can find more insights about this trend on Growth Market Reports.
Selecting the Right Size and Steel Grade
Once you've zeroed in on the type of prep table your menu demands, the next step is all about the foundation. This comes down to two choices that will make or break your investment's lifespan and its fit in your kitchen: the grade of stainless steel and the physical size of the unit.
These decisions are critical. They dictate how well your sandwich prep table will hold up to the daily grind and how smoothly it will slot into your kitchen's workflow.
Think of the steel as the body armor for your equipment. Just like real armor, it comes in different thicknesses and compositions, each suited for a different level of abuse. The two things you absolutely need to get right are the steel's gauge (its thickness) and its series (its chemical makeup).
Nailing these details means you're not just buying a piece of equipment for now—you're making a smart investment for the long haul.
Decoding Stainless Steel Gauge and Series
When you see terms like "18-gauge" or "16-gauge" steel, it’s referring to the thickness of the metal. It’s a little backward, but just remember this: the lower the gauge number, the thicker and tougher the steel.
- 18-Gauge Steel: This is a very common, budget-friendly option you'll see everywhere. It’s perfectly capable for standard prep work, but it can be more prone to dents and dings in a really busy, high-impact kitchen.
- 16-Gauge Steel: This is the heavy-hitter. As a thicker and more robust option, 16-gauge steel offers far better durability. It’s what you want for a work surface that’s going to take a constant, rigorous beating day in and day out.
Beyond just thickness, the type of steel is a huge deal, especially when it comes to fighting off rust. The two main players you'll encounter are 430 series and 304 series stainless steel.
The real difference between 304 and 430 series steel comes down to their nickel content. That nickel in 304 series steel gives it significantly better corrosion resistance, making it the clear winner for humid kitchens or coastal spots where salty air can wreak havoc.
For the top work surface of your sandwich prep table, choosing 304 series steel is a no-brainer. That surface will be constantly exposed to moisture and acidic foods like tomatoes, pickles, and vinaigrettes. While manufacturers often use 430 series for the sides and back to keep costs down, spending a little extra for a 304 top will pay for itself over time.
For a deeper dive, you can learn more about the properties of a stainless steel prep table in our detailed guide.
Matching Table Size to Your Kitchen Footprint
With the materials sorted, the last piece of the puzzle is size. Commercial prep tables come in a huge range of widths, typically starting from a compact 27 inches and going all the way up to a massive 72 inches or even more.
Picking the right size isn't just about what you can squeeze in; it’s about what will actually support your menu and your sales volume.
To find that perfect fit, you need to think about three things:
- Kitchen Space: Grab a tape measure and figure out your available footprint. Don’t forget to leave some breathing room around the unit for proper airflow to the refrigeration system (a few inches on the sides and back is usually enough) and for your team to move around without bumping into each other.
- Menu Complexity: How many different ingredients do you need within arm's reach? A wider table gives you more pan capacity right on top, which means a bigger variety of toppings. A 48-inch table might hold a dozen pans, while a 72-inch unit could easily handle twenty or more.
- Production Volume: Think about your busiest hour. How many sandwiches or salads are you cranking out? A wider table provides more elbow room, allowing two or more people to work side-by-side without creating a bottleneck. A smaller 27-inch unit is great for a one-person station or a low-volume café, but a bustling deli will almost certainly need a 60-inch or 72-inch model to keep the line moving.
Decoding Refrigeration and Energy Costs

The refrigeration system is the heart of your sandwich prep table. It's the tireless engine working 24/7 to keep your ingredients fresh and, more importantly, safe. Getting a handle on how this system works isn't just for the tech-savvy—it has a direct impact on your kitchen's layout, the quality of your food, and what you'll be paying on your monthly utility bills. A smart choice here can save you a bundle over the life of the unit.
Two of the biggest factors to weigh are the compressor's location and the type of cooling system it uses. These details will dictate exactly where you can place the unit and how well it holds a consistent temperature.
Compressor Placement: Front-Breathing vs. Rear-Breathing
Think of the compressor as the lungs of the refrigeration system; it has to breathe to do its job. This is where the difference between front-breathing and rear-breathing units becomes a make-or-break detail for your kitchen design.
-
Front-Breathing Compressors: These units pull air in and push it out from the front, usually through a grille right below the door. This design is a total lifesaver in tight spaces. You can slide the table right up against a wall or tuck it between other pieces of equipment without having to worry about blocking airflow.
-
Rear-Breathing Compressors: These are the more traditional models. They need several inches of open space at the back and sides to ventilate properly. They work just fine, but you have to be much more careful about where you put them to avoid overheating and losing efficiency.
For any kitchen where every inch counts, a front-breathing model is almost always the better pick, giving you way more flexibility on placement.
Cooling Systems: Cold-Wall vs. Forced-Air
So, the compressor is running, but how does the cold air actually get around inside your prep table? That's handled by one of two systems: cold-wall or forced-air cooling. Each one affects temperature consistency in its own way.
A cold-wall system uses refrigerant lines that are built right into the unit's walls to cool the inside. It’s a simple and pretty energy-efficient design, but it can sometimes create hot and cold spots. The areas closer to the walls might be colder than what’s in the center.
On the other hand, a forced-air system uses fans to actively blow cold air all through the cabinet and around your ingredient pans. This method gives you much more even and reliable cooling. It ensures that everything—from the lettuce in the top rail to the extra cheese in the cabinet below—is held at a precise, food-safe temperature. For most busy kitchens, a forced-air system is a must-have for dependable food safety. You can check out a wide range of commercial refrigerated prep tables with different cooling systems to see what fits your needs.
An ENERGY STAR certified commercial refrigerator can be 20-40% more energy-efficient than a standard model. For a prep table that runs all day, every day, this can add up to hundreds of dollars in savings each year on your electricity bill alone.
Connecting Refrigeration to Your Bottom Line
At the end of the day, every feature of your prep table's refrigeration system hits your wallet. The global sandwich prep table market has already hit an estimated USD 1.38 billion and is only expected to grow. A big reason for this is that modern kitchens demand equipment that boosts efficiency and keeps costs down.
Putting your money into a unit with an ENERGY STAR rating, top-notch insulation, and an efficient refrigerant like R290 might cost a bit more upfront. But trust me, these features pay for themselves over time with lower energy bills. A well-insulated unit with self-closing doors also keeps the compressor from working overtime, which extends its lifespan and cuts down on the risk of a pricey emergency repair. This turns your prep table from just a workstation into a smart financial asset.
Making Your Prep Station Work for You
A great prep table is the starting point, but a smartly organized one? That's a powerhouse. This is where you transform a piece of equipment into the true heart of your kitchen's productivity. It’s all about creating a flow where every movement has a purpose and every tool is right where you need it, when you need it.
Think of it as customizing your station beyond the factory settings to perfectly match your kitchen's rhythm. With the right accessories and a focus on ergonomics, you can slash wasted motion, reduce strain on your staff, and get orders out the door faster than ever.
Must-Have Accessories for a Better Workflow
The quickest way to upgrade your sandwich prep table is by adding a few key accessories that multiply its usefulness. These aren't just bells and whistles; they're tools that help your team work smarter.
- Overshelves: When you can't build out, build up. Overshelves are a lifesaver for creating storage space above the work surface. Use them for non-refrigerated stuff like bread, wraps, to-go containers, or spices. This one addition keeps your cutting board clear and ready for action.
- Casters: Mobility is a game-changer in any commercial kitchen. Putting your prep table on casters (wheels) makes deep cleaning a breeze. You can easily roll the whole unit out of the way to get to the floors and walls behind it, which is a must for hygiene. Just make sure they're locking casters so the table stays put during a hectic service.
These simple add-ons turn a static table into a flexible asset that can adapt to your cleaning schedule and any future layout changes.
The Art of Ergonomic 'Mise en Place'
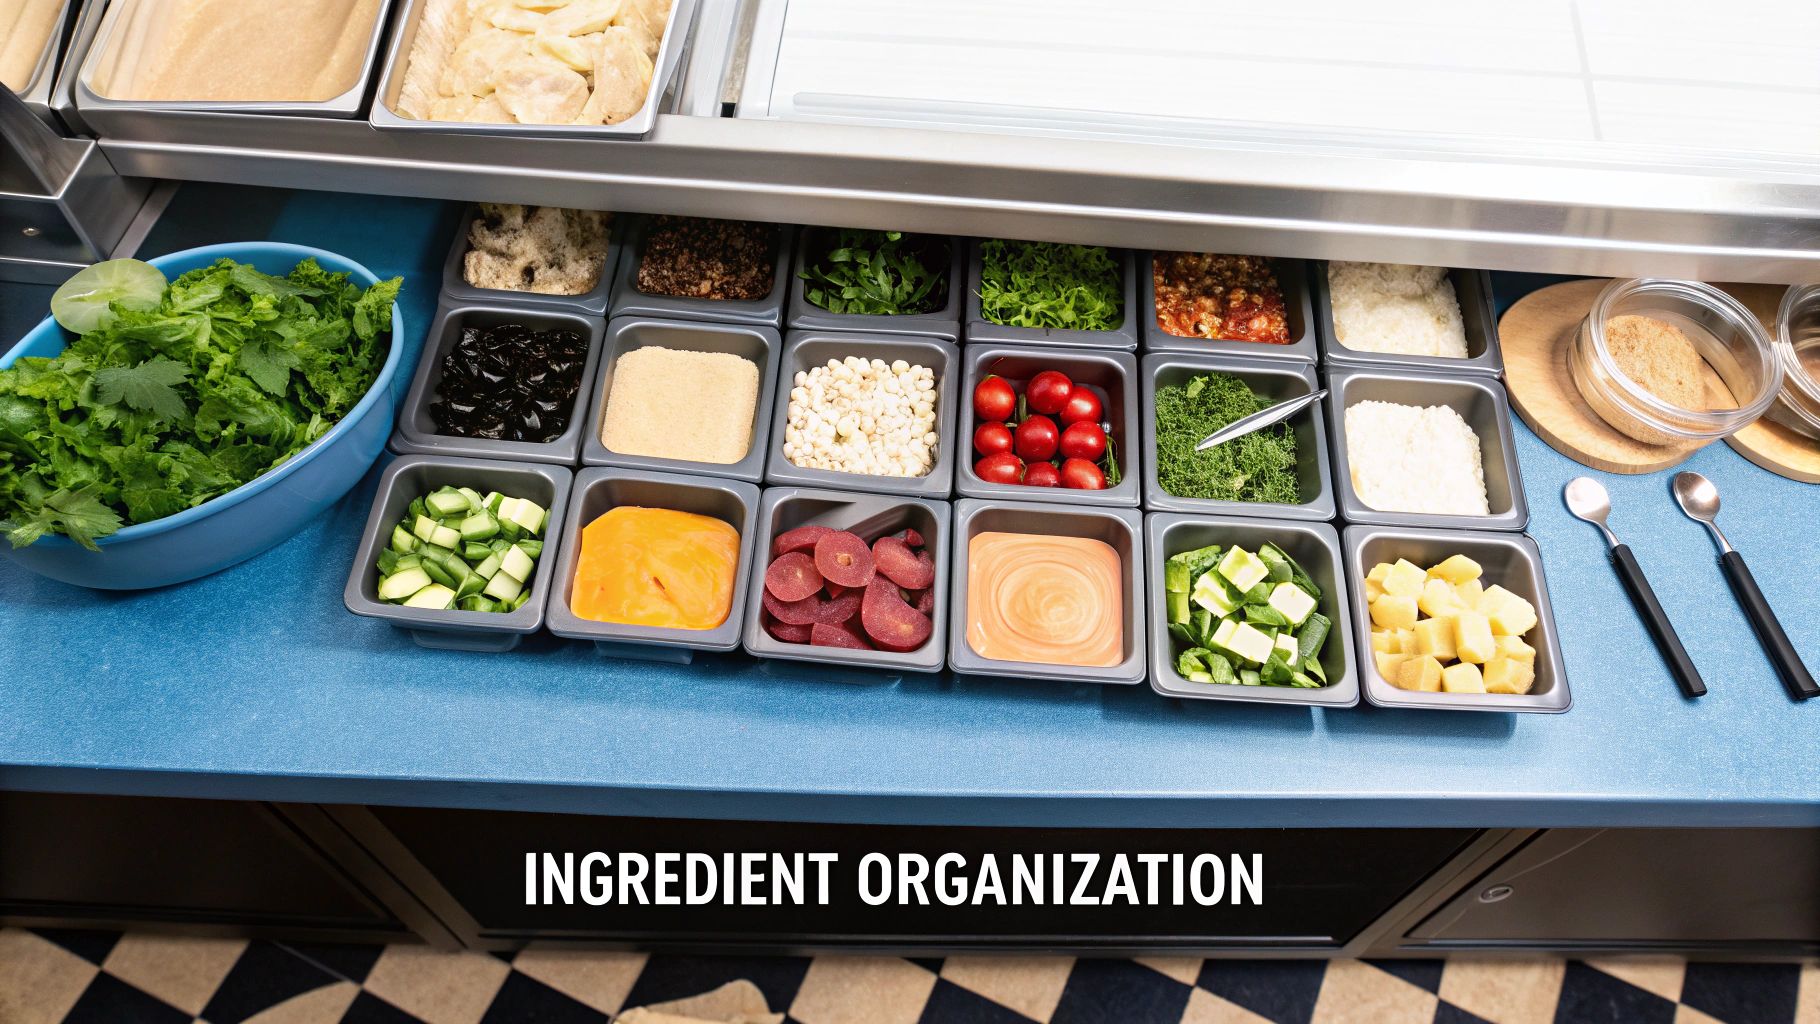
Beyond gear, the biggest efficiency wins come from ergonomics. We're talking about the classic French culinary principle of 'Mise en Place,' which literally means "everything in its place." This whole philosophy is about arranging your ingredients and tools in the most logical way to create a smooth, effortless workflow.
A truly ergonomic setup starts by arranging the ingredient pans in the rail to match how you build your most popular sandwiches. If your top seller is a club, you'd line up the turkey, bacon, lettuce, and tomato pans in that exact order. This tiny change gets rid of all that extra reaching and thinking in the middle of a rush.
A well-designed ergonomic station, with the work surface at an ideal height (usually between 34-36 inches), can cut down on physical strain for employees by up to 25%. That means fewer injuries and a happier, more productive team.
This kind of strategic placement takes the physical stress and mental load off your crew. It lets them run on muscle memory, building orders with incredible speed and precision. For a deeper dive into making your kitchen run like a well-oiled machine, check out our guide on how to improve workplace efficiency.
A Real-World Example of a High-Output Layout
Let's paint a picture of a station that's firing on all cylinders. Imagine a 48-inch sandwich prep table.
Up top, on the overshelf, you have baskets with different kinds of bread and wraps. The cutting board itself is clean, holding only a knife and a pair of tongs.
The refrigerated rail is organized perfectly from left to right: proteins first (turkey, ham), then cheeses, then your go-to veggies (lettuce, tomato, onions), and finally, the less-common toppings like pickles and peppers. Down below, the refrigerated cabinet holds backup pans of those same ingredients, all clearly labeled.
This setup means a cook can assemble almost any sandwich on the menu with just a few small movements. It’s how a simple table becomes a command center that drives performance and keeps customers coming back.
Mastering Prep Table Care and Maintenance
Think of your sandwich prep table less like a piece of equipment and more like a workhorse for your business. It's a major investment, and protecting it is the key to your kitchen's long-term success. A consistent, easy-to-follow maintenance plan is the only way to guarantee food safety, get the most life out of your unit, and dodge those costly, out-of-nowhere breakdowns.
This isn't about becoming a refrigeration technician. It’s about building simple, solid habits into your kitchen’s daily rhythm. By breaking down the essential care into a manageable schedule, you can keep your station running like it's brand new and protect your bottom line.
Your Daily Cleaning Checklist
The foundation of any good maintenance plan is daily cleaning. These are the non-negotiables that prevent grime and bacteria from building up, ensuring you start every shift with a safe and hygienic workstation.
- Sanitize All Surfaces: At the end of every day, give all stainless steel surfaces a thorough wipe-down and sanitization, inside and out. Don't forget the door handles and gaskets.
- Wash Ingredient Pans: Pull all the food pans from the rail. They need to be washed, rinsed, and sanitized completely before you even think about refilling them for the next day.
- Scrub the Cutting Board: Your cutting board sees constant action. Pull it out, scrub it down with hot, soapy water, and sanitize it based on your local health code to stop cross-contamination in its tracks.
Weekly and Monthly Maintenance Tasks
While the daily wipe-down handles the surface-level grime, a slightly deeper clean on a regular basis is what really extends the life of your equipment. These tasks hit the spots that often get overlooked but are absolutely critical for performance.
A weekly deep clean of your prep table, including removing and cleaning door gaskets, can prevent the growth of mold and bacteria that cause unpleasant odors and compromise food safety. It’s a ten-minute task that prevents major hygiene issues.
Your weekly routine should include wiping down the entire interior cabinet and popping the gaskets off to clean underneath them. This stops hidden gunk from building up and ensures the doors seal tight, which helps hold the right temperature and cuts down on your energy bill.
The single most important monthly job is cleaning the condenser coils. These coils are like a radiator for your refrigeration system. When they get clogged with dust, grease, and flour, the compressor has to work way too hard. This will spike your energy bills and is the #1 cause of premature compressor failure—a repair that is both expensive and a huge headache. A simple vacuuming or brushing of the coils every 30-90 days can literally save you thousands in the long run.
The Bigger Picture of Modern Maintenance
Keeping your equipment in top shape directly impacts your kitchen's efficiency and safety. This is a big deal across the industry, with new innovations focused on better hygiene, smarter workflow, and energy savings. For example, newer refrigeration tech is helping restaurants nail the ever-tightening food safety standards. The market value is expected to keep rising, thanks to trends like the boom in food delivery and the demand for customized sandwiches. To learn more about these industry shifts, you can explore detailed market insights on DataInsightsMarket.com. Protecting your investment with proper maintenance ensures you're ready to keep up.
Your Top Prep Table Questions Answered
Stepping into the world of commercial kitchen equipment can feel overwhelming. When you're looking at a workhorse like a sandwich prep table, you need clear answers to make the right call. We've gathered some of the most common questions we hear from buyers and owners to give you the straightforward info you need.
What's the Real Difference Between a Sandwich and Pizza Prep Table?
It all comes down to the cutting board and the cold rail. Think of it like a paring knife versus a chef's knife; both are for cutting, but each is built for a very different job.
- Pizza Prep Tables are designed with a much deeper cutting board, often 19 inches or more. This gives you plenty of room to stretch out large pizza doughs. Their refrigerated rails are also usually raised, which keeps dense toppings like cheese and pepperoni extra cold and makes them easy to grab.
- Sandwich Prep Tables have a much narrower cutting board, typically around 10 to 12 inches. This setup is perfect for lining up subs, wraps, or salad bowls, keeping delicate items like lettuce and tomatoes right at your fingertips without the risk of them freezing.
Can I Use a Sandwich Prep Table for Other Foods?
Absolutely! This is one of their greatest strengths. A sandwich prep table is an incredibly versatile station that works for a huge range of menu items. They’re fantastic for assembling:
- Tacos and burritos
- Fresh salads and grain bowls
- Appetizers and small plates
- Yogurt parfaits or dessert bowls
Basically, any dish that needs quick, organized assembly of multiple chilled ingredients is a perfect fit. The secret is to arrange your ingredient pans in an order that follows your kitchen's workflow to really hit top speed.
Are Drawers Worth the Extra Cost Compared to Doors?
This really depends on how your kitchen operates. Drawers are a game-changer for high-volume spots where staying organized is everything. They let you neatly separate different food categories—think meats, cheeses, and backup produce—and they lose less cold air when opened, which can lead to some nice energy savings over time.
Doors, on the other hand, give you more flexible storage for bulky or oddly shaped containers.
For a fast-paced assembly line, drawers are an investment that often pays for itself through speed, organization, and efficiency. If you need more flexible bulk storage, traditional doors might be the way to go.
How Often Do I Really Need to Clean the Condenser Coil?
Make a plan to clean it at least every 90 days. That's your baseline. But if your kitchen has a lot of grease, flour, or dust in the air, you should check on it and clean it monthly.
A dirty coil makes the compressor work much harder, which drives up your energy bill and dramatically increases the risk of a costly breakdown. Honestly, it’s the single most important piece of preventative maintenance you can do for your unit.
At PrepTables.com, we stock the durable, high-performance equipment you need to build an efficient and safe kitchen. Check out our extensive collection of NSF-certified sandwich prep tables, pizza prep tables, and other commercial refrigeration to find the perfect fit for your workflow. https://preptables.com