

How to fix fridge ice maker: A Quick DIY Guide
When your ice maker suddenly calls it quits, it’s more than a minor annoyance—it can be a full-blown operational headache, especially in a commercial kitchen. But before you start taking things apart or bracing for a hefty repair bill, take a breath. A methodical approach often uncovers a simple fix you can handle yourself.
Many ice maker problems come down to surprisingly simple things, like an overlooked setting or a small blockage. You probably won't need any special tools or deep technical knowledge for these first checks.
Think of this as your first line of defense. The goal is to quickly eliminate the most common and easily fixable culprits. It’s like checking if a car has gas before assuming the engine is shot—start with the fundamentals.
Your Essential Ice Maker Troubleshooting Plan
Begin With The Basics
First things first, let's look at the most obvious stuff. Is the ice maker actually turned on? Most have a metal feeler arm or paddle that swings up to stop production when the ice bin gets full. If that arm is stuck in the 'up' position, the machine assumes its job is done. Give it a gentle nudge to make sure it moves freely.
Next up, check the freezer's temperature. For an ice maker to do its thing, the freezer needs to be cold enough—we’re talking 0°F to 5°F (-18°C) or even a little colder. If it’s running too warm, the water in the mold won’t freeze solid, and the whole cycle just stalls out. This is a classic issue in busy kitchens where the freezer door is constantly opening and closing.
A dead ice maker isn't just bad luck; it's an incredibly common appliance failure. A big survey from American Home Shield found that 13% of homeowners said their ice makers stopped making ice entirely. You can see more of what they found about appliance breakdowns on their site.
Inspecting Water Flow and Filtration
If the power is on and the temperature is right, your next suspect is the water supply. A clogged water filter is one of the most frequent villains here, slowing the water flow to a trickle. Manufacturers usually say to replace them every six months, but if you're running a busy cafe or deli, you might need to do it a lot more often.
Look behind the fridge and check the water line itself. Make sure it isn’t kinked, crushed, or—you guessed it—frozen solid. A frozen line can happen if the freezer is set way too cold or the line gets pushed into a bad spot.
Before calling for backup, run through this quick mental checklist:
- Feeler Arm Position: Is the arm down and in the 'on' position?
- Freezer Temperature: Is it set between 0°F and 5°F?
- Water Filter: When was it last replaced? Check for clogs.
- Water Supply Line: Any visible kinks, pinches, or ice buildup behind the fridge?
Sometimes the best fix is prevention. Over time, mineral buildup from hard water can clog up the works, gumming up valves and other moving parts. For any business that can’t afford to run out of clean ice, sticking to a regular cleaning schedule is non-negotiable. You can get the full rundown by checking out our guide on ice machine cleaners and sanitizers.
To help you get started, we've put together a quick diagnostic table. It covers the most common symptoms and gives you a clear first step for each one, so you can pinpoint the problem without wasting time.
Quick Diagnostic Checklist for Common Ice Maker Failures
| Symptom | Potential Cause | Quick Check / First Step | Estimated Time |
|---|---|---|---|
| No Ice Production | Feeler arm up; No power; Temp too high | Check the feeler arm position. Confirm the unit is on and the freezer is at 0°F-5°F. | 5 minutes |
| Small or Cloudy Ice | Clogged water filter; Low water pressure | Inspect and replace the water filter. Check the water supply line for kinks. | 15 minutes |
| Leaking Water | Misaligned fill tube; Cracked ice mold | Check the fill tube's position over the ice mold. Inspect the mold for cracks. | 10 minutes |
| Loud or Grinding Noise | Jammed ice cube; Failing motor | Turn off the unit and gently clear any jammed ice. Listen for motor noise. | 5-10 minutes |
| Ice Maker Jammed | Ice cube stuck in ejector arm | Unplug the unit and carefully remove the stuck cube with a plastic utensil. | 5 minutes |
Working through these initial checks systematically will often lead you straight to the solution. It's the fastest way to get your ice maker back up and running.
What to Do When Your Ice Maker Stops Making Ice
So, you've already checked the basics—the feeler arm is down, and the freezer is cold enough—but the ice bin is still depressingly empty. This usually means it's time to dig a little deeper into the ice maker's mechanics. When an ice maker just quits, the problem often boils down to one of two things: either water isn't getting to the unit, or the internal parts that trigger the harvest cycle are on the fritz.
More often than not, the culprit is either the water inlet valve or the ice maker's own internal thermostat. If either of these components fails, ice production grinds to a complete halt. Let's walk through how to figure out which one is giving you trouble.
Inspecting the Water Inlet Valve
Think of the water inlet valve as the gatekeeper for your ice maker. It’s an electronically controlled valve, typically located on the lower back of the fridge where your water line connects. Over the years, mineral deposits from hard water can clog it up, preventing the valve from opening, or the electronic part can just burn out.
To get a good look at it, you’ll need to unplug the fridge for safety and slide it out from the wall.
- Look for obvious problems: Start with a simple visual check. Do you see any cracks in the plastic body of the valve? Is there a crusty white or greenish buildup around the connections? Sometimes a tiny, slow leak is all it takes to cause enough corrosion to jam the whole thing up.
- Test the electronics: The valve is opened by a small solenoid. You can check if its electrical coil is still working with a multimeter set to ohms (resistance). A healthy solenoid should give you a reading somewhere between 200 and 500 ohms. If you get no reading at all (what electricians call infinite resistance), the solenoid is shot, and the entire valve assembly needs to be replaced.
Always, always, always unplug the refrigerator before you start messing with electrical parts. Water and electricity are a bad mix, and safety should be your top priority. The good news is that a bad valve is a pretty cheap and easy fix, with new ones usually running between $20 and $60.
This whole troubleshooting process is about following a logical path. This simple graphic breaks down the first few checkpoints for any ice maker that's gone on strike.
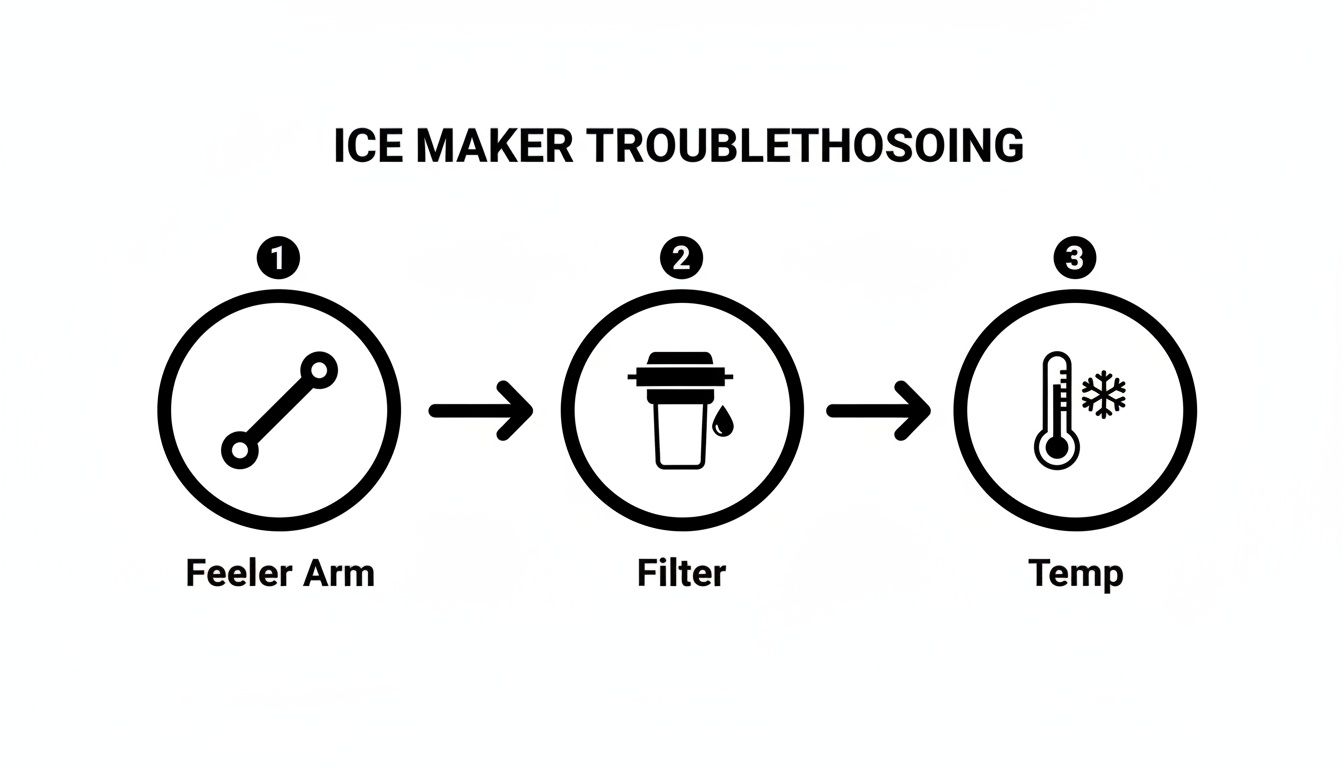
As you can see, checking that feeler arm, the water filter, and the freezer temp is always the right place to start before you start pulling things apart.
Demystifying the Internal Thermostat
If the water inlet valve checks out, your next suspect is the ice maker's internal thermostat. This isn't the same thermostat that controls your whole freezer; it's a small sensor located right inside the ice maker assembly. Its only job is to sense when the water in the ice mold is frozen solid, which usually happens around 9°F to 14°F (-12°C to -10°C).
Once it senses that magic temperature, it sends the signal to kick off the harvest cycle. This involves gently warming the mold to release the cubes and then activating the ejector arm to sweep them into the bin.
When this little thermostat fails, it can get stuck in a state where it never thinks the ice is cold enough. The result? The harvest cycle never begins. You're left with a perfect tray of ice just sitting in the mold, going nowhere. You can test this part with a multimeter for continuity, too, but the key is that it has to be cold to get an accurate reading. If it fails the test, you’ll likely need to replace the entire ice maker module, as the thermostat is usually built right into the main control unit.
Still stuck after checking these parts? It's possible the problem is bigger, tied to the main cooling system of the refrigerator itself. If you suspect something more serious is going on with the whole unit, our guide on how to check a refrigerator compressor can help. By methodically working through these mechanical and electrical checkpoints, you can zero in on the exact reason your ice maker quit and get it running again.
Solving Leaks and Poor Quality Ice Production
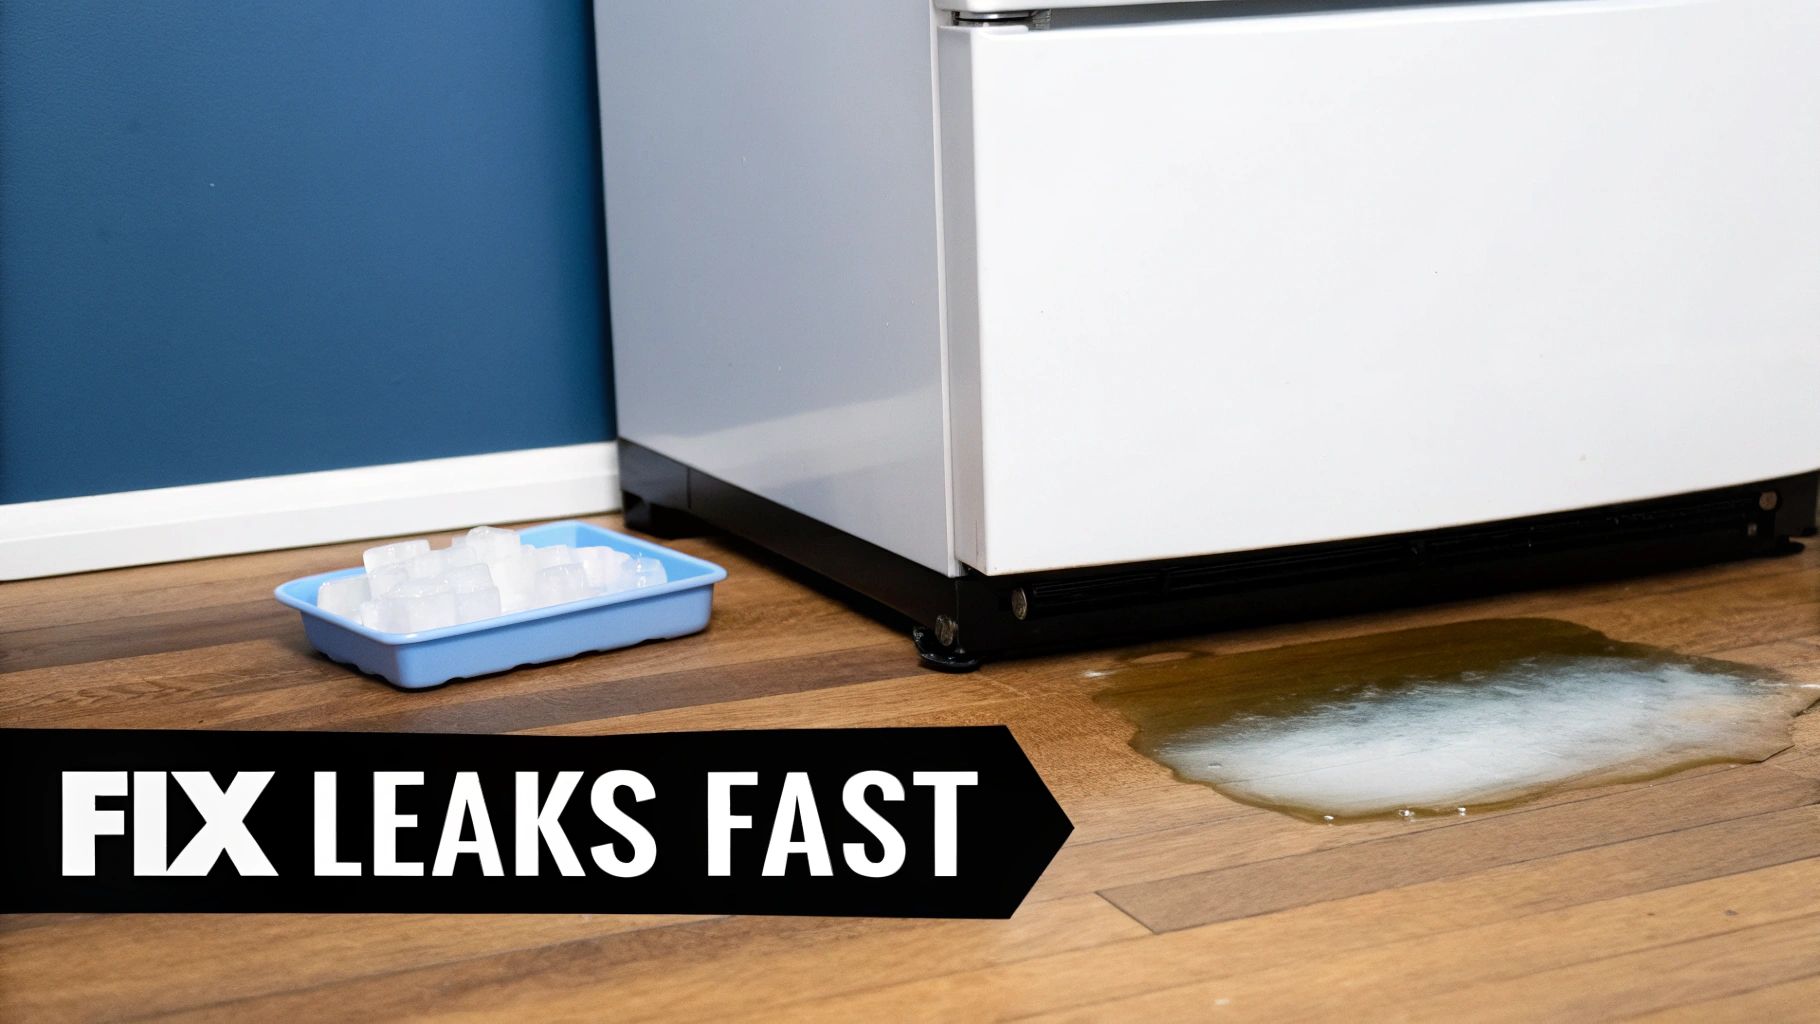
That telltale puddle creeping out from under your fridge is a sight no one wants to see. It’s a dead giveaway something’s wrong. Likewise, if your ice bin is suddenly full of tiny, hollow, or cloudy cubes, it’s more than just a minor annoyance—it’s a clear symptom of a water supply problem.
Often, these two issues are directly connected. Both leaks and poor-quality ice are tied to how water moves through your appliance. Tracing the water's path from the supply line to the ice mold is the key to solving the mystery. For example, a partially frozen water line can restrict flow, leading to those small, sad-looking ice cubes, and then cause a leak when the ice inside it thaws. Tackle the water issue, and you'll likely fix both problems at once.
Tracing and Fixing Pesky Water Leaks
A leak might seem like a big deal, but they usually come from just a handful of common failure points. First things first: unplug the refrigerator and shut off the water supply at the wall valve. This is non-negotiable for making the whole process safer and a lot less messy.
Now, you'll need to carefully pull the fridge away from the wall to get a good look at the back. This is ground zero for most leaks. That thin plastic or copper tube—the water line—is your primary suspect. Over time, it can get brittle and crack, especially right at the connection points. Run your hand along its entire length, feeling for any moisture or obvious damage.
The connections themselves are the next critical spots to check.
- Water Inlet Valve: Take a close look at where the main water line screws into the inlet valve. A fitting that's just a little loose or a worn-out rubber washer is all it takes to cause a persistent drip.
- Ice Maker Fill Tube: Open the freezer and find the fill tube that shoots water into the ice mold. Sometimes this gets knocked out of alignment or clogged with ice, causing water to splash over the side of the mold and pool at the bottom of your freezer.
- Ice Mold Integrity: While you're in there, examine the ice mold itself. Even a tiny hairline crack in the plastic can create a slow leak that you won't notice until it's a big puddle.
Fixing a leak is all about patience and observation. Don't just wipe up the water and call it a day. Grab a flashlight and carefully inspect every single connection point until you find the source of that drip.
For a deeper dive into these specific scenarios, our article on what to do when your ice maker is leaking water has you covered. And if you want to broaden your knowledge, you can explore some general DIY tips for finding water leaks that might help with your diagnosis.
Improving Small, Hollow, or Cloudy Ice Cubes
If your ice maker is spitting out cubes that are small, hollow, or just plain cloudy, the problem is almost always not enough water getting to the mold. The ice maker is designed to get a full dose of water during each cycle. When it's starved for water, you get those undersized or hollow results.
The first and most common culprit here is a clogged water filter. A filter that’s well past its prime can slow your water pressure down to a trickle. Most manufacturers recommend changing the filter every six months, but if you're in a busy commercial environment with hard water, you might need to do it even more often.
If a brand-new filter doesn't do the trick, it’s time to look at the water pressure coming from the source. The saddle valve—that small valve that pierces your main water pipe to feed the fridge—is notorious for getting clogged with mineral deposits. Try closing it and reopening it a few times to see if you can dislodge any gunk. If that doesn't work, the valve itself might need to be replaced.
Don't forget to check for a frozen water line, either. If the line is touching any of the freezer coils, it can freeze up and block the flow.
Fixing Noisy Operations and Mechanical Jams
When your ice maker starts making loud, strange sounds—think grinding, buzzing, or sharp clicking—it's basically sending up a flare. It's a clear signal that something's wrong. Ignoring these noises is a fast track to a much bigger, and usually more expensive, breakdown. Most of the time, these sounds point directly to a mechanical issue, which could be anything from a simple ice jam to a motor that's on its last legs.
Learning to decode these sounds is the first step. A sudden, loud crunch that's followed by silence is a totally different problem than a low, constant grinding noise. The trick is to jump on it quickly before a minor jam ends up causing permanent damage to the ejector arm or gear assembly.
Diagnosing and Clearing Ice Jams
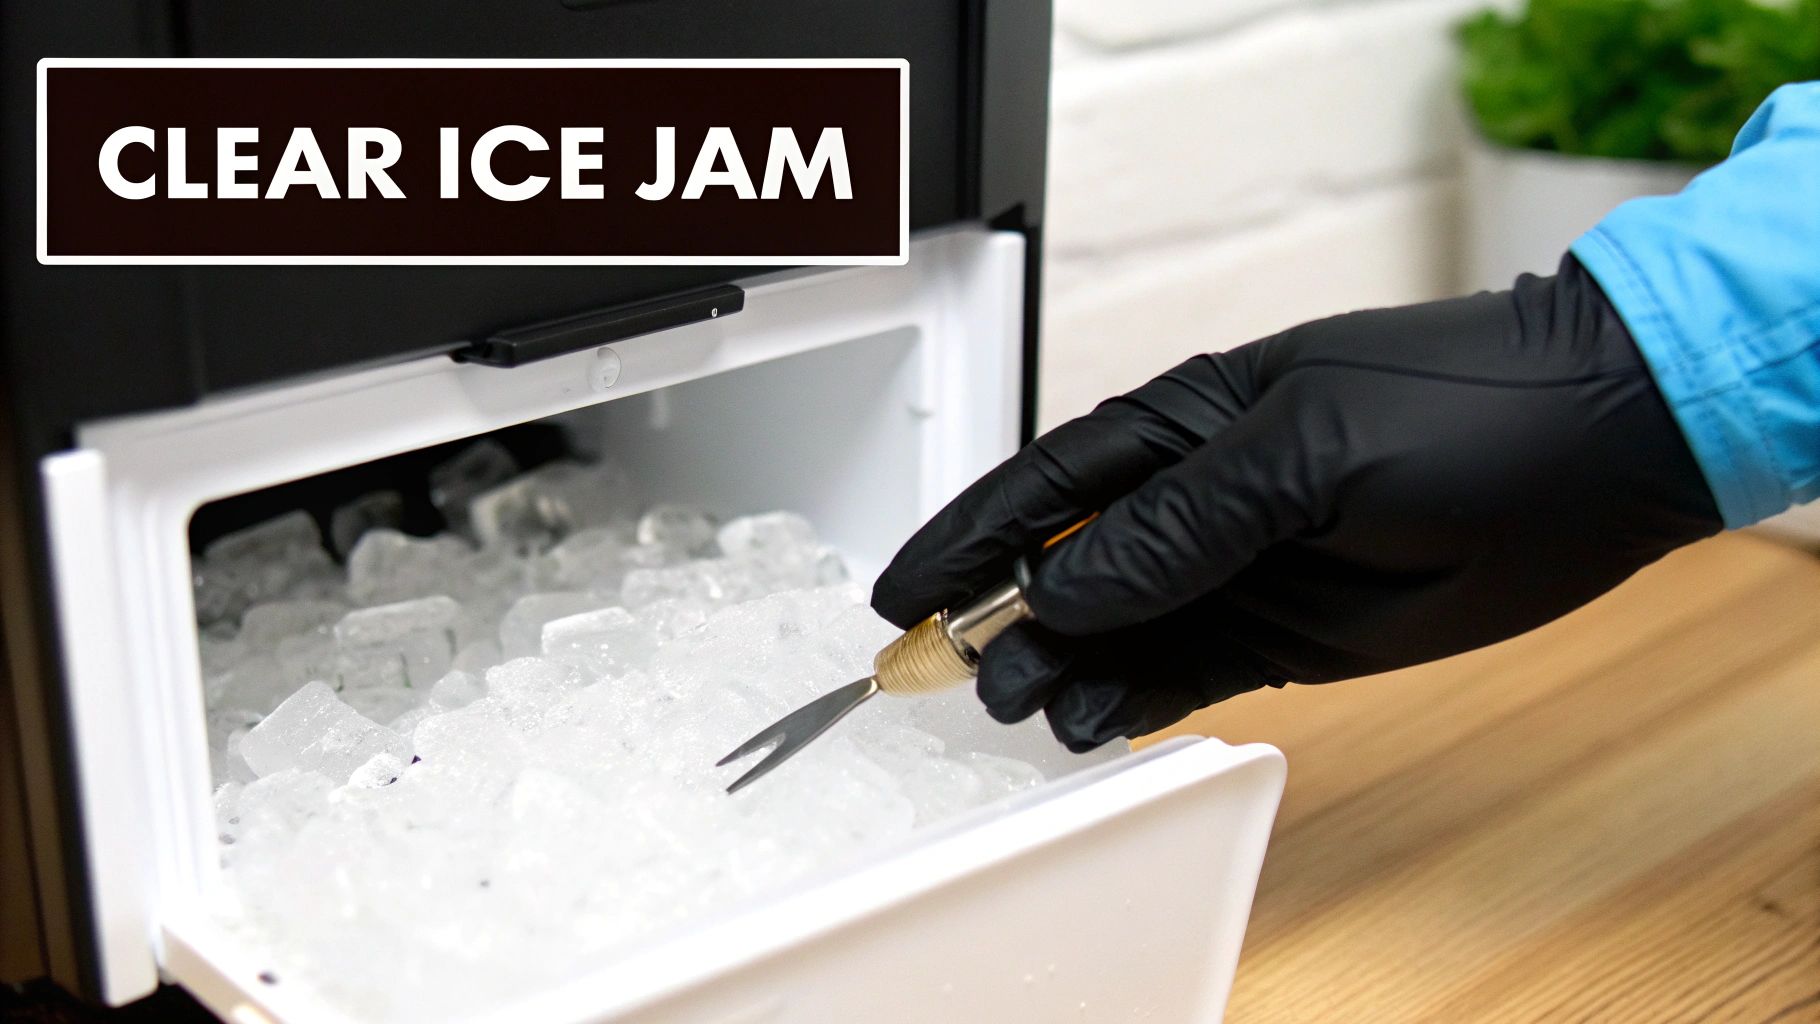
The most frequent mechanical headache is, thankfully, the easiest to fix: a stray ice cube has gotten stuck in the mechanism. This usually happens when the ejector arm tries to shove a new batch of ice into the bin, but one rogue cube gets wedged. This kind of blockage is what causes that loud clicking or popping as the motor fights against the obstruction.
So, how do you fix it? Your first move, always, is to unplug the refrigerator. I can't stress this enough. Never poke around in there while the unit has power; the ejector arm could cycle without warning and cause a nasty injury.
With the power off, pull the ice bin out to get a good look at the ice maker itself. Scan for any ice cubes caught in the ejector mechanism or blocking the drop path. You can usually nudge the stuck cube free with a plastic utensil. If it's really stuck, a cloth soaked in warm water will melt it loose. Just stay away from sharp metal tools—they can easily crack the plastic ice mold or damage the delicate components.
When the Grinding Noise Means Trouble
If you're hearing more of a continuous grinding or a loud buzzing, you're probably looking at something more serious than a simple jam. These sounds are classic indicators of a problem with the drive motor or the plastic gears that move the ejector arm. Over time, especially if the motor has been straining against frequent jams, the teeth on these gears can wear down or get stripped completely.
To check out the gear assembly, you'll likely need to pop off the front cover of the ice maker module. It's usually held on by a few screws or just snaps into place. Grab a flashlight and carefully inspect the plastic gears. Look for any signs of obvious wear, like flattened or broken teeth. If you spot damage, the gear assembly—or sometimes the entire motor module—will need to be replaced.
A steady buzzing sound with no movement is a dead giveaway for a seized motor. The motor is trying to turn but can't, making the electrical parts hum loudly. In this case, the motor has failed and needs to be replaced.
In a commercial kitchen, a noisy ice maker is a warning sign of a potentially expensive repair on the horizon. While motor and gear failures are less common, they are more involved fixes, with replacement costs typically falling between $120 and $400. Considering that ice makers are often the most repair-prone appliance in a kitchen, keeping an eye on these mechanical issues is key to managing your budget. For more detailed repair cost breakdowns, you can check out resources from Angi.
The sound your ice maker is making is a direct clue about what’s gone wrong. This guide will help you translate those noises into a clear action plan.
Interpreting Ice Maker Noises A Troubleshooting Guide
| Noise Type | Common Cause | Recommended Action | Difficulty Level |
|---|---|---|---|
| Loud Popping or Clicking | An ice cube is stuck in the ejector arm or rake mechanism. | Unplug the unit and manually clear the jammed ice cube using a plastic utensil. | Easy |
| Constant Grinding Sound | The plastic gears in the motor module are stripped or damaged. | Unplug the unit, inspect the gear assembly for broken teeth, and replace the motor module if damaged. | Moderate |
| Persistent Loud Buzzing | The main drive motor has seized and is unable to turn. | The motor has likely failed. The entire ice maker assembly or motor module needs to be replaced. | Moderate |
| Rattling or Vibrating | The ice maker is loose on its mounting brackets or the ice bin is not seated correctly. | Ensure the ice maker is securely tightened to the freezer wall and that the ice bin is properly positioned. | Easy |
By listening closely and acting fast, you can often fix a noisy ice maker before it completely dies on you, saving yourself a good bit of time and money in the process.
Repair or Replace Your Ice Maker? Making the Call
You’ve tracked down the problem, found the bad part, and have a price tag for the fix. Now you’re at a crossroads every appliance owner hits sooner or later: is it actually worth repairing? There's a tipping point where dumping more cash and effort into an old ice maker just doesn't add up.
This isn't just about the bill in front of you. It's about making a smart call by weighing your appliance's age, how often it's been on the fritz, and its overall efficiency against the cost of a brand-new unit. Getting this right saves you from the headache of repeat breakdowns and a money pit.
The 50 Percent Rule
A great rule of thumb that a lot of us in the repair world use is the 50 percent rule. It's a simple gut check. If the repair bill is more than half the cost of a new, comparable ice maker or refrigerator, it’s probably time to go shopping.
Let's walk through a real-world example. Say the motor assembly on your 8-year-old fridge is shot. The part is $150, and a pro charges another $150 to install it, putting you at $300 total. If a brand-new fridge with a better, more efficient ice maker is $700, you’re already spending nearly half the cost of a replacement. In that case, replacing it looks like the smarter move.
This rule is all about avoiding a bad investment. Sinking $300 into an old machine that could easily have another part fail next year is a gamble that rarely pays off.
Considering Age and Repair History
Beyond the immediate cost, the age of your appliance is a massive factor. Most refrigerators last about 10 to 12 years, and the ice maker is often the first thing to go. If your fridge is already creeping up on its tenth birthday, a big ice maker repair could just be the opening act for a whole series of problems.
You also need to be honest about its track record. Is this the first hiccup, or does fixing the ice maker feel like a yearly tradition?
- First-time problem on a newer unit (under 5 years old): Repair it. The appliance still has a lot of life left.
- Repeat offender on an older unit (8+ years old): This is a huge red flag. It tells you that internal parts are wearing out across the board. Every fix is just a patch, and those costs will stack up fast.
While doing the repair yourself can be satisfying, it's worth knowing the potential downsides of DIY home projects, especially if a failing component is hinting at bigger issues. What looks like a simple fix might be masking a more serious problem, leading to more frustration and money down the drain.
Evaluating Energy Efficiency and Long-Term Costs
Finally, don't forget the hidden costs of running an old, tired appliance. Today's refrigerators and ice makers are way more energy-efficient than models from a decade ago. An older unit that's struggling doesn't just suck down more electricity; it also has to work harder to stay cold, which puts a ton of stress on major components like the compressor.
That $300 repair might look cheaper today, but the higher energy bills from an inefficient machine could wipe out those savings in just a couple of years. A new unit doesn't just give you a warranty and cool new features—it starts saving you money on your utility bill from day one. When you look at the total cost of ownership (repairs + energy + reliability), you can make a forward-thinking decision that your wallet will thank you for later.
Common Questions About Ice Maker Repair
Even with the best guide, you're going to hit a few snags. It just happens. Here are some of the most common questions I hear from people tackling an ice maker fix, with straight-to-the-point answers to get you unstuck.
How Do I Reset My Ice Maker After a Fix?
After you've cleared a jam or swapped out a part, a quick reset is often all it takes to get things moving again. Most newer ice makers have a small reset button, which is almost never labeled. Look for it on the front or bottom of the control module.
Just press and hold that button down for about 10 seconds. You should hear the ice maker start to whir back to life as it begins a new cycle.
No button in sight? No problem. The old-school power cycle is your friend. Unplug the entire fridge from the wall and let it sit for at least five minutes. This gives all the internal electronics a chance to fully discharge and reset. Plug it back in, and the ice maker should kick off a new harvest cycle on its own.
Why Is My Ice Maker So Slow All of a Sudden?
If your ice production has slowed to a crawl, it's almost always a water supply problem. The first thing to check is the most common culprit: a clogged water filter. If you can't remember the last time you changed it—or if it's been over six months—it's time for a new one.
Still slow? Take a look at the water line behind the fridge. Make sure it isn't kinked or, in some cases, frozen solid. Low water pressure from your main supply can also be the issue. Check that the saddle valve (where the small line connects to your main water pipe) is cranked all the way open. I've seen mineral buildup inside these little valves restrict water flow more times than I can count.
Can I Manually Force My Ice Maker to Cycle?
Absolutely. Forcing a harvest cycle is a great way to test your repair and confirm the motor and ejector arm are working without having to wait hours for it to happen automatically.
- Models with a reset button: A quick, short press (instead of a long hold) usually triggers a test cycle.
- Mechanical models: Some have tiny test points on the control module, often labeled "T" and "H." You can use an insulated jumper wire to briefly connect them, which forces the motor to run.
- Older units: You might find a visible gear you can carefully turn by hand to kickstart the cycle.
A word of caution: Always check your refrigerator's manual before you try to force a cycle. Every brand does it a little differently, and guessing can easily lead to a damaged motor or a stripped gear.
What's the Best Way to Prevent Future Jams?
Honestly, a little bit of prevention goes a long way. Keeping jams at bay really boils down to keeping things clean and ensuring good water flow.
- Empty the Ice Bin: If you don't go through a lot of ice, the cubes at the bottom can slowly melt and refreeze into a giant ice block. Dump the whole bin every few weeks to prevent this.
- Clean the Ice Maker Assembly: At least twice a year, turn the ice maker off, pull out the bin, and give it a good wash with warm, soapy water. While it's out, use a soft cloth to wipe down the ice maker itself to get rid of any mineral scale.
- Stay on Top of Your Water Filter: Get on a strict schedule for replacing that filter. A clean filter not only makes for better-tasting ice but also prevents the low water flow that creates small, oddly-shaped cubes that love to jam.
- Check Your Freezer Temp: Your freezer should be set between 0°F and 5°F. If it's too warm, the cubes will be a bit wet when they're ejected, which makes them stick together and form clumps in the bin.
By making these simple tasks a habit, you can seriously cut down on the chances of another ice maker meltdown.
At PrepTables.com, we understand that reliable equipment is the backbone of any professional kitchen. We specialize in high-quality stainless steel work tables, commercial refrigeration, and a wide range of kitchen essentials designed to keep your operation running smoothly. When choosing a stainless steel prep table, it's important to consider the various types available. Standard work tables offer a simple, flat surface perfect for general prep. For more specialized tasks, sandwich and pizza prep tables integrate refrigerated compartments directly below the work surface, keeping ingredients fresh and within arm's reach for efficient assembly. No matter your kitchen's needs, you can explore our selection and find the durable solutions you need at https://preptables.com.