

Check Refrigerator Compressor: Easy How-To Guide
When your food's going bad and the inside of your fridge feels more like a cool day than a cold appliance, the compressor is usually the first thing to blame. It's the heart of the whole cooling operation. Before you even grab a multimeter, you can play detective just by listening and observing.
Is Your Refrigerator Compressor on its Last Legs?
Think of the compressor as the engine that pumps refrigerant through the system. It’s what pulls the heat out of the fridge and dumps it outside. When that process starts to fail, everything else struggles to keep up. Catching the signs early can save you from a major mess and a fridge full of spoiled food.

Common Failure Symptoms
A dying compressor rarely goes down without a fight—or at least without making some noise. The first step in any diagnosis is just paying attention. Has your fridge started making new sounds? Is it behaving differently?
Here's what to watch out for:
- It Never Shuts Off: A healthy fridge cycles on and off throughout the day. If you notice yours is running constantly just to stay moderately cool, the compressor is working way too hard to make up for a lack of efficiency.
- Loud, Unsettling Noises: That gentle hum is normal. A loud buzz, a sudden clank, or a grinding sound is not. Those are tell-tale signs that the internal parts are worn out and on the verge of failing completely.
- The Dreaded "Click-Then-Nothing": If you hear a sharp click every few minutes, followed by silence, you're likely hearing the start relay trying and failing to kick the compressor on. That click is often the overload protector tripping to prevent damage. Classic symptom.
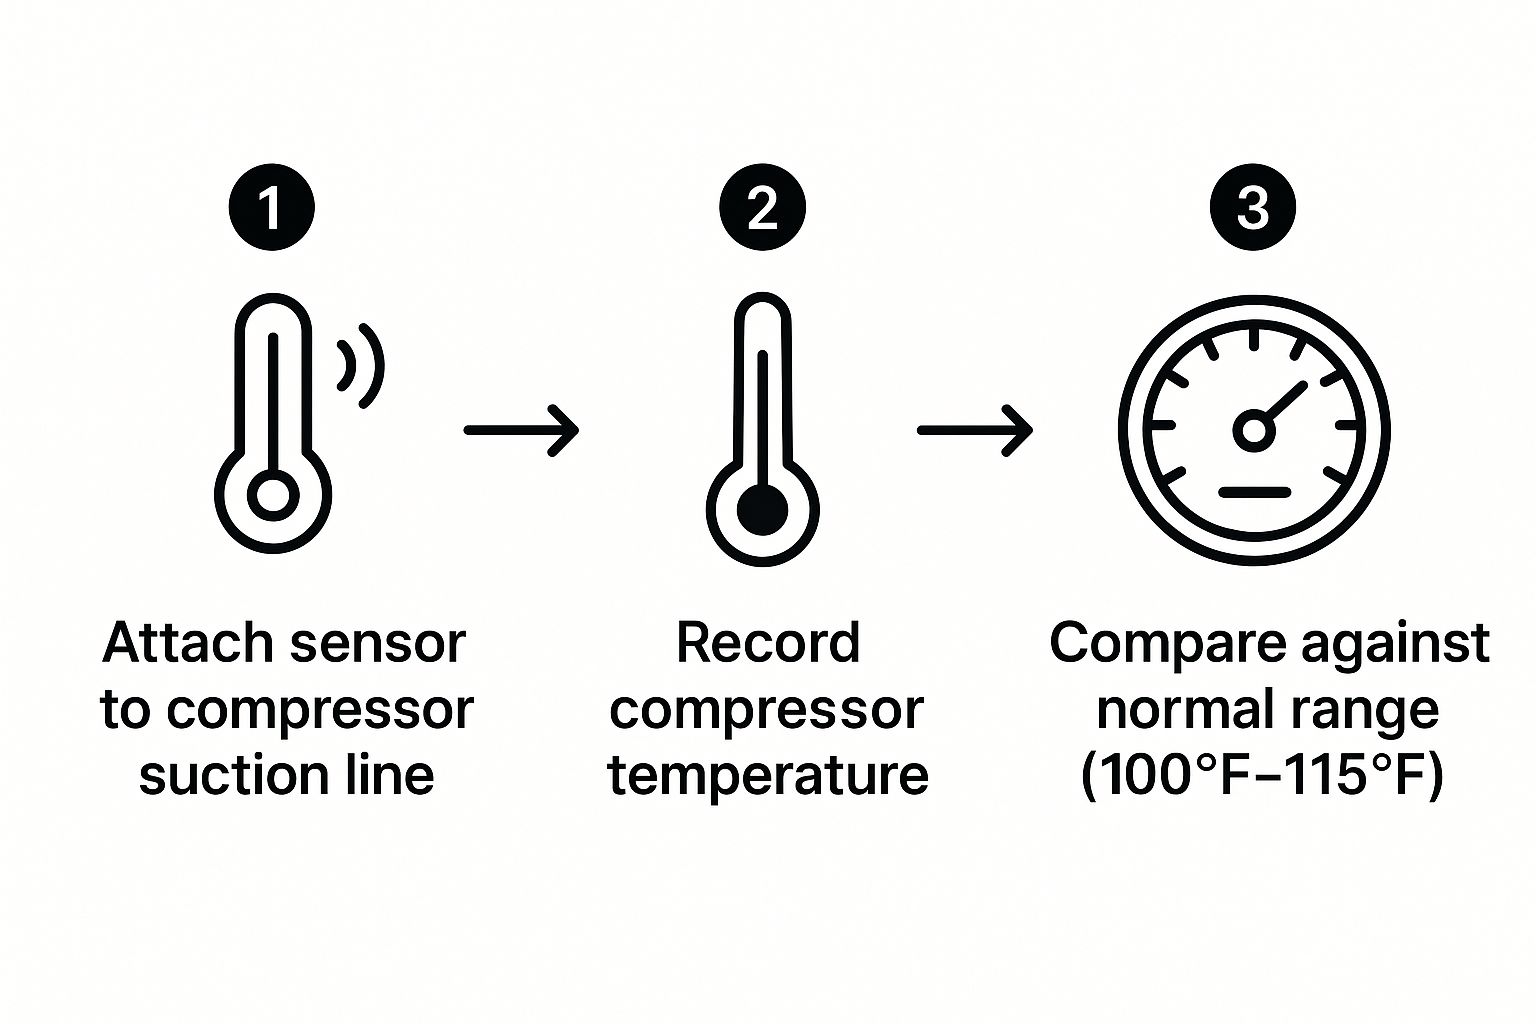
- Running Hot: It’s normal for the compressor to feel warm. But if you can't keep your hand on the housing for more than a second or two, it’s overheating. That kind of excessive heat is a serious red flag that can cause permanent damage.
A bad compressor isn't just a minor inconvenience; it's a major failure. In fact, compressor-related issues are a leading cause of refrigerator breakdowns, making up roughly 40-50% of all major repair cases, according to some industry analyses. Diagnosing it quickly is key. You can find more data on appliance trends over at Statista.com.
To help you connect the dots, here’s a quick reference guide.
Quick Guide to Compressor Failure Symptoms
Use this quick-reference table to match what you're hearing or seeing with potential compressor issues.
| Observable Symptom | What It Likely Means | Your Next Move |
|---|---|---|
| Constant low humming or buzzing | The compressor is running nonstop, struggling to cool. | Check for dirty condenser coils or a bad door seal first. |
| Loud buzzing, grinding, or clanking | Internal mechanical parts of the compressor are failing. | This usually isn't fixable. Prepare for a replacement. |
| A sharp click every few minutes | The start relay is trying to engage, but the compressor won't start. | The relay/overload protector might be bad, or the compressor is seized. |
| The compressor housing is very hot to the touch | The unit is overheating due to overwork or an internal fault. | Unplug the fridge to let it cool down and investigate further. |
If you spot any of these signs, it's a clear signal that something is wrong with the compressor or one of its essential components. Time to dig a little deeper.
Gathering Your Tools and Prioritizing Safety
Before you even think about touching that compressor, let's get a few things straight. Proper preparation isn't just a suggestion—it's non-negotiable. Walking into any appliance repair with a safety-first mindset is what separates a smooth diagnosis from a trip to the emergency room. It also means grabbing the right tools before you start, so you’re not scrambling for a socket wrench halfway through.
This isn’t just about getting the fridge running again. It’s about doing it the right way. The good news is you don’t need a massive toolbox—just a handful of key items to make the job safe and straightforward.
Essential Diagnostic Toolkit
You probably have most of this stuff in your garage already. The only really specialized tool is a multimeter, and it's absolutely crucial for figuring out what's going on electrically.
- Multimeter: This is your best friend for this job. You'll need it to check for electrical continuity and measure resistance in the compressor's parts.
- Socket or Nut Driver Set: You’ll need this to get the access panel off the back of the fridge. No getting around it.
- Insulated Gloves: A solid pair of work gloves will save your hands from sharp metal edges and surprisingly hot components.
- Flashlight or Headlamp: It’s dark and cramped back there. Good lighting is a must if you want to see what you’re actually doing.
The single most critical step is to completely disconnect the refrigerator from its power source. Pull the plug straight from the wall. Do not just flip a breaker; it’s not a foolproof guarantee, and you don’t want to take that chance.
Critical Safety Protocol
Once the fridge is unplugged, go grab a coffee. Seriously. Wait at least 10-15 minutes before you start working. This gives the capacitors inside the system time to fully discharge, which is key to avoiding a nasty electrical shock.
Also, make sure you have some decent ventilation. The compressor and the coils around it can get incredibly hot during normal operation. Give them plenty of time to cool down before you go touching anything. A burn from a hot compressor is no joke. Following these steps isn't optional—it's essential for keeping yourself safe.
Checking the Compressor Start Relay and Overload Protector
A lot of the time, when a fridge compressor seems dead, the real problem isn't with the big, expensive compressor at all. Instead, it’s one of its smaller, crucial support components: the start relay or the overload protector. A breakdown in one of these is actually good news—it’s a common, cheap fix that can save you from a massive repair bill.

Think of these parts as the compressor’s gatekeepers. The relay gives it the electrical kick it needs to get going, while the protector keeps it from frying itself. It’s no surprise that industry reports show around 10-15% of residential fridge compressors fail in the first five years, and very often, the trouble starts with these little electrical parts. You can find more about refrigeration compressor market trends to get the bigger picture.
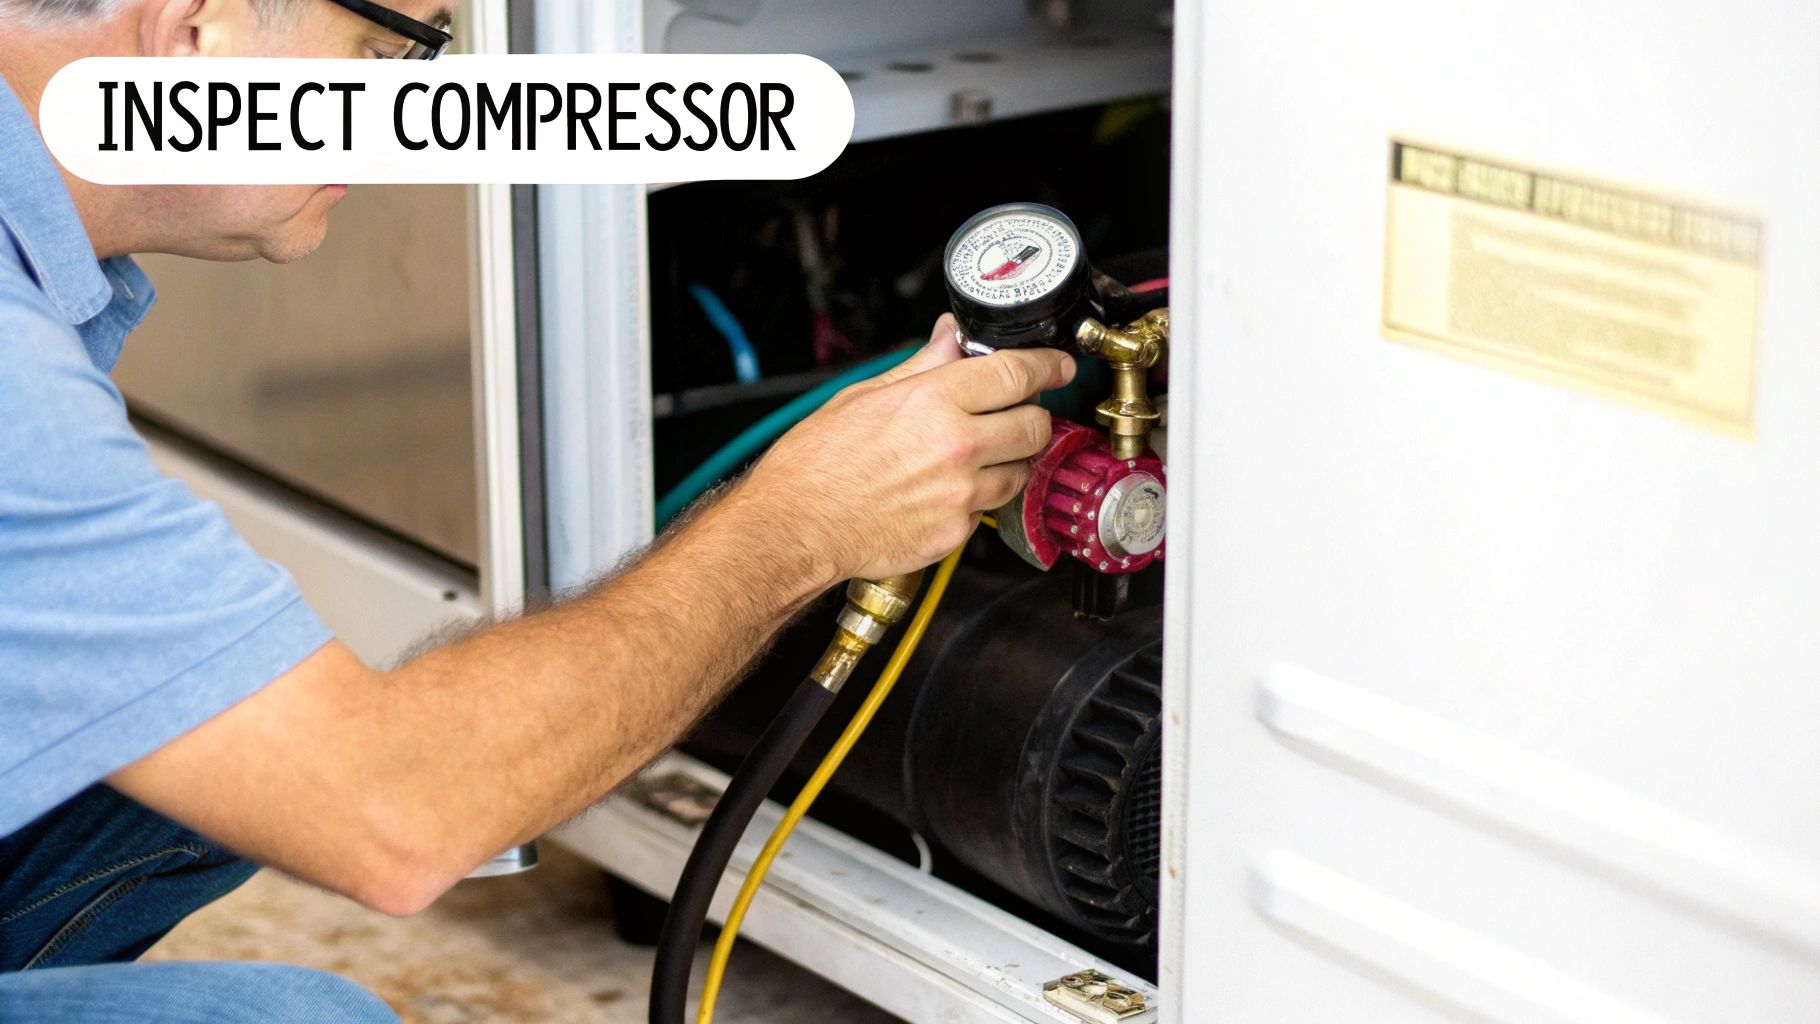
Figuring out if these parts are the culprit is pretty straightforward. First, find the compressor—that black, dome-shaped motor at the back of your fridge. After you unplug the appliance and give it a few minutes, you’ll pop off the terminal cover to get to the relay and protector. They’re plugged right onto the compressor’s electrical pins.
The Simple Shake Test
Before you even reach for a multimeter, try this old-school trick on the start relay. Carefully pull it off the compressor pins and give it a little shake.
If you hear a rattle, like a tiny maraca, the relay is toast. The little pieces inside have broken apart, and it absolutely needs to be replaced. Seriously, this test can solve your problem in less than a minute.
This is the classic reason for that "click... and then nothing" sound you might hear from your fridge. If it’s silent when you shake it, it could still be bad, which is why we'll confirm with a meter.
Using a Multimeter for a Definitive Answer
To be 100% sure, you’ll want to test both components for continuity. Just set your multimeter to its lowest resistance setting, marked with the omega symbol (Ω).
- For the Start Relay: Touch one probe to each of the two terminal holes on the relay. A healthy relay will have continuity, showing a reading near zero ohms. If you see "OL" (overload) or an infinite reading, it’s dead.
- For the Overload Protector: Put one probe on the metal terminal and the other on the pin that slides onto the compressor. Just like the relay, you're looking for a reading close to zero.
If either one of these parts fails the test, you’ve found your problem. A brand new relay or protector is usually under $20, which is a whole lot better than shelling out for a new compressor.
Alright, so you've tested the start relay and overload protector, and they've checked out. That means it's time to dig a little deeper and test the heart of the system: the refrigerator compressor motor itself.
We're going to use a multimeter to check the three electrical terminals on the compressor. This is the final piece of the puzzle, and it’s less intimidating than it sounds. This test will tell you definitively whether the compressor's internal windings have failed.
First things first, grab your multimeter and set it to the lowest ohms (Ω) setting for measuring resistance. You’ll be testing between each pair of the three pins on the compressor—usually labeled start, run, and common. The idea is to make sure the electrical pathways inside the motor are still intact.
Testing The Three Terminals
You're going to take three separate readings, one for each combination of the pins. Just touch one probe to the first pin and the other probe to the second, note the reading, and then move on to the next pair.
- Start to Common: Take a reading between these two.
- Run to Common: Now test between this pair.
- Start to Run: And finally, get the reading between these two.
Now for the moment of truth. The reading between the start and run terminals needs to be the sum of the other two readings. It’s simple math. For instance, if you measured 4 ohms (Start to Common) and 6 ohms (Run to Common), your Start to Run reading has to be 10 ohms. If it's off by more than a little, you've got bad windings.
If you get "OL" or infinite resistance on all three tests, that's a classic sign of an open winding. The circuit inside the motor is broken, and the compressor is officially dead. No electricity can get through, so it's never going to kick on again.
Understanding Your Multimeter Readings
This little table breaks down what your multimeter is telling you about the compressor's health during these winding tests.
| Test Location | Healthy Reading | Problem Indicator |
|---|---|---|
| Start to Common | Some resistance value (e.g., 4 ohms) | "OL" (Open/Infinite) or Zero |
| Run to Common | Some resistance value (e.g., 6 ohms) | "OL" (Open/Infinite) or Zero |
| Start to Run | Sum of the first two readings (e.g., 10 ohms) | Any value that doesn't equal the sum |
Basically, you're looking for continuity and a specific mathematical relationship. Anything else points to a problem.
The Most Important Test: A Short to Ground
After checking the windings, there’s one last test, and it's an absolute deal-breaker. You need to check for a short-to-ground. This happens when electricity from the motor’s windings is leaking into the metal body of the compressor, which is a massive and dangerous failure.
Keep your multimeter on the ohms setting. Touch one probe to any of the three electrical terminals. Now, touch the other probe to a clean, unpainted metal spot on the compressor—a copper pipe or the metal casing will work perfectly. Repeat this process for all three terminals.
A healthy compressor will give you an "OL" or infinite reading, meaning there's no connection. If your multimeter beeps or shows any resistance value at all, you have a short. This isn't something you can fix; it's a non-negotiable sign of a failed compressor that needs to be replaced.
Choosing the Right Stainless Steel Prep Table
While you're deep in the diagnostics of your refrigerator, you might also be eyeing your kitchen setup and thinking it could be better. Whether you're prepping food or need a clean, stable surface for tinkering with appliances, a good stainless steel prep table is a workhorse for any serious kitchen. Understanding the different types helps you choose the one that fits your needs best.
Standard Work Tables vs. Specialized Prep Stations
For many, a standard stainless steel work table is the perfect starting point. It’s simple, flat, and durable—exactly what you need for general chopping, mixing, or carving out extra workspace. But for more specific, high-volume tasks, specialized prep tables integrate refrigeration to boost efficiency.
These specialized tables fall into several categories:
- Sandwich and Salad Prep Tables: Designed for speed, these tables feature refrigerated wells or pans (often called a "cold rail") along the back. This keeps essential ingredients like lettuce, tomatoes, and deli meats chilled and within arm's reach, dramatically speeding up the assembly process. They almost always include a cutting board that runs the length of the unit.
- Pizza Prep Tables: These are a step up in specialization. They typically have a wider, deeper work surface often made of marble or granite, which stays naturally cool and is ideal for stretching dough. Like sandwich prep tables, they feature a raised, refrigerated rail for holding a wide variety of topping containers.
- Mega Top Prep Tables: This is a variation of the sandwich/salad prep table, but with an extra row of cold pans. This "mega top" design provides more refrigerated storage space for an even wider variety of ingredients, perfect for complex sandwiches, salads, or bowls.
The primary advantage of a specialized prep table is workflow optimization. By combining cold storage with your prep surface, you eliminate the need to constantly walk back and forth to a separate refrigerator, saving valuable time and energy.
Ultimately, the right choice depends on your menu and volume. For basic prep, a standard table is great. But for a bustling sandwich shop or pizzeria, an integrated refrigerated prep table is a smart investment in efficiency. To get into the nitty-gritty details, take a look at our guide on commercial refrigerated prep tables for a full breakdown.
Making the Call: Repair or Replace Your Refrigerator
Alright, you've run the tests and have a verdict. So, what's next? The path you take from here really depends on what you found when you went to check your refrigerator compressor and its buddies. Usually, the answer is pretty clear-cut.
If your multimeter test pointed the finger at a bad start relay or a faulty overload protector, you're in luck. Seriously, that's the best-case scenario. These are by far the most common culprits, and swapping them out is a simple fix that’ll likely set you back less than $20. A small price to pay to avoid a massive headache.
The Compressor Replacement Dilemma
Now, for the not-so-great news. If your tests confirmed the compressor itself is dead—either from a failed winding test or a definitive short-to-ground—you’ve got a tough decision on your hands. A professional compressor replacement is a whole different ballgame.
This isn't like swapping out a small electrical part. Replacing a compressor is a major operation that requires specialized vacuum pumps and gauges to handle the refrigerant, brazing copper lines with a torch, and it absolutely must be done by a certified technician. The bill for parts and labor can easily climb to $400 to $700, sometimes even more depending on your fridge model.
As a rule of thumb, when a repair bill hits 50% or more of what a new, comparable refrigerator would cost, it's time to start shopping. A new appliance won't just come with a fresh warranty; it'll also be way more energy-efficient.
The global market for refrigeration compressors is massive—projected to hit an estimated USD 59.54 billion by 2035. You can dig deeper into the refrigeration compressor market to see just how central these parts are. Because they're the expensive heart of the machine, when one fails in an older fridge, the math for a repair just doesn't add up. For more on this, our guide on when to replace a commercial refrigerator offers some helpful perspective.
Common Compressor Questions Answered
Even after running through the tests, a few questions always seem to pop up. Let's tackle some of the most common things people ask when they're staring down a questionable compressor.
Is It Normal for My Compressor to Be Hot?
It's completely normal for a compressor to feel warm, or even pretty hot, while it’s running. That heat is just a natural part of the refrigerant compression cycle. The real red flag is when the housing is so hot you can't keep your hand on it for more than a second or two. That's a sign of overheating.
More often than not, this isn't the compressor's fault but an issue with its surroundings. Before you jump to conclusions, take a look at these two usual suspects:
- Clogged Condenser Coils: If those coils are covered in a thick blanket of dust and grime, they simply can't get rid of heat. This forces the compressor into overdrive and causes it to overheat.
- A Busted Condenser Fan: The fan is supposed to pull air across the coils to cool them. If that fan is broken or something is blocking it, all that heat gets trapped.
What’s That Clicking Noise?
Ah, the dreaded click. If you hear a distinct clicking sound every couple of minutes, but the compressor never actually hums to life, you're hearing a classic failure symptom. That click is the sound of the overload protector tripping. It's doing its job, shutting things down to keep the motor from frying itself.
When you hear this, the problem is almost always one of three things: a bad start relay, a dead overload protector, or a compressor motor that has completely seized up. Always start by testing the relay and the protector first.
A seized compressor isn't something to ignore; it needs immediate attention. Many of these failures can be avoided with consistent upkeep. To get ahead of the game, take a look at our complete guide on commercial kitchen equipment maintenance.
Can I Just Replace the Compressor Myself?
For 99% of people out there, the answer is a hard no. This isn't like changing a lightbulb or even swapping out a faulty relay. Replacing a compressor is a major, complex repair.
It involves handling high-pressure refrigerant, which legally requires you to have an EPA certification. You also need specialized tools like vacuum pumps and refrigerant recovery machines. On top of that, the job involves using a torch to braze copper lines together.
If all your tests point to a dead compressor, it’s time to pick up the phone and get a quote from a qualified appliance technician.