

A Guide to Ice Machine Cleaners and Sanitizers
Let's be honest, nobody wants to think about what's growing inside their ice machine. But ignoring it is one of the biggest food safety mistakes you can make. The reality is that the dark, damp, and cool interior of your ice machine is the perfect breeding ground for nasty contaminants like slime, mold, and mineral scale.
Using the right nickel-safe cleaners and NSF-certified sanitizers isn't just a good idea—it's a critical part of your food safety protocol. This isn't just about passing a health inspection; it's about protecting your customers, your expensive equipment, and your hard-earned reputation.
The Real Risks of a Dirty Ice Machine
It’s easy to forget what you can’t see, but make no mistake: neglecting your ice machine is asking for trouble. The FDA classifies ice as a food, which means any contamination is a direct health threat and a massive liability for your business.
The environment inside that machine is a paradise for three major culprits: slime, scale, and mold. Each one brings its own unique set of headaches to your operation.
The Big Three Contaminants
Slime, that pink or grey film you might find, is a biofilm—basically, a colony of bacteria and other microbes. It doesn't just make your ice taste and smell funky; it can be a hiding place for dangerous pathogens like Listeria or Salmonella.
Scale is that hard, chalky, white buildup you see, especially in areas with hard water. It's mostly calcium and magnesium deposits. This stuff makes your ice cloudy and, worse, acts as an insulator on machine components. This forces your machine to work harder, run longer, and use way more energy. Eventually, it will clog up water lines and lead to a very expensive repair call.
Mold loves to grow in the moist, dark corners of the machine, showing up as black or green patches. When customers ingest this through contaminated ice (or staff inhale the spores), it can trigger allergic reactions and respiratory problems. This is a serious health hazard, and learning how to prevent food contamination is the first line of defense.
A single health code violation from a dirty ice machine can hit you with heavy fines, a forced shutdown, and a PR nightmare you can't easily recover from. In this case, prevention is always, always cheaper than the cure.
More Than Just a Cleaning Task
Beyond the obvious health risks, a dirty machine is a direct hit to your bottom line. An ice machine fighting against scale buildup can guzzle 25% or more energy just to do its job. That means higher utility bills and a lot more strain on vital parts like the compressor, which will drastically shorten the machine's lifespan.
The global market for ice makers was valued at a staggering USD 5.3 billion in 2024 and is only getting bigger. This highlights just how crucial this piece of equipment is in foodservice and healthcare. The quality and safety of your ice are non-negotiable. This isn't just another cleaning chore; it's a direct investment in your business's efficiency, safety, and long-term stability.
Choosing the Right Cleaning and Sanitizing Agents
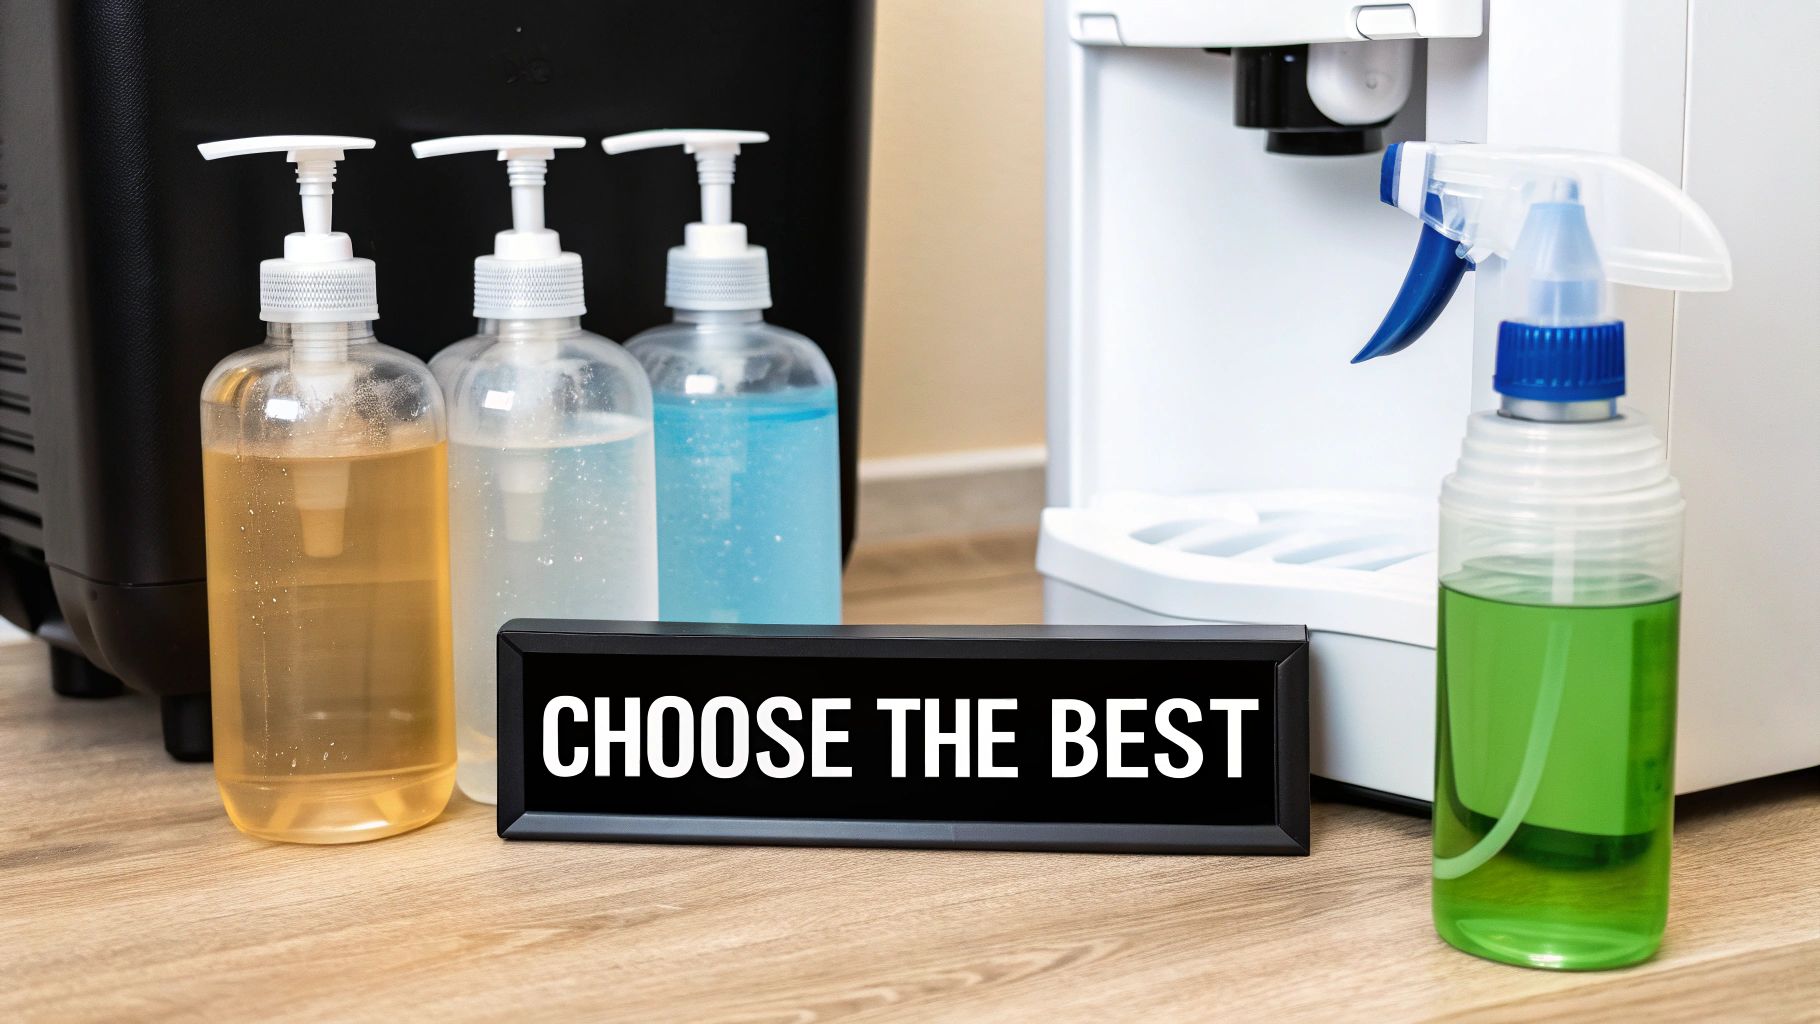
When it's time to clean your ice machine, you can't just grab any bottle off the shelf. Using the wrong chemicals can be ineffective at best and cause some seriously expensive damage at worst. It all starts with one crucial fact: cleaning and sanitizing are two completely different jobs, and they require two completely different products.
Before we even get into specific bottles and brands, it’s vital to understand the fundamental difference between sanitizing and cleaning. Think of it this way: cleaners remove the gunk you can see, while sanitizers kill the germs you can't. You absolutely have to clean before you can sanitize, otherwise, you're just spreading germs around on a dirty surface.
Cleaners That Tackle Scale
Ice machine cleaners are really just specialized descalers. Their main job is to attack and dissolve the hard, chalky mineral buildup—limescale—that comes from your water supply. These acidic solutions are engineered to break down calcium and magnesium without eating away at your machine’s delicate internal parts.
The big question you need to ask is whether you need a nickel-safe cleaner. A lot of modern, high-efficiency ice machines are built with nickel-plated evaporators. If you use a standard, overly aggressive cleaner, you risk stripping that nickel plating right off, which will wreck the component and lead to a hefty repair bill.
So, how do you know? Your machine’s manual is your best friend here. If it calls for a nickel-safe cleaner, consider it non-negotiable. For kitchens in hard water areas, a phosphoric acid-based cleaner is often the perfect nickel-safe solution for cutting through stubborn scale.
Sanitizers That Ensure Food Safety
Once the descaler has done its job, the machine might look sparkling clean, but it's not food-safe yet. That’s where ice machine sanitizers come in. This is the step that eliminates the bacteria, slime, and mold that the cleaning process might have missed. Sanitizers are what reduce those nasty microorganisms down to a safe level—a critical step, especially since the FDA officially considers ice a food product.
Choosing the right type of sanitizer is key. If you want to dive deeper, you can explore the different types of sanitizer solutions used in commercial kitchens. The goal is simple: find a product that wipes out germs effectively without leaving behind any harmful chemical tastes or residues.
Always, and I mean always, look for the NSF (National Sanitation Foundation) logo on both your cleaner and sanitizer bottles. This certification is your guarantee that the product has been independently tested and is safe to use in a food service environment. It’s peace of mind in a bottle, ensuring you’re not accidentally contaminating your ice.
To understand how these two products work together, let's compare them side-by-side.
Ice Machine Cleaner vs Sanitizer
| Attribute | Ice Machine Cleaner (Descale) | Ice Machine Sanitizer |
|---|---|---|
| Primary Purpose | Removes mineral deposits (limescale) and grime. | Kills bacteria, viruses, mold, and other microorganisms. |
| When to Use | First step in the cleaning process. | Second step, after cleaning and rinsing. |
| Active Ingredients | Typically acidic (e.g., phosphoric acid, citric acid). | Often quaternary ammonium, chlorine, or iodine-based. |
| Key Benefit | Restores machine efficiency and ice quality. | Ensures food safety and prevents illness. |
This table makes it clear: you can't skip one or the other. They are two halves of the same essential maintenance routine.
A Real-World Scenario
Let’s put this all together. Imagine you run a busy cafe in a town known for its hard water. Lately, you've noticed the ice cubes are coming out cloudy, and the machine just isn't keeping up with demand. That’s a textbook sign of heavy scale buildup.
Here’s your game plan:
- Diagnose the Problem: Cloudy ice and slow production point directly to limescale. You need a powerful descaler.
- Check Your Gear: You pull out the machine's manual and see it has a nickel-plated evaporator.
- Pick Your Products: This narrows it down. You need to buy two things: an NSF-certified, nickel-safe ice machine cleaner to dissolve that scale without damaging your equipment, and a separate NSF-certified ice machine sanitizer to make it food-safe afterward.
By taking this targeted approach, you're not just guessing. You’re solving the problem efficiently, protecting your expensive equipment, and most importantly, serving safe, clean ice to your customers.
How to Properly Clean Your Ice Machine
Cleaning an ice machine isn't just about wiping it down. To do it right, you need a solid process. I like to break it down into four main stages: getting ready, descaling the system, doing the detailed manual scrubbing, and finishing with a thorough rinse. Following these phases makes sure you get rid of all the gunk—visible and invisible—and keeps your machine running safely and efficiently.
Before you even think about cleaners and sanitizers, you have to get the machine prepped. This part is all about safety and making sure the cleaning process goes smoothly.
Gathering Your Tools and Prepping the Machine
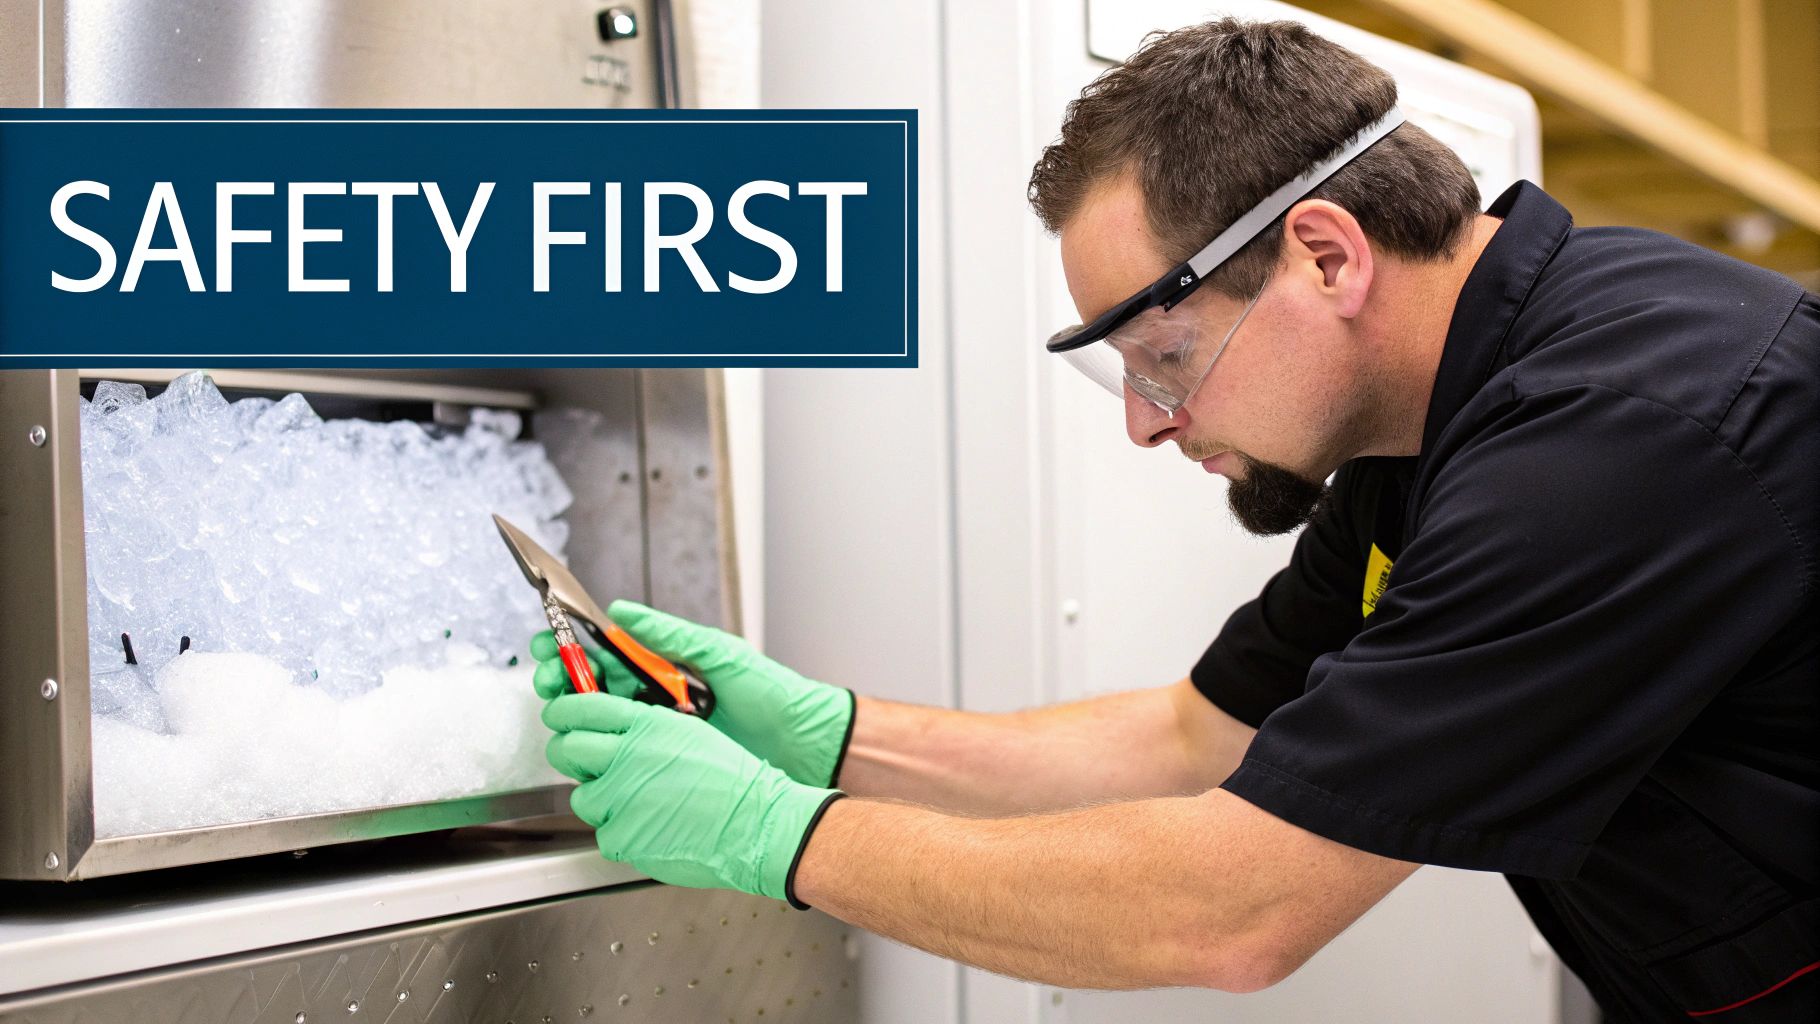
First things first: make the machine safe to work on. You absolutely have to turn off the power and unplug it from the outlet. Then, find the water supply line that feeds the machine and shut it off. This is non-negotiable—it prevents any surprise cycles or, worse, an electrical shock while you’re working.
With the machine completely offline, it’s time to get your gear together. You don’t need a fancy toolkit, just the right essentials for the job.
- Personal Protective Equipment (PPE): At a minimum, you need safety goggles and a good pair of chemical-resistant gloves.
- Soft-Bristle Brushes: Stay away from anything abrasive like steel wool or scouring pads. Those will absolutely scratch up the inside of your machine. A few small, soft nylon brushes are perfect.
- Spray Bottles: Grab at least two. One will be for your cleaning solution, and the other should be filled with clean water for rinsing later.
- Clean Cloths and Buckets: Make sure these are designated for food-safe use to avoid any cross-contamination.
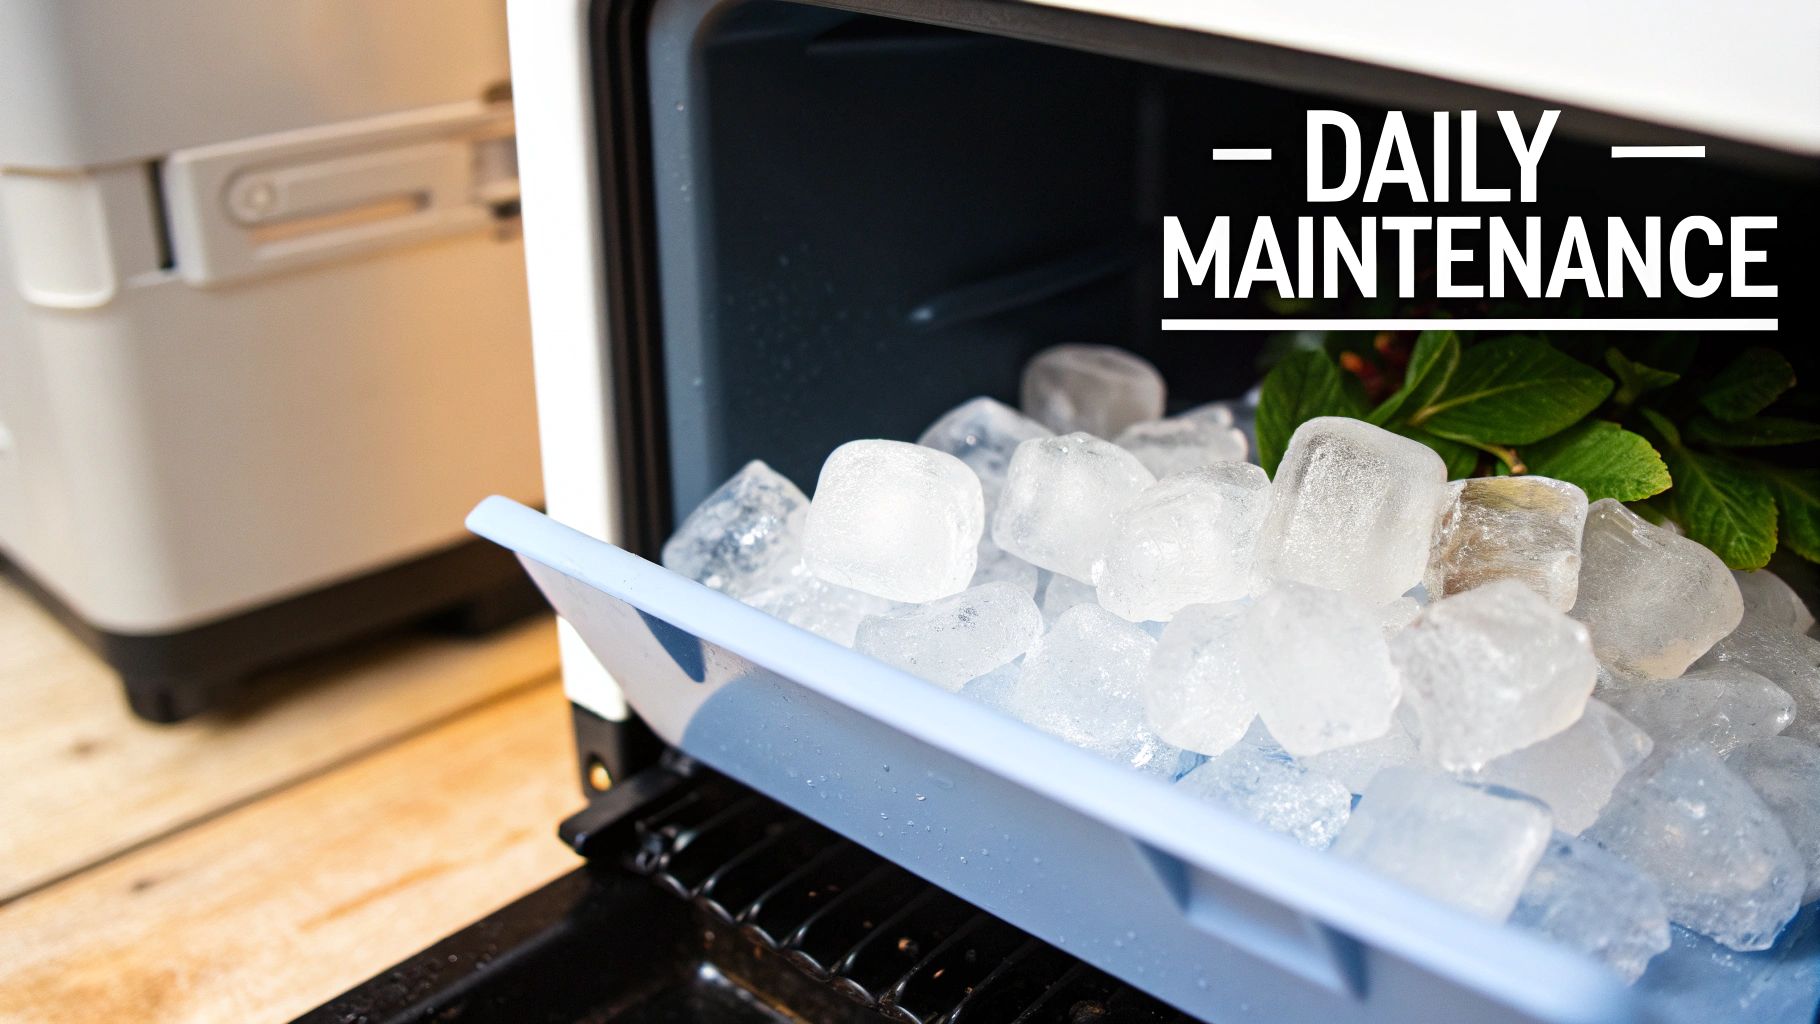
Once you have your supplies, get all the ice out of the storage bin. Don't try to save it. Even if it looks perfectly fine, there's a good chance it's been exposed to whatever's growing in there. Toss it all out. This is a critical step we cover in our guide to proper ice machine cleaning procedures because it ensures you’re starting with a completely clean slate.
The Descaling and Scrubbing Process
Now we can tackle the scale buildup. Most modern ice machines have an automated "Clean" or "Wash" cycle, which is a lifesaver. Start that cycle. The machine will usually let you know when it’s time to add the ice machine cleaner. When it does, pour in the amount of descaling solution recommended by the manufacturer.
The machine will take it from there, circulating the cleaner through the entire water system. This is what dissolves all those hard mineral deposits that clog up the lines and coat the evaporator plate. Just let the cycle do its thing and run to completion.
This graphic gives a great high-level view of the whole cleaning and sanitizing workflow.
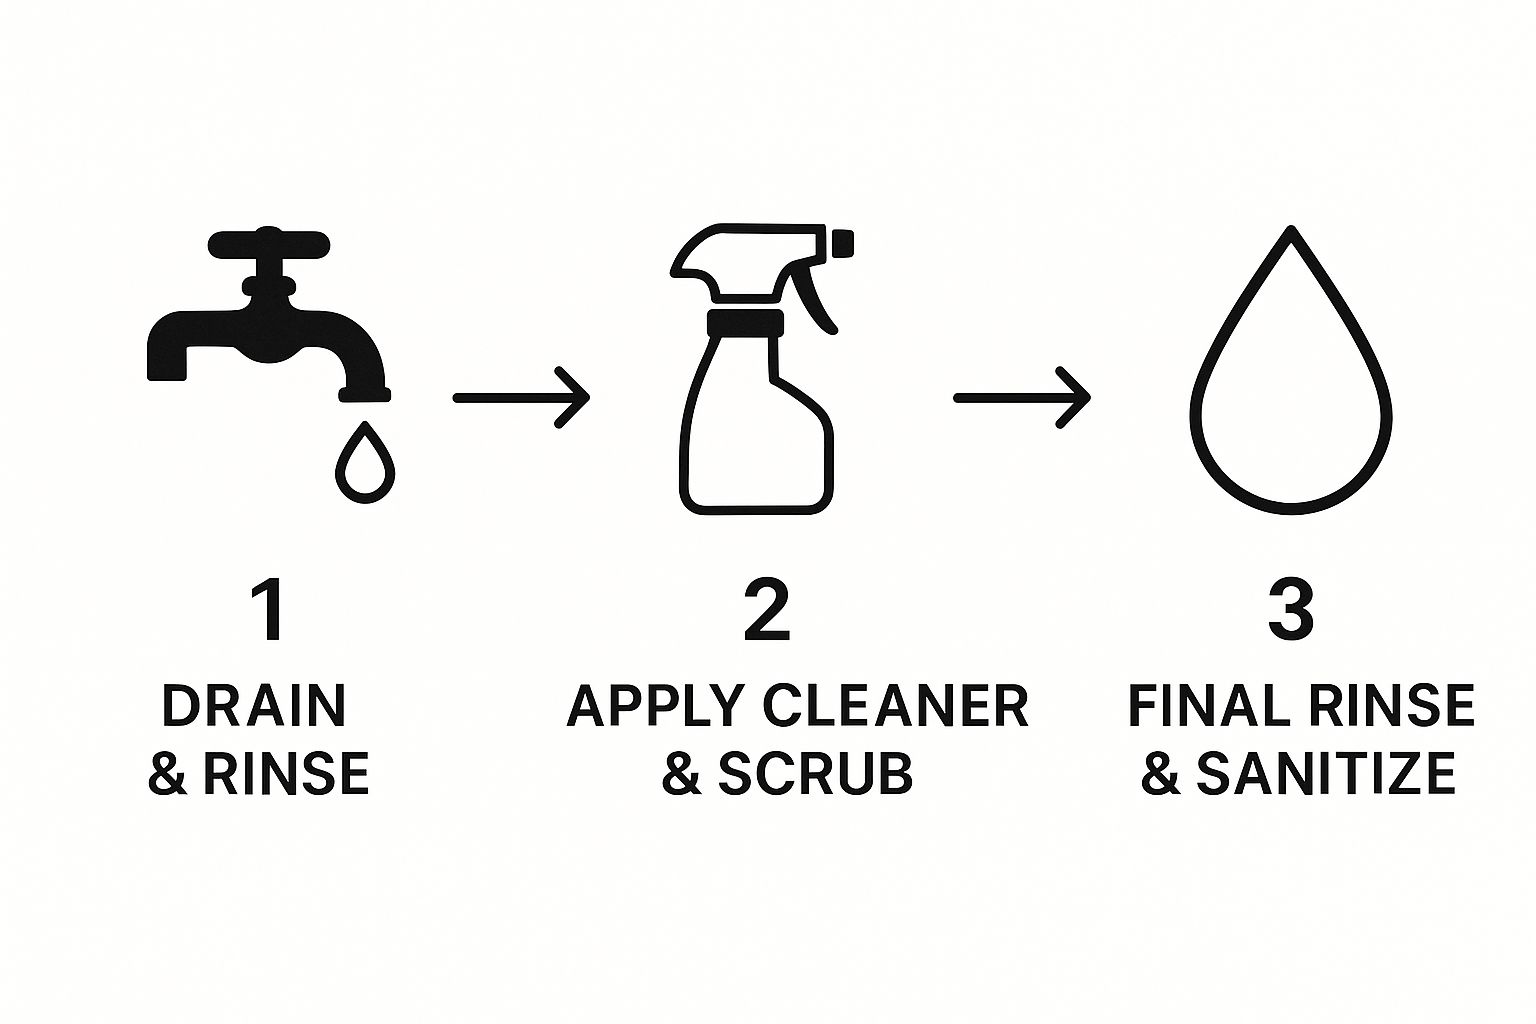
As you can see, it really boils down to draining, cleaning, and sanitizing—the three pillars of keeping your ice machine in top shape.
The automated cycle does a lot of the heavy lifting, but the real deep clean comes from some old-fashioned elbow grease. After the descaling cycle is finished (and with the machine still unplugged!), it's time to get your hands dirty.
Pro Tip: Grab your owner's manual and figure out how to disassemble the removable parts. This usually includes things like the water curtain, distribution tube, and water pump. Pay close attention to how they come apart—it’ll save you a headache during reassembly.
Soak these components in a diluted cleaning solution or give them a good spray-down. Then, use your soft-bristle brushes to scrub every single corner, seam, and crevice. These are the spots where slime and scale love to hide. Don't forget to scrub the interior surfaces of the machine itself, too.
Rinsing and Final Steps
I can't stress this enough: rinsing is probably the most important part of the whole process. If you leave any chemical residue behind, it will end up in your ice and can even damage the machine's components over time.
Use your spray bottle of clean water or a clean, damp cloth to rinse every single surface you just scrubbed. Be thorough.
Rinse all the removable parts until you’re positive every trace of cleaner is gone. Set them on a clean, dry surface to air dry completely. For a better understanding of why this is so important, it’s worth brushing up on general cleanliness and sanitation principles.
Once every part is rinsed and dry, carefully put the machine back together. Nothing should have to be forced; if it doesn't fit, double-check that you have it oriented correctly. With reassembly complete, you’re ready for the last, crucial step: sanitizing, which we’ll tackle in the next section.
Sanitizing Your Ice Machine for Food Safety
You've done the hard work of scrubbing and rinsing, and your ice machine looks spotless. But looking clean isn't the same as being food-safe. Cleaning gets rid of the gunk you can see, but sanitizing is what kills the invisible threats—all the nasty bacteria, mold, and microorganisms that can get customers sick.
This step isn’t optional. It absolutely must be done after every single cleaning.
The whole process is straightforward, but it’s all about precision. The most common—and costly—mistake I see operators make comes down to the sanitizer solution itself.
The Importance of Proper Dilution and Contact Time
Every bottle of NSF-certified ice machine sanitizer comes with specific instructions for dilution, usually measured in parts per million (ppm). Following that ratio is everything. Too weak, and it won't be strong enough to do its job, making the entire process a waste of time. Too strong, and you risk leaving chemical residue behind that can get into the ice or even corrode your machine's components.
Once you have your solution mixed correctly, you're ready to apply it. For most commercial machines, this means doing two things at once:
-
Run the Sanitize Cycle: Just like with cleaning, your machine should have an automated "Sanitize" or "Wash" setting. You’ll start this cycle and pour in the properly diluted sanitizer when the machine prompts you. This sends the solution through all the internal water lines and across the evaporator.
-
Manual Application: While that cycle is running, use a clean spray bottle or cloth to manually apply the same sanitizer solution to every surface that touches ice. This is where your attention to detail really pays off.
The science of sanitation is always improving. For example, in large-scale food processing, new methods like dry ice cleaning are becoming more popular. This technology uses carbon dioxide pellets and is part of a market valued at an impressive $123 million in 2024, which is expected to almost double by 2033. This just shows how the industry is pushing for more effective, residue-free ways to keep things clean. You can find out more about the dry ice cleaning machine market to see how this tech is used in other critical settings.
Here’s a common mistake: not giving the sanitizer enough contact time. The solution needs to sit on the surface for a few minutes to actually kill the germs. If you wipe it away immediately, it’s like taking a cake out of the oven halfway through baking—it just won't work. Always check the product label for the required dwell time and follow it.
Don't Overlook These Key Areas
It's easy to get tunnel vision and only focus on the main interior of the machine. Forgetting the accessories is a huge oversight that can re-contaminate your clean machine in no time.
Make sure you hit these often-missed spots:
- The Ice Storage Bin: The entire inside of the bin needs a thorough wipe-down or spray.
- The Ice Scoop: This thing gets handled all day. It should be completely submerged in the sanitizer solution and then left to air dry.
- The Bin Door: Get both the inside and outside of the door, especially the handle and any gaskets or seals.
After the sanitize cycle is finished and you’ve manually treated all the surfaces, just let everything air dry. This is critical: Do not rinse the sanitizer off unless the product instructions specifically tell you to.
Once everything is dry, your machine is finally clean, sanitized, and ready to make safe, crystal-clear ice again.
Staying Ahead of Slime and Scale
Deep cleaning and sanitizing are non-negotiable, but what you do day-to-day can make those deep cleans much easier. Think of it as preventative care for your most important beverage equipment. Small, consistent efforts will save you from major headaches down the road.
Simple habits really do make a huge difference. Just wiping down the outside of the machine, especially around the door and the dispenser area, prevents gunk from finding its way inside. These little actions help keep things at a baseline of clean between the heavy-duty cycles.
Simple Steps for Ongoing Upkeep
Beyond a quick wipe-down, a few other tasks should become a regular part of your maintenance routine. These quick checks can save you a fortune in repairs and make your ice machine cleaners and sanitizers work much more effectively when it's time for a full clean.
- Clean the Air Filter: The condenser's air filter is a magnet for dust and kitchen grease. Check it every week. A clogged filter suffocates the machine, so clean it based on the manufacturer's directions to keep air flowing and the machine running efficiently.
- Inspect Water Lines: Take a quick look at the water lines. You're searching for any leaks, kinks, or visible gunk. Clean ice starts with a clear and steady flow of water.
- Check the Bin Drain: Make sure the ice bin drain isn't clogged and water is flowing out freely. If it backs up, you've created a perfect swampy environment for slime and mold to thrive.
A proactive maintenance schedule does more than just keep your machine cleaner—it actually extends its lifespan. An ice machine that can "breathe" with clean filters and clear lines doesn't have to work as hard. That saves energy and reduces wear and tear on crucial parts like the compressor.
The Rise of Automated Cleaning Systems
Technology is finally catching up and making ice machine maintenance a lot less of a chore. Many new commercial models are now built with automated cleaning and sanitizing systems. These features take the guesswork out of the process, ensuring it gets done right every time and saving your team a ton of labor hours.
These systems work by automatically flushing the lines and circulating pre-measured doses of ice machine cleaners and sanitizers on a set schedule. It dramatically cuts down on the need for someone to do it manually and guarantees the machine is cleaned regularly—a huge win for any busy kitchen. This isn't a niche trend, either; the global market for automatic cleaning ice machines was valued at around $2.5 billion in 2025 and is only expected to grow. You can learn more about the factors driving the automatic cleaning ice machine market.
A Few Common Questions
Even with a solid cleaning plan, questions are bound to come up. I get these all the time from kitchen managers, so let's run through some of the most common ones about using ice machine cleaners and sanitizers. Getting these right will help you troubleshoot issues and keep your machine running smoothly.
How Often Should I Clean My Ice Machine?
Most manufacturers will tell you to do a full cleaning and sanitizing cycle at least once every six months. That’s a good starting point, but it's definitely not a one-size-fits-all rule. Your kitchen's specific environment really dictates the schedule.
Think about it this way:
- Hard Water Areas: If you're dealing with hard water, you know the drill. That high mineral content means scale builds up much faster. You'll likely need to clean every 3-4 months just to keep ahead of it.
- High Yeast Environments: Got a bakery, pizzeria, or brewery? You've got a ton of airborne yeast, which absolutely loves the damp, dark interior of an ice machine. In these spots, cleaning every 2-3 months is a smart move to prevent that aggressive pink or black slime from taking over.
Can I Use Bleach to Sanitize?
This is a big one. The short answer is no—using bleach in your ice machine is a terrible idea and something we strongly advise against. While bleach is a great sanitizer in some applications, it’s also highly corrosive to the metal components inside your machine.
If it's not diluted perfectly or rinsed completely, bleach can cause pitting and permanent damage, especially on sensitive nickel-plated parts. That leads to some seriously expensive repairs. Always, always stick with a dedicated, NSF-certified ice machine sanitizer. These formulas are designed to kill microorganisms without eating away at your equipment.
Understanding Prep Table Options
While you're focused on sanitation for your machines, it's a good time to consider the surfaces where food preparation happens. Stainless steel prep tables are the industry standard for a reason—they are durable, non-porous, and easy to clean. However, not all tables are created equal.
- Work Tables: These are the simplest form, offering a flat, open stainless steel surface. They are versatile workhorses for general chopping, mixing, and assembly tasks. Many come with an undershelf for extra storage.
- Sandwich Prep Tables: These units combine a work surface with refrigerated compartments below and a refrigerated rail on top for holding cold pans of ingredients. They are essential for delis and cafes, keeping everything from lettuce to deli meats at a safe temperature while providing an efficient assembly line.
- Pizza Prep Tables: Similar to sandwich tables, these are designed specifically for pizzerias. They typically feature a wider, deeper work surface (often marble or another cool material) to accommodate large pizza doughs, along with a refrigerated rail for toppings and refrigerated cabinets below.
Choosing the right table—from a basic work table to a specialized sandwich prep table or pizza prep table—is just as crucial for food safety and workflow efficiency as maintaining your ice machine.
What Are the White Flakes in My Ice?
If you're seeing little white floaties in your ice, you're looking at mineral deposits, also known as scale. It’s pretty simple: as water freezes, minerals like calcium and magnesium get left behind. Over time, they build up on the machine's internal surfaces.
Eventually, that scale starts to flake off and ends up in your ice bin. Seeing these flakes is a dead giveaway that your machine is overdue for a descaling cycle with a quality ice machine cleaner. A good, regular cleaning will get rid of this buildup completely.
At PrepTables.com, we know that high-quality, reliable equipment is the backbone of any professional kitchen. From NSF-certified work tables to commercial refrigeration and ice machines, we provide the tools you need to maintain a safe, efficient, and hygienic workspace. Explore our full range of commercial kitchen equipment.