

A Complete Guide to Under Counter Fridge Dimensions
Your Quick Reference for Standard Dimensions
When you’re designing a commercial kitchen, knowing the common measurements for undercounter refrigeration is non-negotiable. Standardized dimensions are what make it possible for equipment from different brands to fit neatly into pre-built spaces, which takes a lot of guesswork out of planning and installation.
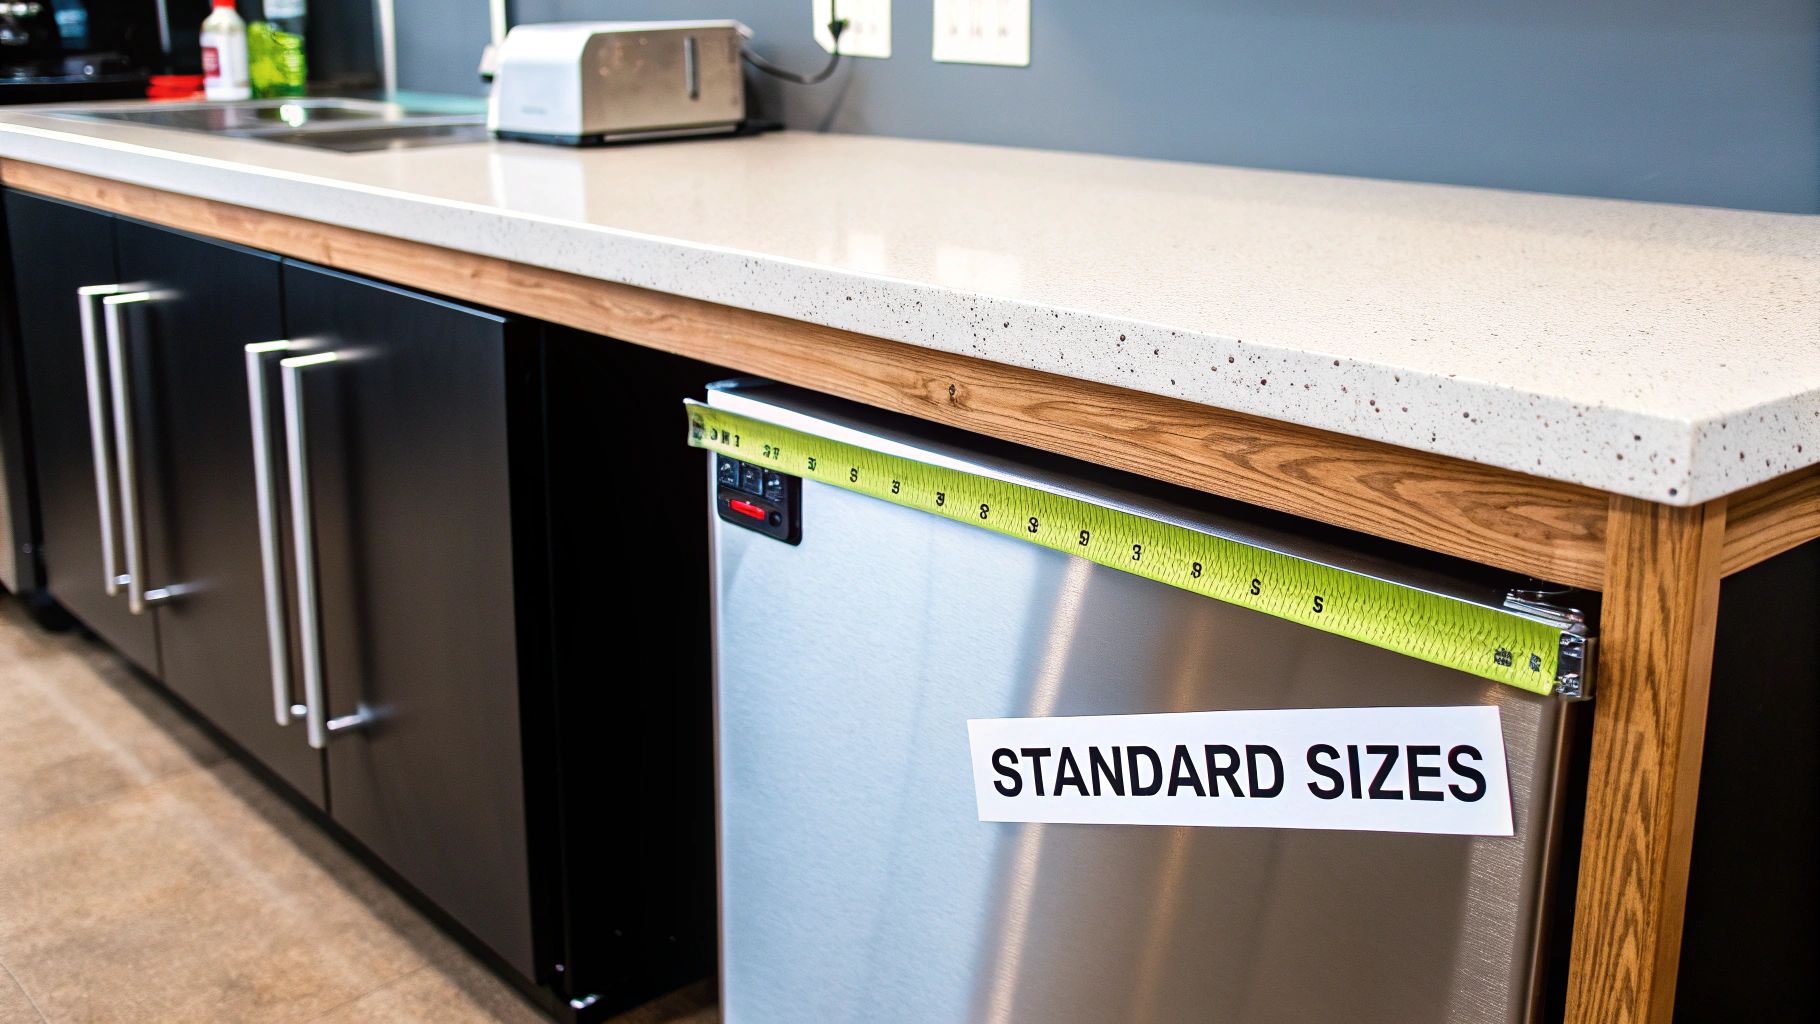
The good news is that these dimensions have become incredibly consistent across the industry, both for commercial and residential models. This is mainly because these units are designed to slide right under a standard 36-inch countertop.
Most undercounter refrigerators you'll find are built between 34 and 36 inches high, leaving just enough wiggle room for leveling feet and, more importantly, essential ventilation. The depth is also typically standardized right around 24 inches to sit flush with standard base cabinets and stainless prep tables.
Width is where you'll see more variety, with common options being 15, 18, 24, and 30 inches. To give you a practical idea, a typical 24-inch wide model usually offers between 5 and 7 cubic feet of internal storage space.
Typical Undercounter Fridge Dimensions at a Glance
For a quick lookup, here’s a table that breaks down the common dimensional ranges you'll encounter when shopping for a commercial undercounter fridge.
| Dimension | Standard Range | Primary Consideration |
|---|---|---|
| Height | 34" – 36" | Must fit under a standard 36" countertop with room for ventilation. |
| Width | 15", 18", 24", 30" | Depends on the kitchen layout and required internal capacity. |
| Depth | ~24" | Designed to sit flush with standard base cabinets and prep tables. |
Remember, these are the typical sizes. It’s always smart to double-check the manufacturer’s spec sheet for the exact model you’re considering before you finalize any kitchen plans.
Integrating with Commercial Prep Tables
This standardization is a huge advantage when you’re pairing an undercounter fridge with a stainless steel prep table. A standard-height refrigerator can slide directly underneath a work table, instantly creating a compact and highly efficient refrigerated workstation. This modular approach is common, but there are various types of stainless steel prep tables designed for different needs:
- Work Tables: These are the most basic and versatile, offering a simple, flat surface for general prep. They often come with an undershelf for extra storage and are perfect for pairing with a separate undercounter fridge.
- Sandwich Prep Tables: These units are a game-changer, combining refrigerated storage below with a built-in cutting board and ingredient rails right on top. They're designed for efficient assembly of sandwiches, salads, and wraps.
- Pizza Prep Tables: Built on the same concept, these often feature a wider, refrigerated rail perfectly designed to hold pizza pans and all your toppings. The work surface is usually deeper to accommodate large pizza bases.
You can explore a wide variety of undercounter refrigerator options that are perfect for any professional kitchen setup, from a simple workstation to a fully integrated prep line.
Why Standardized Dimensions Matter in Commercial Kitchens
In a busy commercial kitchen, every single inch of space is prime real estate. Standardized undercounter fridge dimensions aren't just a minor convenience—they're a core element of a kitchen that's efficient, safe, and productive. When all your equipment fits together perfectly, the whole kitchen just runs better.
This consistency has a direct impact on day-to-day operations by making the workspace feel cohesive. For instance, a refrigerator with a standard height of 34 to 36 inches will line up perfectly with your stainless steel prep tables, creating one long, continuous work surface. This gets rid of those annoying height gaps that slow down prep and cause spills.
Enhancing Workflow and Ergonomics
A consistent countertop height is a game-changer for staff ergonomics. Think about it: when a chef can slide a tray of ingredients from a prep surface straight into the fridge's path without lifting or bending, it cuts down on physical strain immensely over a long shift. It might seem like a small thing, but it seriously reduces the risk of repetitive stress injuries and keeps productivity high.
Sticking to standard dimensions gives you a predictable blueprint for designing your kitchen layout.
- Ergonomic Efficiency: A level work surface means your staff doesn't have to constantly bend, twist, or make awkward reaches, which prevents fatigue and boosts their speed.
- Workflow Continuity: Ingredients and prepped food can move down a prep line without a hitch, which smooths out the entire food preparation process.
- Space Optimization: Equipment that fits snugly together without gaps helps you make the most of your kitchen's footprint, leading to a more organized and less chaotic workspace.
A Smart Long-Term Investment
Following standard sizes is also a savvy financial move. The whole market for commercial undercounter and worktop refrigeration—which is built around these dimensions—is expected to climb from about $11.4 billion to $15.0 billion by 2032. This growth just underscores how vital dimensional compatibility is for kitchen operators, since these units have to slot cleanly under standard worktops. You can find more details on the undercounter refrigerator market and its growth trends over at dataintelo.com.
Choosing standard-sized equipment means that when it's time to replace or upgrade a unit, you can find a new one that drops right into the existing space. You won't have to deal with expensive custom modifications to your counters or cabinets. This kind of foresight makes future kitchen updates much simpler and protects your investment for years to come.
Getting The Height, Width, And Depth Right
Nailing the three core dimensions of an undercounter fridge—height, width, and depth—is the first step to making sure a new unit will slide perfectly into your commercial kitchen. Each measurement is absolutely critical for a proper fit, maximizing your cold storage, and keeping your workspace safe and efficient.
Let’s break down exactly what you need to know about each one.
The most critical measurement to start with is the height. Almost all undercounter units are built to fit under a standard 36-inch countertop, which puts their actual height somewhere in the 34 to 34.5-inch range. That little bit of extra space isn't an accident; it's essential.
That gap leaves just enough room for the adjustable leveling feet, which let you get the unit perfectly stable on an uneven floor. More importantly, it provides the clearance needed for proper ventilation. Without it, the compressor can easily overheat, leading to poor performance and a shorter lifespan.
Width And How It Translates To Capacity
Width is where you'll see the most variation, and it's the dimension that directly impacts the fridge's internal storage capacity. The size you land on has to be a balance between your kitchen's available space and what you actually need to store. A wider unit gives you more cubic feet of cold storage, making it a no-brainer for high-volume prep stations.
To give you a better feel for how a fridge's width relates to its internal storage, here are some of the most common configurations you'll run into.
Common Undercounter Fridge Widths and Corresponding Capacities
| Standard Width (Inches) | Approx. Capacity (Cubic Ft.) | Ideal Application Example |
|---|---|---|
| 15" – 20" | 2.5 – 3.5 cu. ft. | A compact bar station for holding garnishes or bottled drinks. |
| 24" | 4.5 – 5.5 cu. ft. | A versatile size for a prep station in a small café or deli. |
| 36" – 48" | 7.0 – 12.0 cu. ft. | High-capacity storage for a busy restaurant's main prep line. |
| 60"+ | 15.0+ cu. ft. | Large-scale institutional kitchens or high-volume pizzerias. |
Choosing the right width means you're getting all the storage you need without eating up valuable floor space that could be used for something else. If you want to dig a bit deeper into how these different sizes work in various kitchen setups, check out our guide to the different types of under counter fridges for more insights.
Why Standard Depth Is So Important
Finally, we have depth. This is probably the most standardized of the three dimensions, almost always measuring right around 24 inches. That’s not a random number—it's specifically chosen to match the depth of standard commercial base cabinets and stainless steel prep tables.
A 24-inch depth lets the refrigerator sit perfectly flush with the cabinets and countertops next to it. This creates that clean, integrated look that's not just about aesthetics; it's a huge safety feature.
A fridge that sticks out past the counter line can completely disrupt the flow of a kitchen and becomes a serious tripping hazard for staff trying to move quickly during a busy service. Sticking to this standard depth ensures you have a smooth, uninterrupted work surface, which is absolutely vital for keeping any professional kitchen safe and efficient.
How to Measure for a Perfect Fit
There's nothing worse than ordering a new undercounter fridge only to find it doesn't fit on delivery day. It's a costly, frustrating, and entirely avoidable mistake. Getting the measurements right from the start is absolutely crucial.
A precise, step-by-step approach ensures your new unit will slide perfectly into place, making for a smooth installation. This isn't just about measuring the fridge itself; you need to calculate the cutout dimensions—the total space you'll leave in your cabinetry for both the unit and its essential ventilation clearance.
This quick visual guide breaks down the three measurements you need to nail down.
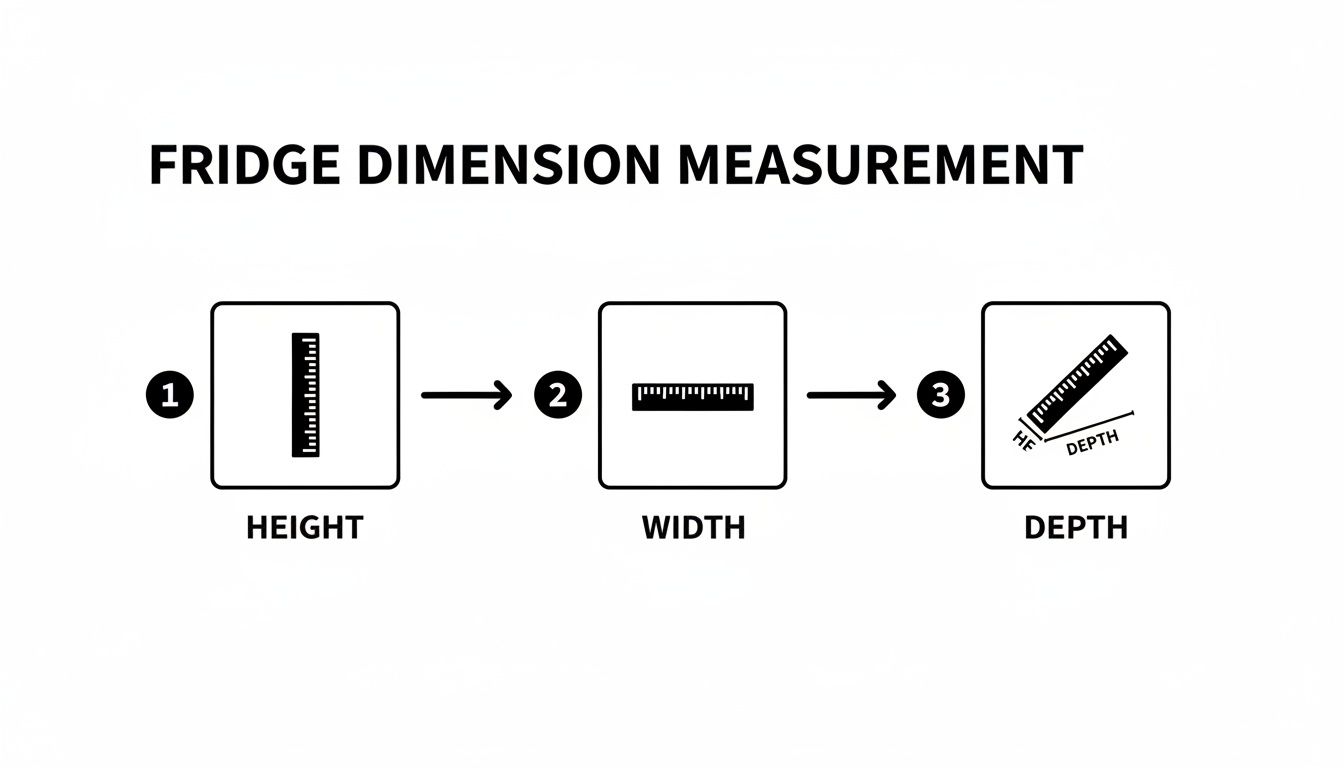
As you can see, a successful installation depends on accurately capturing the height, width, and depth of the opening—not just the appliance specs.
Calculating the Rough-In Opening
The industry-standard formula for figuring out the right opening size is simple but non-negotiable. You start with the manufacturer's listed dimensions and add a specific buffer around the unit for proper airflow.
- Sides and Top: Add 0.5 to 1 inch of clearance on both sides and the top of the unit.
- Rear: Leave a more generous 2 to 3 inches of space at the back.
This small gap is the lifeblood of your equipment. It gives the heat from the compressor a place to go, preventing overheating. Proper ventilation doesn't just help the unit run more efficiently and save on energy costs—it dramatically extends its working life.
If you're in the middle of a larger project, a good kitchen cabinets and renovation guide can be a lifesaver, helping you make sure all your appliances fit perfectly within the new design.
A Step-by-Step Measurement Guide
Grab a tape measure and follow these simple steps to get it right the first time. It's a good habit to measure each dimension in at least two different spots to catch any inconsistencies in the flooring or cabinetry.
- Measure the Height: Run your tape from the floor up to the lowest point of the countertop's underside.
- Measure the Width: Measure the opening from the left cabinet wall across to the right cabinet wall.
- Measure the Depth: Measure from the back wall to the very front edge of your cabinets.
Remember to look for any obstructions. Electrical outlets, water lines, or even baseboards can get in the way and ruin your installation day. Spotting these obstacles early will save you a massive headache later. Always use the smallest of your measurements as your final number to guarantee a fit.
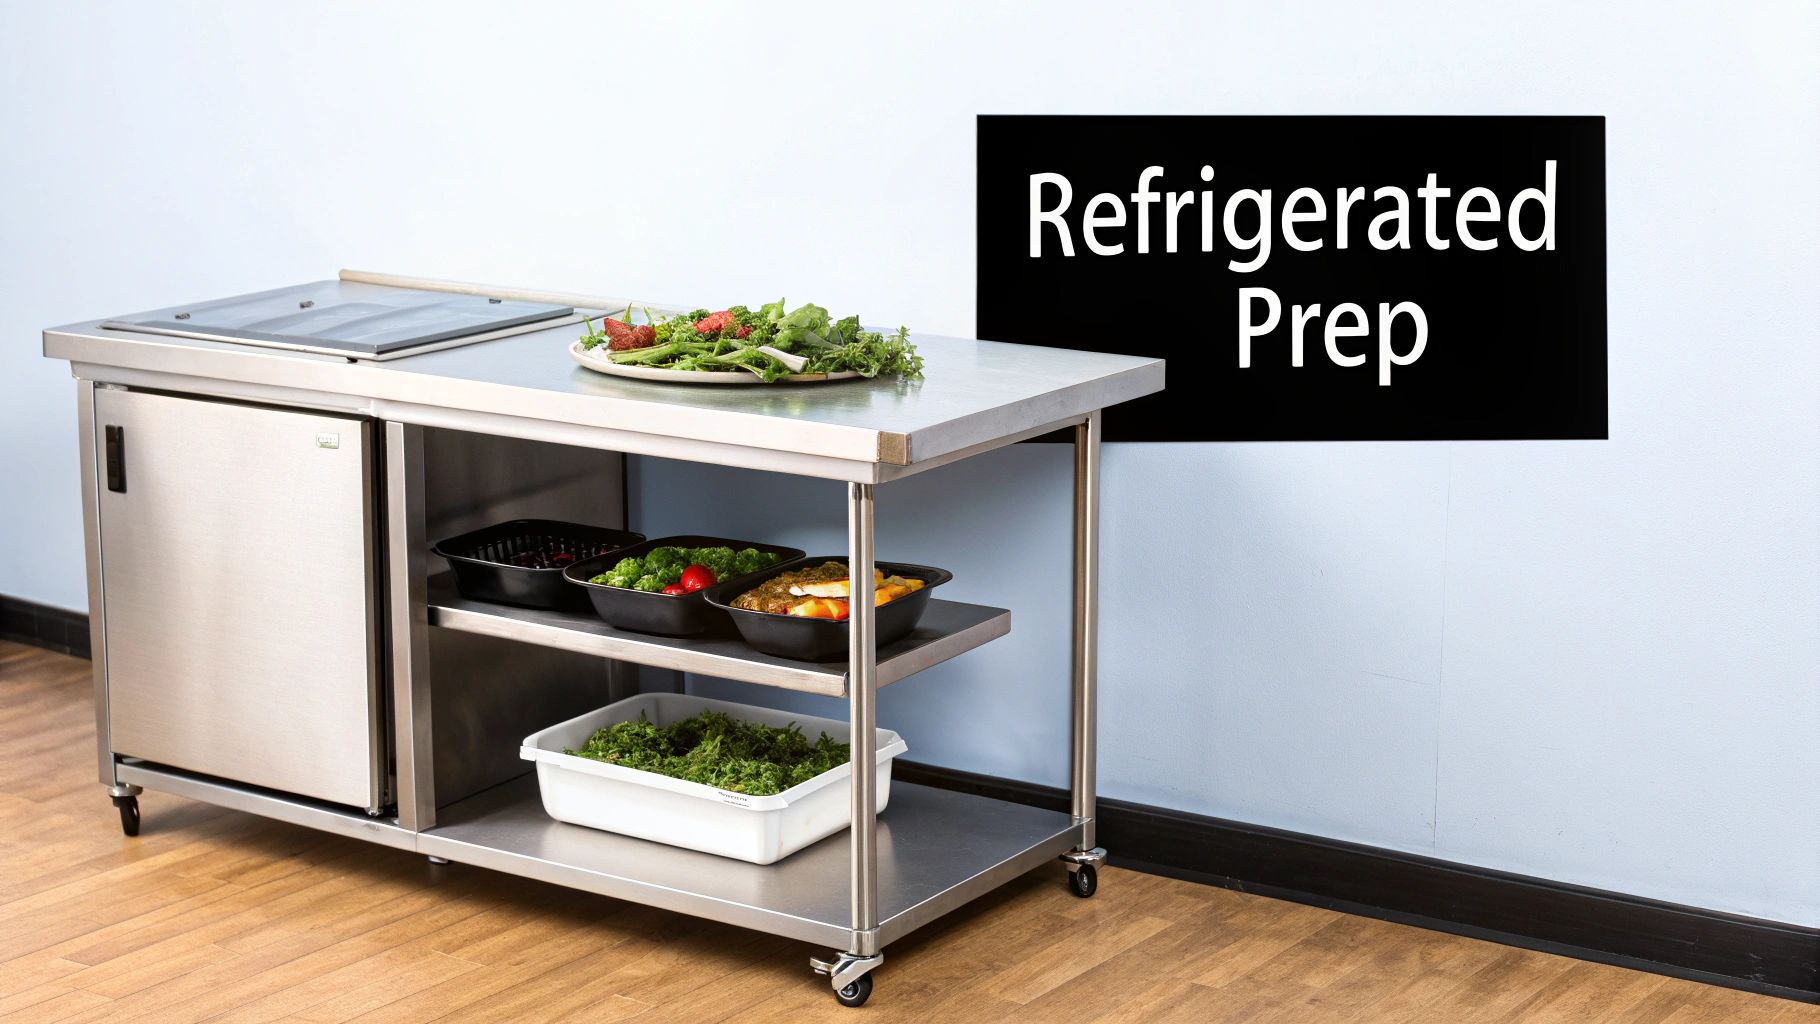
Integrating Refrigeration with Prep Tables
The smartest way to build an efficient refrigerated workstation is to pair your undercounter fridge with a stainless steel prep table. Getting this combination right can completely change a kitchen's flow for the better by keeping chilled ingredients right where you need them. While a modular setup is popular, it's helpful to understand the various types of stainless steel prep tables available.
This just means sliding a standard undercounter refrigerator right underneath a stainless steel work table. Since both pieces of equipment usually stick to standard dimensions, they fit together perfectly. Just like that, you’ve got a self-contained prep station you can move around as needed. This is the ideal setup for kitchens that need versatile cold storage that can be easily reconfigured.
Differentiating Modular and All-in-One Solutions
While a modular station gives you a ton of flexibility, some kitchens work better with specialized, all-in-one equipment. These units build the refrigeration right into the prep table's design, creating a single, purpose-built station for specific jobs. When you're figuring out the best layout, referencing a good guide to renovating a kitchen can give you some great insights on overall space planning.
The two most common all-in-one solutions you'll see are:
- Sandwich Prep Tables: These are the workhorses for delis and cafés. They've got refrigerated storage on the bottom, a full-length cutting board up top, and refrigerated ingredient rails for holding everything from cold cuts to veggies.
- Pizza Prep Tables: Built specifically for pizzerias, these tables typically feature a deeper, raised refrigerated rail that’s designed to hold full-size pizza pans and an army of toppings, keeping everything within easy reach for the chef.
Choosing the Best Configuration for Your Workflow
So, which one is right for you? It really comes down to your kitchen’s day-to-day needs. A high-volume pizza place is going to see a huge jump in efficiency with a dedicated pizza prep table. On the other hand, a catering business might want the adaptability that comes with a separate fridge and work table.
By comparing these options, you can identify the perfect setup for your workflow. An all-in-one unit excels at high-speed, repetitive tasks, whereas a modular station offers greater versatility for changing menus or layouts.
Ultimately, taking the time to understand the different types of commercial refrigerated prep tables will help you make a smart decision that boosts productivity and makes the most of your kitchen space.
Your Questions Answered: Undercounter Fridge Dimensions
Let's get straight to the point. Here are some quick, no-nonsense answers to the questions we hear most often about choosing and fitting undercounter refrigeration. These are the practical details that trip people up, so we've laid them out to help you get it right the first time.
Can I Use a Residential Undercounter Fridge in a Commercial Kitchen?
You really shouldn't. Commercial units are in a different league—they're built with tougher materials like heavy-gauge stainless steel and have cooling systems powerful enough to handle a busy service with constant door openings.
More importantly, commercial models are designed to meet strict health and safety codes. They carry certifications like NSF, which residential fridges almost never have. Think of a commercial model as an essential investment in both durability and compliance.
What Is the Minimum Clearance Needed Around an Undercounter Fridge?
Always start by checking the manufacturer's spec sheet, as every model is different. But if you need a solid rule of thumb, plan for at least 0.5 to 1 inch of clearance on the sides and top of the unit.
For the back, you’ll want to leave 2 to 3 inches for ventilation, especially for any rear-breathing models.
Good airflow is non-negotiable. It’s what keeps the compressor from overheating, helps with energy efficiency, and ultimately extends the life of your equipment. Keep in mind that front-venting units are a great option for tight spaces since they need less clearance and give you more flexibility with placement.
Are There ADA-Compliant Undercounter Fridge Dimensions?
Absolutely. For a setup to be ADA-compliant, the countertop height can't be more than 34 inches off the floor. This means you need to shop for an undercounter fridge with a total height of 32 inches or less.
This lower profile ensures the unit slides in comfortably, leaving plenty of room for the thickness of the countertop material itself.
How Do I Integrate a Fridge with Prep Tables?
You’ve got a couple of great options here. For a simple, modular setup, you can slide a standard undercounter fridge right under a stainless steel work table. This gives you a flexible prep station you can change up as needed.
Or, you could go for a specialized all-in-one unit that combines your workspace and refrigeration.
- Sandwich Prep Tables are a perfect example. They give you cold storage down below, a cutting board work surface, and refrigerated ingredient rails right on top for easy access.
- Pizza Prep Tables work on the same principle but usually have wider, raised rails built to hold pans and all your pizza toppings for a high-volume assembly line.
These integrated units are fantastic for streamlining specific, high-repetition tasks and keeping a busy kitchen running smoothly.
Ready to build the perfect refrigerated workstation? PrepTables.com has a huge selection of durable stainless steel prep tables and commercial undercounter refrigeration built to optimize any professional kitchen. Take a look at our collection at https://preptables.com to find the right setup for your workflow.