

Stainless Steel Corrosion Prevention A Practical Guide
It's a common myth that stainless steel is totally rust-proof. The reality is that its incredible resilience comes from a super-thin, invisible shield of chromium oxide that forms on the surface. To really get a handle on stainless steel corrosion prevention, you first have to understand how this protective layer works and what can tear it down in a hectic commercial kitchen.
Why Is My Stainless Steel Rusting?
Thinking of stainless steel as "stain-resistant" rather than truly "stainless" is a much better way to look at it. This resistance isn’t baked into the metal itself; it’s all thanks to that passive, self-healing film created when the chromium in the steel alloy meets oxygen. Once that protective layer gets damaged, corrosion can set in, leading to ugly rust spots, pitting, and the slow decay of your expensive equipment.
In a commercial kitchen, this shield is under constant assault. We're talking about everything from prolonged exposure to acidic foods like tomato sauce and vinaigrettes to harsh cleaning chemicals loaded with chlorides (like bleach). Even plain old tap water can be a problem if it's high in minerals, leaving behind deposits when it evaporates that can compromise the surface.
Common Forms of Kitchen Corrosion
Knowing what to look for is half the battle. If you can spot these common types of corrosion early, you can stop them in their tracks.
- Pitting Corrosion: This looks like tiny, dark pits speckling the surface. It’s almost always caused by exposure to chlorides, which are hiding in salt, many food products, and even some sanitizers.
- Crevice Corrosion: This sneaky type of rust loves to form in tight, oxygen-starved spaces. Think under gaskets, around washers, or where two pieces of metal overlap. Trapped moisture and food bits create the perfect breeding ground for it.
- Galvanic Corrosion: This happens when two different metals touch while wet (specifically, in the presence of an electrolyte like salt water). A classic example is leaving a carbon steel knife or whisk sitting on a wet stainless steel table—the reaction can cause the table to rust. The science behind how different metals degrade is fascinating, and you can see similar principles at play when learning how to remove oxidation from boat surfaces.
The Science Behind Its Strength
The power of stainless steel in commercial environments is no accident. In the food industry, its anti-corrosion magic comes from having a minimum of 10.5% chromium content, which is what allows that passive chromium oxide layer to form.
Think about this: since its modern invention back in 1913, switching to stainless steel for food equipment has slashed corrosion-related failures by over 90% compared to the old carbon steel gear. This has stretched equipment life from just a few months to over 20 years with the right care.
Today, powerhouse grades like 304 and 316 dominate the food and beverage market, making up 60-70% of all equipment, and for good reason—their resistance is top-notch.
By getting familiar with these vulnerabilities, you can shift from just wiping down your equipment to actively protecting your investment for the long haul.
Choosing The Right Steel For Your Kitchen
Want to get ahead of rust and corrosion? Your most powerful move is selecting the right equipment from the very beginning. A smart choice upfront saves you a ton of maintenance, prevents future headaches, and ultimately protects your investment for the long haul. It all starts with really understanding the materials that make up your kitchen's workhorses.
Let's be clear: not all stainless steel is the same. The type you pick needs to match your kitchen's specific environment and the kind of work you do day in and day out. Everything from the grade and gauge of the steel to the style of the table itself plays a critical role.
Understanding Prep Table Variations
The term "prep table" covers a wide range of equipment, each designed to optimize a different kitchen workflow. Choosing the right type is crucial for efficiency and hygiene.
- Standard Work Tables: These are the versatile foundation of almost every professional kitchen. They provide a simple, durable surface for general tasks like chopping vegetables, portioning ingredients, or plating dishes. They come in various sizes, often with an undershelf for storage.
- Sandwich Prep Tables: These units are efficiency machines. They combine a refrigerated base for storing ingredients with a narrow cutting board and a refrigerated rail up top. This keeps deli meats, cheeses, and veggies chilled and right at your fingertips for quick sandwich and salad assembly.
- Pizza Prep Tables: Think of these as the bigger cousin to sandwich tables. They feature a much deeper cutting board to provide ample space for stretching large pizza doughs. Their refrigerated rails are built to hold bigger, round containers for sauce and all your toppings, making the pizza-making process seamless.
- Equipment Stands: Built for durability, these are shorter, heavy-duty tables designed to hold heavy countertop equipment like mixers, griddles, or slicers. They provide a stable, dedicated space, often at a more ergonomic height for operating the machinery.
- Work Tables with Sinks: Integrating a sink directly into the prep surface is a game-changer for food safety and efficiency. These tables are ideal for washing produce or rinsing tools without having to cross the kitchen, streamlining the prep process and minimizing cross-contamination risks.
This decision tree gives you a visual for some of the most common rust triggers, helping you spot potential problems before they get out of hand.
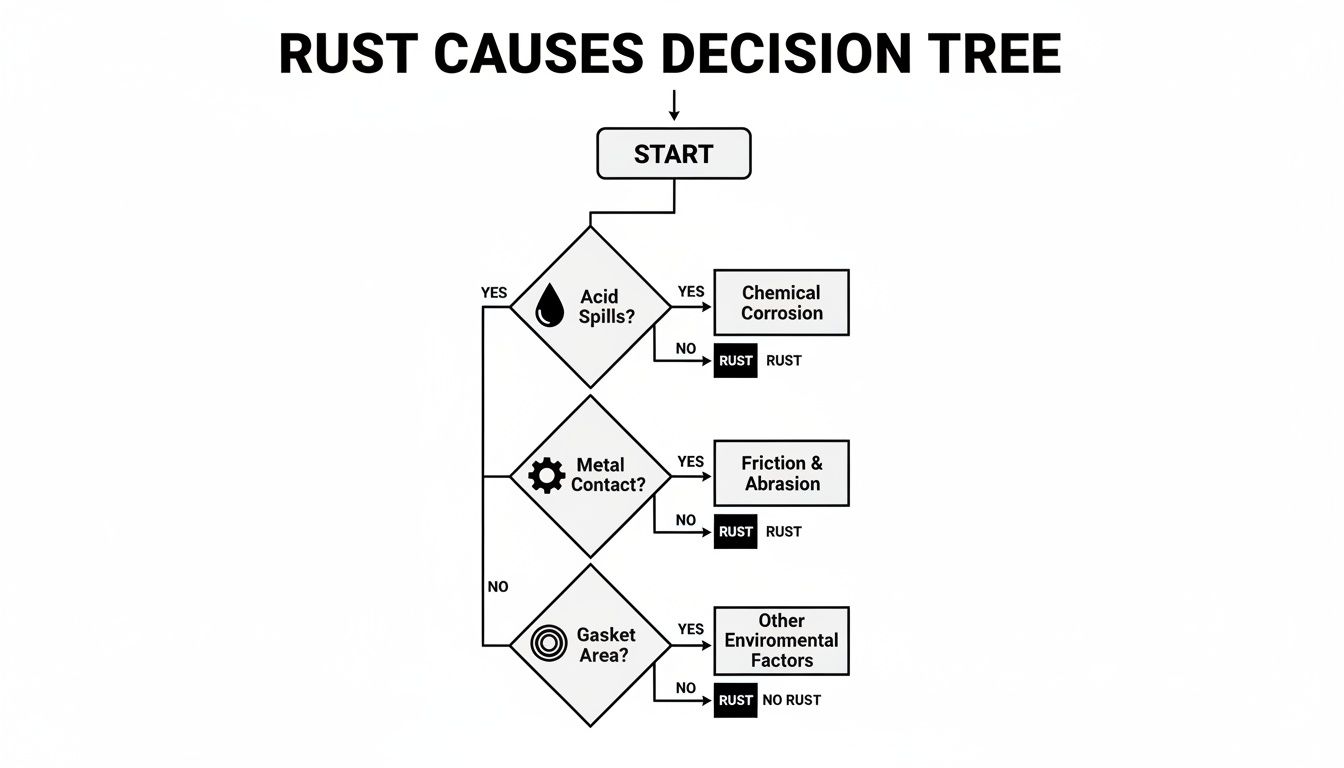
As you can see, corrosion isn't some random event. It's almost always a direct result of how the steel interacts with its environment, whether that's a chemical spill or contact with other types of metal.
Selecting The Right Material Grade
Beyond the table's function, the grade of the steel is probably the most important factor. If you want to get into the nitty-gritty, we've put together a detailed guide explaining what you should know about stainless steel grades.
For most commercial kitchens, Type 304 stainless steel is the go-to choice. It's known for its fantastic corrosion resistance and durability, making it the perfect all-rounder.
Here's a pro tip for any kitchen manager: always, always look for the NSF certification. That little mark is your guarantee that the equipment meets strict public health standards, from the safety of the materials to how easily it can be cleaned.
But what if you're in a tougher environment? Think coastal areas with salty air or kitchens that work with a lot of acidic marinades. In those cases, you’ll want to upgrade. Type 316 steel contains an element called molybdenum, which seriously boosts its resistance to chlorides and salts. Yes, it costs more, but it’s a smart investment to prevent the pitting corrosion that can ruin equipment in harsh conditions.
Exciting things are happening with materials, too. The industry is seeing a shift toward duplex stainless steels, which offer 2-4 times the strength of the classic 300 series and are far more resistant to stress corrosion cracking. In the Asia-Pacific region, which makes up 70% of the market, these duplex upgrades are showing they can withstand acetic acid corrosion 60% better—a huge win for delis and pizzerias.
For a real-world example, a coastal food truck that opts for a 2205 duplex grade table can see its equipment lifespan jump from 10 to over 25 years, simply by preventing the pitting that plagues standard grades in salty air.
To help you decide, here’s a quick breakdown of the common grades you’ll encounter.
Comparing Common Stainless Steel Grades For Kitchen Equipment
| Grade | Key Alloy Content | Best For | Corrosion Resistance Level |
|---|---|---|---|
| Type 304 | 18% Chromium, 8% Nickel | All-purpose use: prep tables, sinks, general equipment | High |
| Type 316 | 16% Chromium, 10% Nickel, 2% Molybdenum | High-moisture, high-salt, or acidic environments | Very High |
| Type 430 | 17% Chromium, 0% Nickel | Dry-use equipment, budget-conscious applications | Moderate |
| Type 201 | 17% Chromium, 4.5% Nickel, 7% Manganese | Lower-cost alternative to 304, less corrosion resistant | Moderate |
Choosing the right grade from this list is about balancing cost with the demands of your specific kitchen. For most, 304 is the sweet spot, but investing in 316 for specific, high-risk areas can save you a lot of money in the long run.
Building A Daily Care Routine That Works
Let’s be honest: effective stainless steel corrosion prevention isn’t about some miracle product or a once-a-year deep clean. It's all about the small, consistent habits your kitchen staff build into their daily rhythm. A simple, easy-to-follow routine is your single best defense against rust, ensuring that expensive equipment stands the test of time.
This isn’t about adding another complicated chore to the list. It’s about weaving a few smart steps into the workflow you already have.
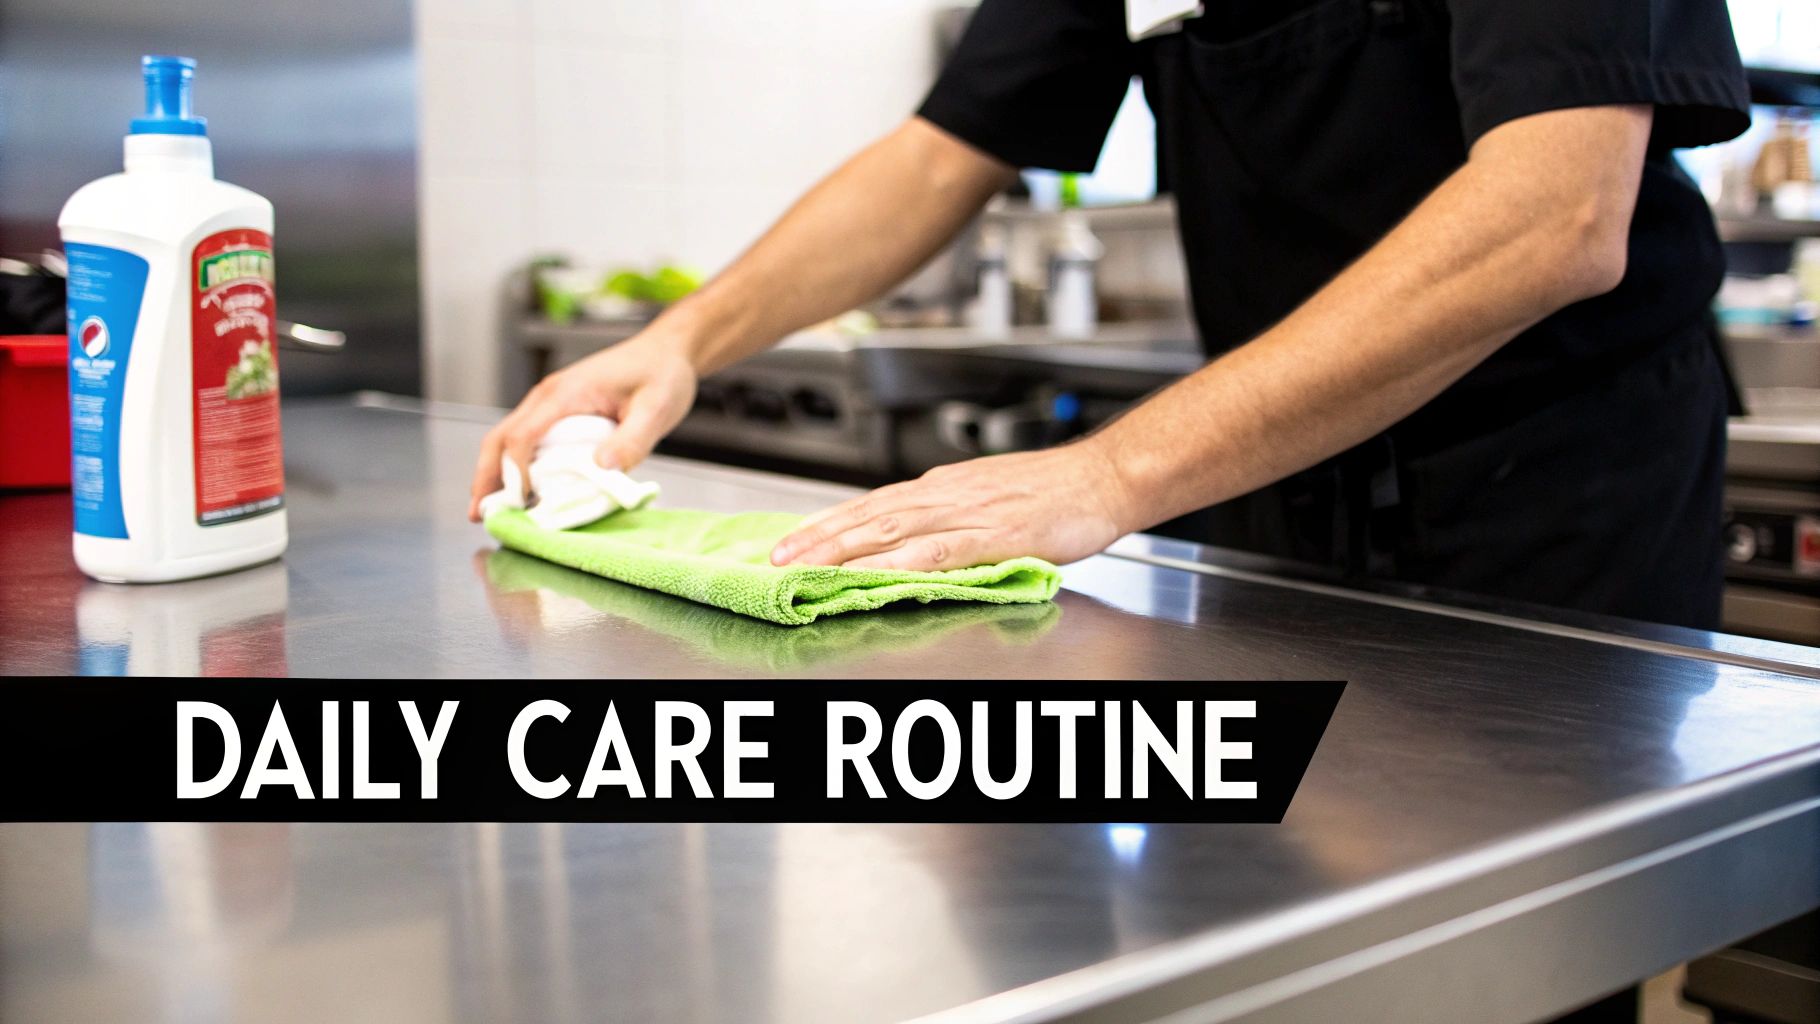
The core principle couldn't be simpler: clean, rinse, dry. Every single time.
At the end of each shift, all surfaces need a quick wipe-down to get rid of food bits and spills. For this first pass, all you need is a soft cloth and a mild, non-chloride detergent.
Next, give it a thorough rinse with clean water. This washes away any lingering food acids or cleaning residue that could cause trouble later. And the final, most important step? Dry every single inch with a clean, soft cloth. Standing water is the enemy here—it leaves behind mineral deposits that slowly eat away at the steel's protective layer.
Daily Must-Do Actions
Consistency is king. When these quick tasks become a non-negotiable part of your closing procedures, you’re putting up a powerful shield against corrosion.
- Wipe Down Promptly: Don't let spills sit, especially acidic stuff like tomato sauce or lemon juice. Clean them up right away.
- Use the Right Tools: Stick with soft cloths, sponges, or nylon scrubbers. Never, ever use abrasive pads or steel wool.
- Always Dry Completely: The final pass with a dry microfiber cloth is non-negotiable. This one habit prevents the vast majority of water spots and mineral buildup.
The goal is gentle but relentless maintenance. For a deeper dive, our guide on how to clean stainless steel has even more tips on getting it right without causing damage.
Critical Mistakes That Destroy Steel
What you don’t do is just as critical as what you do. So many common cleaning practices can permanently wreck stainless steel, stripping away its natural defenses and practically inviting rust to move in. Training your team on what to avoid is a must.
The golden rule: never use cleaners that contain chlorine or bleach. Chlorides are incredibly aggressive and will cause pitting corrosion—tiny, irreversible holes that are a nightmare to deal with.
Abrasive powders and harsh scouring pads are just as bad. They create thousands of microscopic scratches on the surface that become perfect little traps for grime and starting points for rust.
One of the most common—and disastrous—mistakes I see is people leaving carbon steel items like knives, cans, or cast-iron trivets on a wet stainless surface. This creates galvanic corrosion, causing rust spots to pop up on the table itself, even if the table is in perfect shape.
Weekly Inspection and Deeper Cleaning
Once a week, it pays to spend a few extra minutes on a more detailed inspection. This is your chance to spot small issues before they blow up into big, expensive problems. Pay close attention to areas where crevice corrosion loves to hide, like under gaskets, around sink drains, and along welded seams.
For a deeper weekly clean, grab an approved stainless steel cleaner and always wipe in the direction of the metal's grain. This is key for maintaining that smooth, uniform finish.
To make sure these routines stick, it's a great idea to build them into your official restaurant standard operating procedures. When you formalize the schedule, you ensure every team member knows their role in protecting your investment.
Restoring Your Steel's Protective Shield
Even the most diligent daily cleaning routine has its limits. Sometimes, your stainless steel needs a more powerful intervention. When a prep table suffers a deep scratch or undergoes a welding repair, its natural protective layer gets compromised, leaving the metal wide open to attack. This is when you have to go beyond surface cleaning and actively rebuild its defenses.
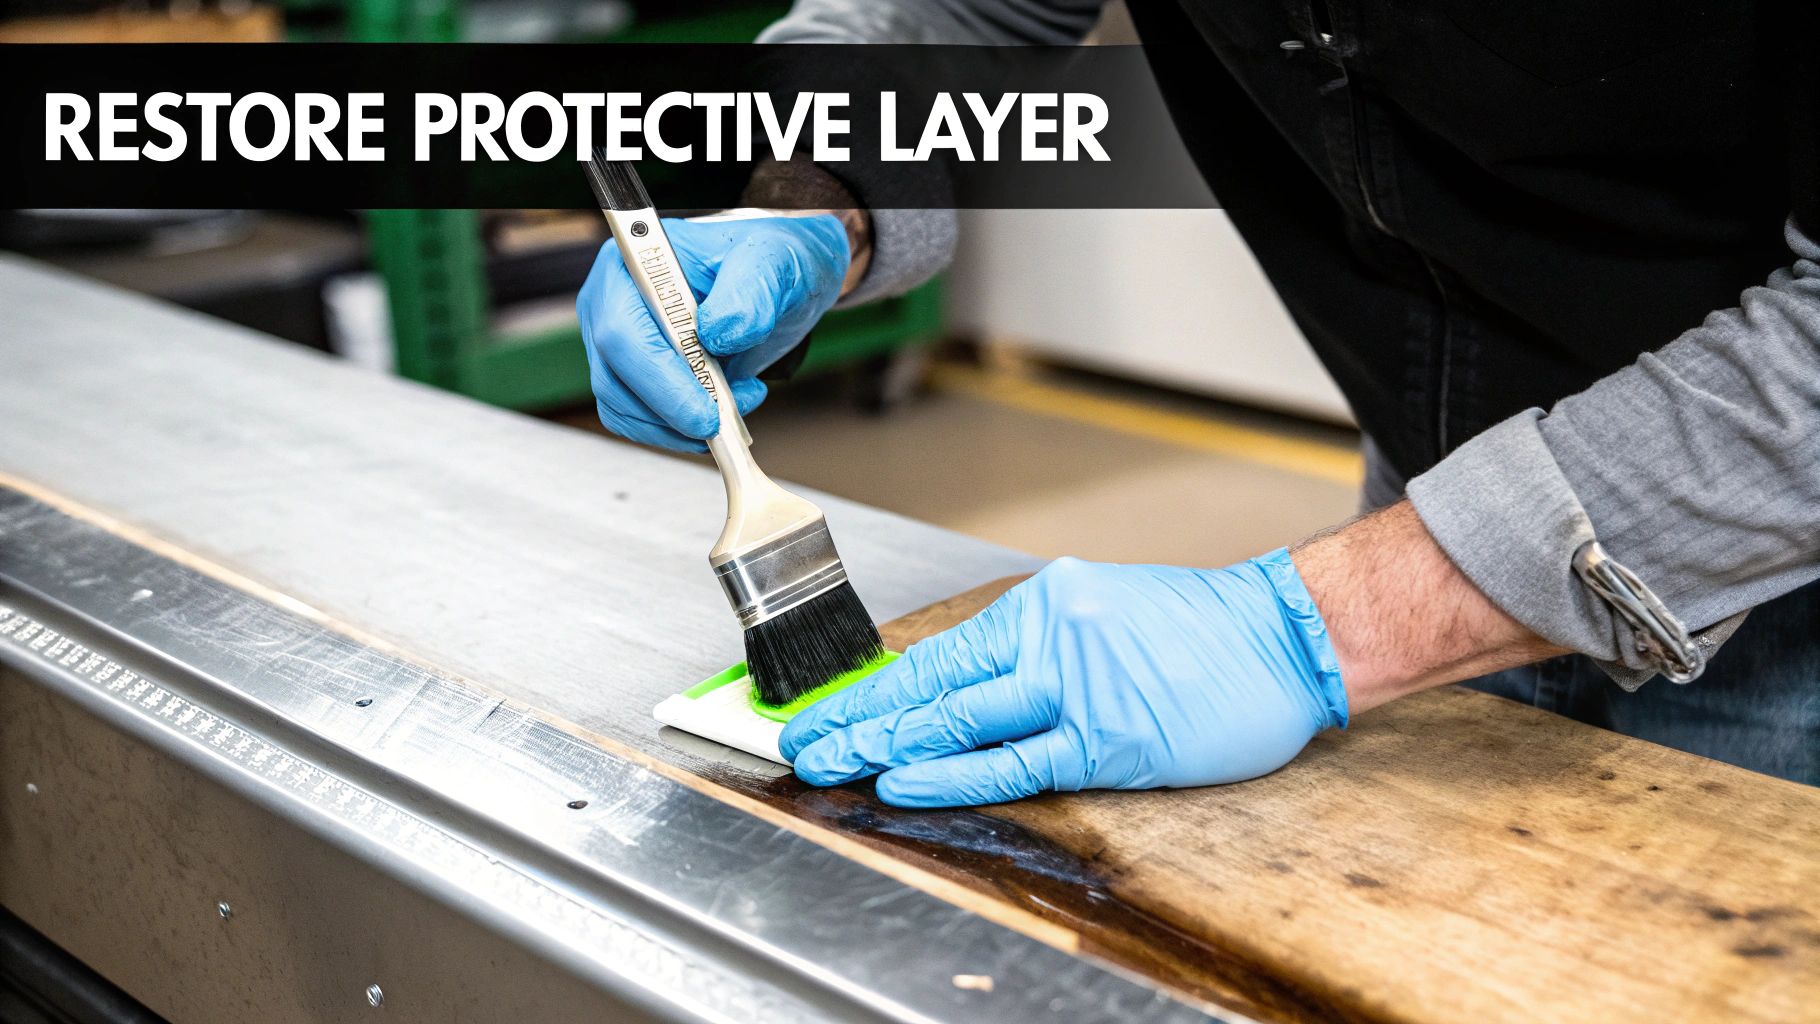
The process for this is called passivation. It's a chemical treatment that forcefully rebuilds and strengthens the chromium oxide shield on your steel. Think of it as a targeted solution for when the surface has been physically damaged, ensuring you get long-term corrosion prevention.
The Role of Passivation and Pickling
You'll often hear "pickling" and "passivation" mentioned in the same breath, but they do very different jobs. Knowing the difference is crucial for applying the right treatment at the right time.
- Pickling: This is the heavy-duty, aggressive first step. Pickling uses a strong acid solution (often a nasty mix of nitric and hydrofluoric acid) to strip away serious contamination like weld scale, heat tint, and embedded iron particles. It's the first response for major surface impurities.
- Passivation: This is the essential follow-up. After the surface has been thoroughly cleaned, a much milder acid solution (usually nitric or citric acid) is applied. This step dissolves any lingering free iron from the surface and kickstarts the formation of a thicker, more uniform, and much more protective chromium oxide layer.
A good way to think about it is this: Pickling is like deep-cleaning and sanding a piece of wood to get rid of old paint and grime. Passivation is applying a fresh coat of sealant to protect it from the weather. One strips it down, the other builds it up.
When Is Passivation Necessary?
Don't worry, you don't need to passivate your equipment every week. This is a specialized maintenance task you'll only pull out in specific situations.
The most common trigger is right after any fabrication work—welding, cutting, or grinding. These processes blast tiny iron particles into the steel and wreck the passive layer. Another key moment is after a deep gouge or scratch exposes fresh, unprotected metal to the air. It's also a fantastic final step if you've had to get aggressive with cleaning stubborn rust; our guide on acid-based rust removal methods can walk you through that initial cleaning process.
This chemical boost is incredibly effective. Passivation can make surfaces 70-80% more resistant to localized corrosion, especially in high-contact food zones. Data from professional kitchens shows that passivated 304 stainless steel tables can handle over 10,000 sanitizing cycles—a huge jump from the 2,000 cycles an untreated surface might last. This kind of durability is why the market for these treatments is growing. By performing this targeted maintenance, you seriously extend the life of your equipment and give bacteria fewer places to hide.
How To Fix Common Corrosion Problems
Even with the most diligent care routine, issues can pop up in the chaos of a commercial kitchen. Spotting corrosion early and jumping on it right away is the difference between a quick fix and a costly equipment replacement down the road.
Think of this as your first-aid guide for stainless steel. The goal is always to treat the problem without accidentally making it worse.
Small Orange or Brown Specks
You've probably seen these before—tiny, rust-colored dots on a prep table or sink, but the steel underneath looks perfectly fine.
This is almost always surface rust coming from outside iron particles. It happens when someone leaves a carbon steel knife, a tin can, or even a wet piece of steel wool on the surface. The good news? Your table isn't rusting; it's the stuff on your table that's rusting.
To get rid of it, mix up a simple paste of baking soda and water. Slather it on the spots and let it sit for about 20 minutes. Then, take a non-abrasive nylon pad and gently scrub in the direction of the steel's grain. Rinse it completely with clean water and dry it thoroughly.
Hazy White Film or Streaks
Ever notice your stainless steel surfaces looking dull or covered in a chalky, white film that no amount of regular cleaning will touch?
That’s a classic sign of hard water mineral deposits—usually calcium and magnesium left behind as water evaporates. To dissolve them, you just need a mild acid.
A simple solution of equal parts white vinegar and water works wonders. Apply it with a soft cloth, let it soak for a few minutes (don't let it dry out!), and then wipe it away. For more stubborn buildup, you might need a commercial, non-chloride cleaner specifically for limescale. As always, a good rinse and a complete dry are non-negotiable to keep it from coming right back.
The most crucial step in any corrosion fix is the final rinse and dry. Leaving behind cleaning residue or water is like setting the stage for the same problem to happen all over again.
Scratches and Gouges
A deep scratch or gouge is more than just a cosmetic issue; it's a perfect trap for food particles and a potential starting point for nasty crevice corrosion.
The immediate goal is to clean and smooth out the area. First, give the scratch a thorough cleaning with a mild detergent to get rid of any gunk. For minor scratches, you can often buff them out with a non-abrasive stainless steel polishing compound and a microfiber cloth, always working with the grain.
For deeper cuts, the game changes to rust prevention. After cleaning it out, it's a smart move to passivate the damaged spot with a citric acid-based gel. This essentially re-seals the steel by restoring its protective chromium oxide layer, stopping future corrosion before it can even think about starting.
Rainbow-Colored or Dark Discoloration
Seeing a strange, rainbow-like sheen or a dark, bluish tint on surfaces near your high-heat equipment like ranges or griddles?
This is called heat tint. It’s caused by the protective oxide layer on the steel getting thicker from the extreme heat. While it’s not technically corrosion and won’t damage the equipment, it can look pretty bad.
The best way to handle this is with a specialized, non-abrasive stainless steel cleaner that has some polishing compounds in it. Just apply the cleaner with a soft cloth and polish gently, following the grain, until the discoloration starts to fade. This method carefully removes that thickened layer without scratching up the steel underneath.
Sometimes you just need a quick answer. Here’s a rundown of the most common issues we see on kitchen equipment and how to tackle them on the spot.
Quick Fixes For Common Stainless Steel Corrosion Problems
| Issue/Symptom | Probable Cause | Recommended Action |
|---|---|---|
| Tiny orange/brown rust specks | External iron particles from steel wool, cans, or utensils left on a wet surface. | Create a paste of baking soda and water. Apply for 20 minutes, scrub gently with a nylon pad (with the grain), rinse, and dry. |
| Dull, hazy white film | Hard water mineral deposits (limescale) from evaporated water. | Apply a 50/50 solution of white vinegar and water. Let sit for a few minutes, wipe, rinse thoroughly, and dry completely. |
| Pitting (small, dark pits) | Exposure to chlorides (salt, bleach, certain cleaners) that breaks down the protective layer. | Clean the area immediately with a non-chloride cleaner. Passivate the spot with a citric acid gel to restore the protective layer. |
| Rainbow or bluish discoloration | High heat exposure (heat tint) thickens the chromium oxide layer. | Use a non-abrasive stainless steel polish. Apply with a soft cloth and gently polish in the direction of the grain until the tint fades. |
| Rust in a scratch or gouge | Debris and moisture trapped in a damaged area, leading to crevice corrosion. | Clean the scratch thoroughly with mild detergent. For deep gouges, clean and then passivate with a citric acid solution to prevent further rust. |
Remember, these quick fixes are most effective when the problem is caught early. Regular inspections will save you a lot of headaches and money in the long run.
Your Top Stainless Steel Questions, Answered
Let's tackle some of the most common questions we hear from kitchen managers. These are the real-world issues that pop up day-to-day, and getting them right makes all the difference in keeping your equipment in top shape.
Can I Just Use Bleach to Sanitize My Stainless Steel Prep Table?
Absolutely not. This is one of the most common—and most damaging—mistakes we see. Never use bleach or any cleaner with chlorine on your stainless steel.
Chlorine is the arch-nemesis of stainless steel's protective layer. It aggressively eats away at the chromium oxide, leading to ugly pitting and rust that can ruin a perfectly good table. Stick with quaternary ammonium ("quat") sanitizers or other solutions specifically marked as safe for stainless steel. You'll get the sanitation you need without destroying your investment.
What's Really the Difference Between a Sandwich Prep Table and a Pizza Prep Table?
It all comes down to workflow. While they might look similar, they're purpose-built for different tasks.
- A sandwich prep table usually has a narrower cutting board and is set up to hold smaller, rectangular food pans for things like sliced meats, cheeses, and veggies.
- A pizza prep table, on the other hand, boasts a much deeper cutting board. This gives you the real estate you need to stretch out large pizza doughs. The refrigerated rail is also designed for bigger, round containers perfect for sauce and toppings.
Each one is a key player in an efficient kitchen, but they are definitely not interchangeable.
I Just Unpacked My New Stainless Steel Table and It Already Has Rust Spots. Is It Defective?
Don't panic! It's almost certainly not a defect in the steel itself. What you're likely seeing is something called "shop rust."
During manufacturing, shipping, or even installation, tiny particles of regular carbon steel can settle on the surface. Those little iron specks are what's rusting, not your new table. A quick clean with a mild, non-abrasive cleaner and a soft cloth should lift them right off. For extra peace of mind, passivating the area afterward will help ensure it doesn't happen again.
Pro Tip: The final step of any cleaning routine should be a rinse with clean water, followed by drying the surface completely. It sounds simple, but this prevents mineral spots and leftover cleaner residue from compromising that all-important protective layer.
How Do I Get Stubborn, Baked-On Gunk Off My Stainless Steel?
The key here is to work smart, not hard. Reaching for steel wool or a metal scraper is a one-way ticket to scratches and permanent damage.
Instead, try making a paste of baking soda and water. Apply it to the tough spot and just let it sit for 15-20 minutes. This gives it time to soften and break down the baked-on food.
After it's had a chance to work, gently scrub with a nylon pad or soft sponge, always moving with the grain of the steel. If you're cleaning a cooking surface, warming it up slightly first can also help loosen things up. As always, finish with a thorough rinse and a complete dry.
Ready to upgrade your kitchen with equipment that’s truly built to last? At PrepTables.com, we stock a huge selection of NSF-certified stainless steel prep tables, refrigerated units, and more, all designed for maximum durability and hassle-free maintenance.
Find the perfect solution for your workflow at PrepTables.com.