
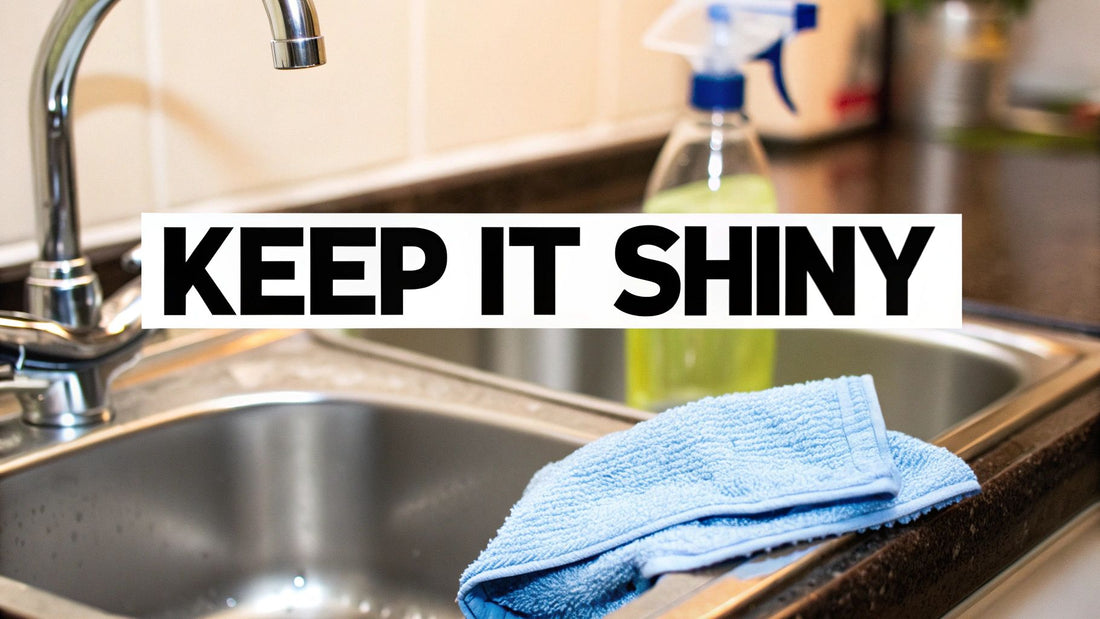
How to Clean Stainless Steel and Keep It Shiny
Keeping stainless steel looking its best is surprisingly simple. The golden rule? Always wipe with the grain, never against it. Grab a soft microfiber cloth and a gentle solution like vinegar and water, and that's usually all you need.
This one habit is the secret to preventing those tiny, frustrating scratches and keeping that classic shine. When you follow the grain, you're working with the metal's fine lines, lifting out dirt instead of pushing it deeper.
Your Guide to a Flawless Stainless Steel Finish
There’s a good reason stainless steel is the workhorse of both professional kitchens and modern homes. It’s tough, hygienic, and just plain looks good. But when it comes to prep surfaces, not all stainless steel is the same. Knowing what you're working with is half the battle in keeping it pristine.
It's no surprise that the market for stainless steel care products is thriving. In fact, the global market for these cleaners was valued at around USD 2.41 billion in 2024 and is only expected to climb. This just goes to show how much we all value keeping these surfaces in top-notch condition.
Before we dive into the "how-to," let's quickly break down the most common types of tables you'll encounter.
Common Types of Prep Tables
Stainless steel prep tables are essential in any food service environment, but they come in a variety of styles designed for specific kitchen workflows. The most familiar is the standard work table, a simple, flat-topped surface that serves as the jack-of-all-trades for chopping, mixing, and general prep. You'll also find tables with integrated backsplashes to protect walls or undershelves for extra storage.
However, many kitchens rely on more specialized units. Sandwich and salad prep tables are designed for efficiency, combining a refrigerated base with a cutting board surface and a refrigerated rail on top to hold pans of chilled ingredients. This keeps everything from lettuce and tomatoes to meats and cheeses within arm's reach.
Similarly, pizza prep tables are built to streamline the pizza-making process. They often feature a wider, raised refrigerated rail to accommodate larger topping pans and may include a durable stone or marble surface ideal for kneading and stretching dough. These specialized stations are crucial for high-volume operations where speed and organization are key.
A crucial cleaning tip for both sandwich and pizza prep tables involves the areas where stainless steel meets other materials, like cutting boards and rubber gaskets. These seams are hotspots for food particles and bacteria, so they need extra attention.
Understanding your specific type of https://preptables.com/blogs/prep-tables/stainless-steel-work-table is the foundation of a good cleaning routine. While the basic principles are the same, your approach will need to be tweaked for a simple flat-top versus a complex refrigerated unit.
Here’s a quick-glance table to summarize the essentials before we get into the nitty-gritty.
Quick Guide to Cleaning Stainless Steel
| Step | Recommended Tools | Key Action |
|---|---|---|
| Preparation | Soft microfiber cloths, spray bottle | Clear the surface of all debris and equipment. |
| Cleaning | Warm water, mild dish soap, or a 1:1 vinegar solution | Apply your cleaner and gently wipe with the grain. |
| Rinsing | A clean, damp microfiber cloth | Thoroughly wipe away all cleaning solution residue. |
| Drying & Polishing | A dry, clean microfiber cloth; mineral or olive oil (optional) | Dry completely to prevent water spots, then polish for shine. |
This table covers the core process. Now, let’s explore each part of the process in more detail to ensure you get a perfect finish every time.
It’s easy to get overwhelmed by the sheer number of cleaning products on the market, but when it comes to stainless steel, the best solutions are often the simplest. In fact, you probably already have what you need right in your pantry. The real question is when to reach for a DIY cleaner versus a commercial product, and that all comes down to the mess you're dealing with.
For those everyday smudges and fingerprints, a homemade solution is your best friend. I swear by a simple 1:1 mixture of white vinegar and water in a spray bottle. It's a go-to for a reason: it cuts right through light grease and grime, leaving a perfect, streak-free shine without any harsh chemicals.
But some jobs call for a bit more muscle. That's when a dedicated commercial cleaner is worth it. These are formulated to break down tougher, caked-on messes and often contain polishing agents that do a fantastic job of restoring that original factory luster. They can also leave behind a protective film that helps repel future fingerprints.
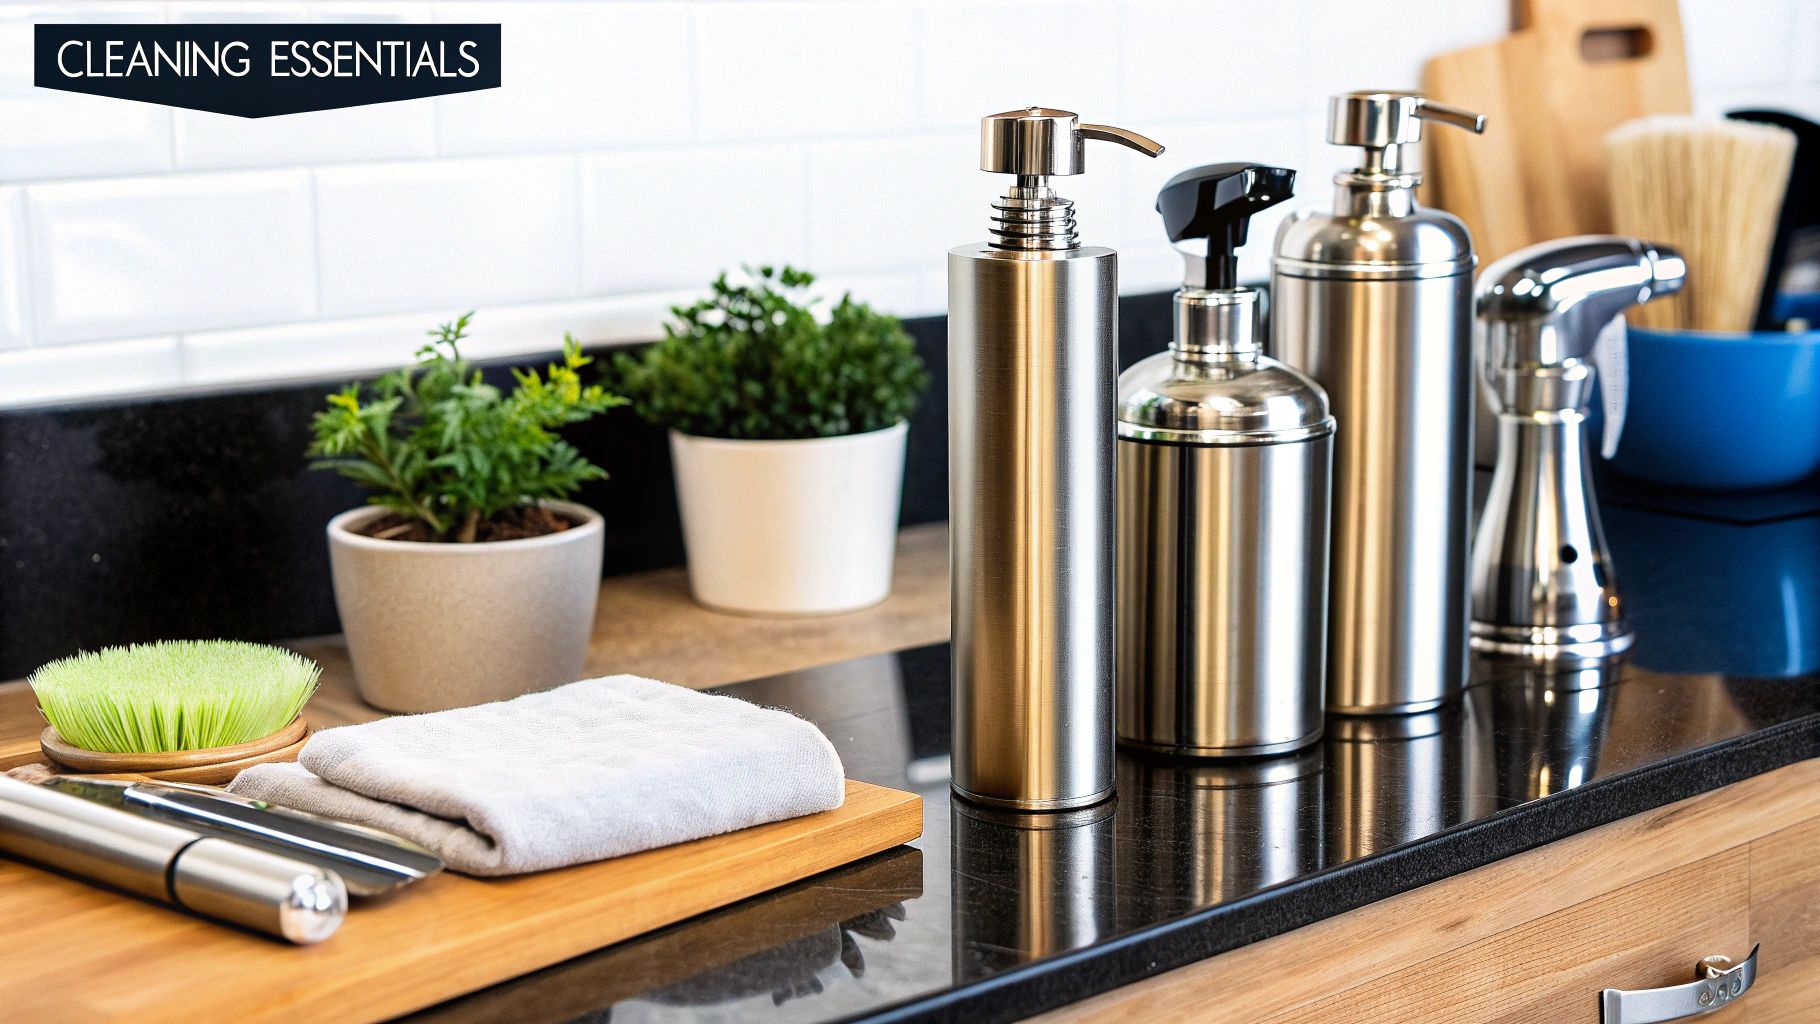
Your Everyday Cleaning Arsenal
You don't need a complicated setup to keep your stainless steel looking its best. The absolute most important tool in your kit? A few high-quality microfiber cloths. This is non-negotiable. Their tiny fibers are incredible at grabbing dust and absorbing oils without leaving a single scratch on that delicate finish.
Beyond the cloths, here’s what I recommend having on hand:
- A Simple Spray Bottle: Perfect for your vinegar solution. It gives you a nice, even mist without totally soaking the surface.
- Mild Dish Soap: A couple of drops in a bowl of warm water is all you need for a gentle but powerful degreaser. It's ideal for a weekly wipe-down.
- A Non-Abrasive Scrubber: You'll need this for those stubborn little spots. Look for sponges specifically labeled as safe for non-stick pans—they're perfect.
Honestly, this basic kit will handle about 90% of what you’ll encounter, from a smudged refrigerator door to a greasy stovetop.
Tackling Tougher Grime and Baked-On Messes
Every now and then, a simple spray and wipe just won’t cut it. We’ve all been there: burnt-on food on the cooktop or some mystery gunk on a prep table that refuses to budge. This is where you bring out the gentle abrasives.
A thick paste made from baking soda and water is a fantastic, non-scratch solution. Just apply it directly to the spot, let it sit for 15-20 minutes so it can work its magic, then gently scrub with a soft sponge, always moving with the grain of the steel. The baking soda lifts the grime without dulling the finish.
The real secret here is patience. Let the cleaner do the heavy lifting for you. Pushing harder and scrubbing aggressively is a fast track to permanent scratches and dull spots on your beautiful stainless steel.
The right tool is just as crucial as the cleaner for these tough jobs. While steel wool is a huge no-no, a good non-abrasive scrubber is a must-have. The market for these tools is actually booming; it was valued at around USD 1.5 billion in 2024 and is expected to hit USD 2.5 billion by 2033. This growth is driving a lot of innovation in rust-resistant materials and better designs that make our jobs easier. You can discover more insights about this growing market and how it’s changing cleaning tools.
Comparing Your Cleaning Options
So, should you go with a DIY mix or a store-bought cleaner? It really depends on the job and what you prefer. Both have their place in a well-stocked cleaning caddy.
| Cleaner Type | Best For | Pros | Cons |
|---|---|---|---|
| Vinegar & Water | Daily smudges, fingerprints, light grease | Inexpensive, non-toxic, readily available | May not be strong enough for heavy grime; strong smell |
| Baking Soda Paste | Baked-on food, stubborn spots, light rust | Gentle abrasive, effective, deodorizing | Can be messy to apply and clean up |
| Commercial Cleaner | Heavy-duty cleaning, polishing, protecting | Powerful formulas, often includes polishers for shine | More expensive, may contain harsh chemicals |
The smartest approach is to have a few options ready to go. Keep that vinegar spray under the sink for daily touch-ups, a box of baking soda in the pantry for surprise messes, and a bottle of a trusted commercial cleaner for deep-cleaning days. That way, you’re prepared for anything.
Cleaning Different Stainless Steel Surfaces at Home
You quickly learn that not all stainless steel is the same when it comes to cleaning. The smudges on your fridge door are a world away from the hard water spots in your sink or the burnt-on mess in your favorite skillet. The real secret to a perfect finish every time? Tailoring your cleaning method to the specific surface you're tackling.
This visual guide breaks down the basic process, which we can adapt for just about anything in your kitchen.
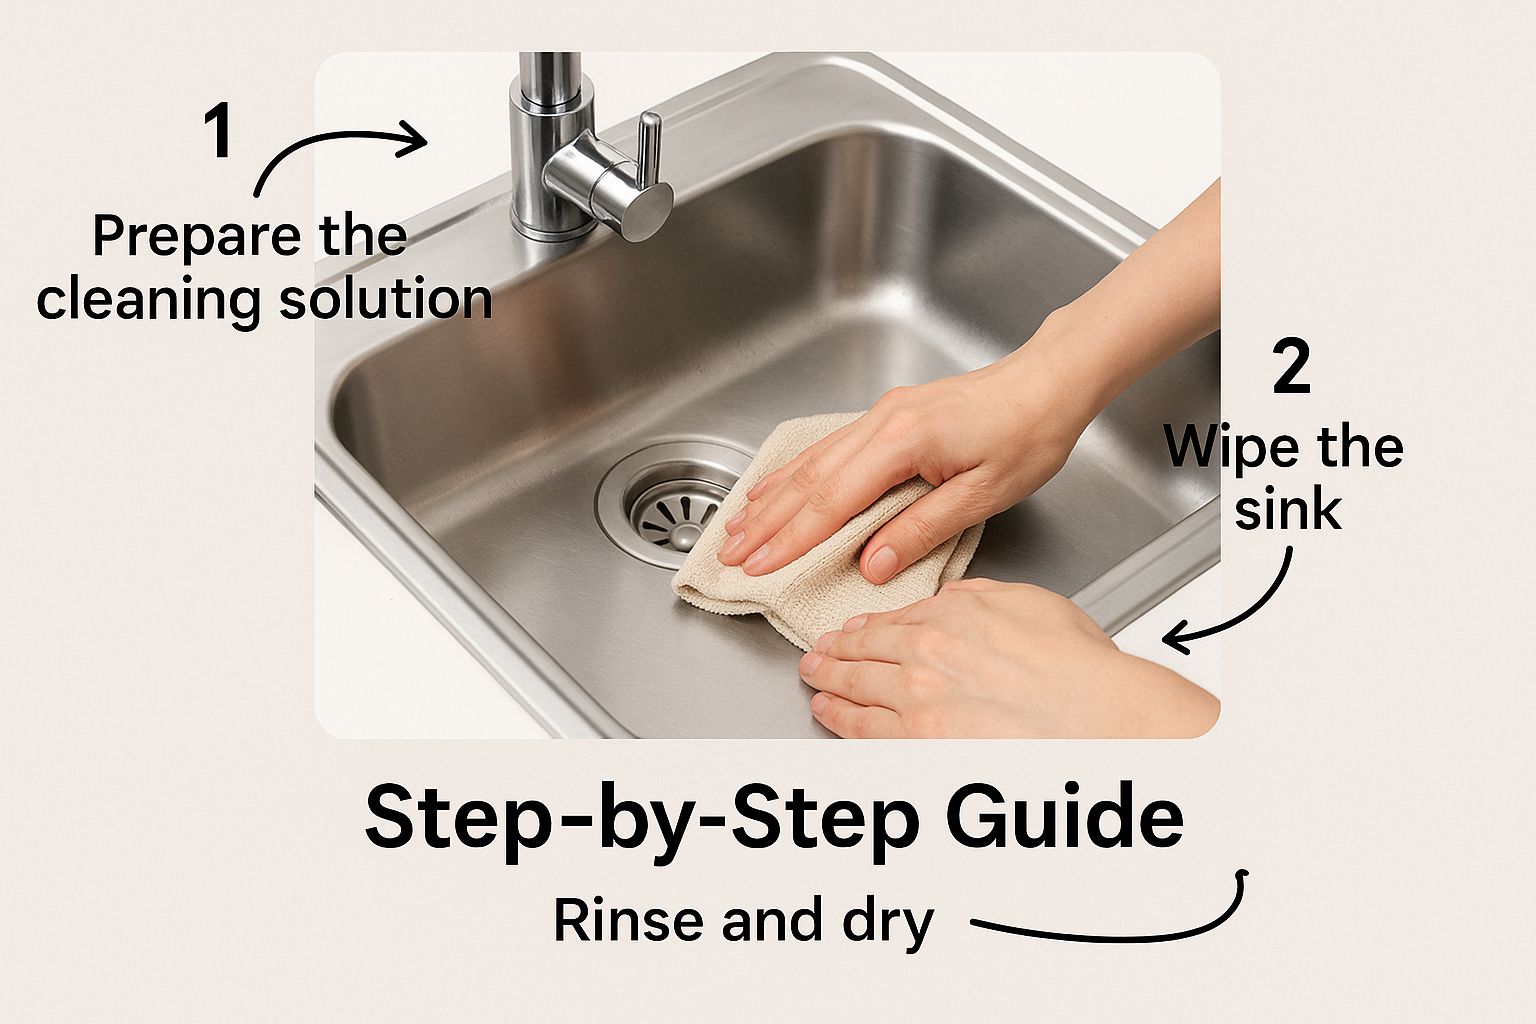
It all boils down to the fundamentals: wipe, rinse, and dry. This simple sequence is the foundation for almost any stainless steel cleaning task.
Large Appliances: Fridges, Dishwashers, and More
Big appliances like refrigerators and dishwashers are magnets for fingerprints, smudges, and drips, especially with their large, flat surfaces. Your main goal here is a completely streak-free shine.
Start with a soft microfiber cloth. Dampen it with a simple 1:1 mix of white vinegar and water.
Always—and I mean always—wipe in the direction of the steel's grain. If you ignore this, you'll never get that smooth, uniform look. After you’ve wiped it down, grab a second clean cloth with just water to rinse off the vinegar. Immediately follow that up with a dry microfiber cloth to buff the surface and stop water spots from forming.
When you get to areas around digital panels or ice dispensers, be careful. Spray your cleaner onto the cloth itself, not the appliance. This keeps moisture from sneaking into the sensitive electronics.
Kitchen Sinks and Faucets
Your kitchen sink is a workhorse, and it shows. It’s constantly dealing with hard water stains, soap scum, and leftover food grime. These tougher messes need a bit more elbow grease than a few fingerprints.
For daily cleaning, a sprinkle of baking soda and a gentle scrub with a wet, non-abrasive sponge is usually all you need.
The baking soda acts as a mild abrasive, lifting grime without scratching the surface, and it’s great for neutralizing odors, too. Rinse it all down with warm water, and then—this is the most important part—dry the entire sink and faucet right away with a clean cloth. Letting water air-dry is what leaves behind those chalky white mineral spots.
Got stubborn hard water stains, especially around the base of the faucet? Soak a cloth in white vinegar and lay it right on top of the stained spot. Let it sit for about 20-30 minutes so the acid can break down the mineral buildup. Then, give it a gentle scrub, rinse, and dry completely.
Stainless Steel Pots and Pans
Cookware comes with its own set of cleaning headaches, from heat discoloration to that stubborn, burnt-on gunk. The key is to act fast but be patient. Never, ever plunge a hot pan into cold water; that sudden temperature shock can cause it to warp for good.
Let the pan cool down for a few minutes first. For most daily messes, warm, soapy water and a soft sponge will do the trick. If you have food that’s really stuck, fill the pan with enough soapy water to cover the mess and just let it soak. You can even gently heat the soapy water on the stove for 10-15 minutes to help loosen things up.
For the really tough jobs, a paste of baking soda and water is your secret weapon.
- Make the paste: Just mix baking soda with a little bit of water until you get a thick paste.
- Apply and wait: Spread it over the burnt-on spots and let it sit for at least 30 minutes. For really bad stains, a few hours is even better.
- Scrub gently: Use a non-abrasive scrubber and work the paste in the direction of the grain. You’ll be surprised how easily the food lifts away.
After that, just wash the pan like you normally would with soap and water, rinse well, and dry it completely to keep it shiny and free of water spots. This same methodical approach is crucial for bigger equipment, too. Understanding the fundamentals of caring for a commercial stainless steel prep table offers great insights for maintaining any heavy-duty stainless surface.
Maintaining Commercial Stainless Steel Prep Tables
In a commercial kitchen, keeping your stainless steel clean is about so much more than just making it shine. It’s fundamental to food safety, a non-negotiable part of health code compliance, and key to making your equipment last.
A prep table in a busy kitchen isn't like your fridge door at home. It’s a workhorse, constantly battling acidic foods, raw proteins, and harsh cleaning chemicals. This kind of environment demands a smart, consistent cleaning routine.
The role of stainless steel in professional kitchens is massive. In fact, it's a global market valued at over USD 208 billion in 2024, largely because of its critical use in food service and healthcare. For these industries, proper cleaning isn't a suggestion; it's a requirement to eliminate contaminants and maintain the metal's protective qualities. You can discover more insights about the stainless steel market and see just how vital it is.
The first step is knowing exactly what kind of table you're dealing with, because each one comes with its own set of cleaning headaches.
Flat-Top Work Tables
The most common beast in the kitchen is the standard flat-top work table. This is your go-to surface for everything—chopping, mixing, plating. Its simple, open design looks easy to clean, and for the most part, it is.
But don't let that simplicity fool you. The real challenges are preventing cross-contamination as you switch tasks and dealing with the microscopic scratches that can collect bacteria over time. A daily sanitizing routine is absolutely essential, especially after prepping raw meat or fish.
Specialized Sandwich Prep Tables
Then you have your sandwich and salad prep tables. These units are a hybrid, combining a stainless steel work surface with refrigerated wells to keep ingredients cold. That refrigeration component adds a whole new layer of cleaning complexity.
You're no longer just wiping down a flat surface. Now you've got condensation, drips from food pans, and gunk building up in the corners of those wells. The gaskets around the lids are also a magnet for grime and mold if they aren't cleaned daily. Letting these areas go is a fast track to health code dings and equipment breakdowns.
High-Demand Pizza Prep Tables
Pizza prep tables are built for one thing: speed. They often have wider, raised rails for big topping pans and sometimes a marble or granite slab for working dough.
With the constant flurry of flour, sauce, and cheese, these tables need cleaning constantly and thoroughly. Flour dust loves to mix with any bit of moisture, creating a stubborn paste in crevices and under the rails. And don't forget that tomato sauce is acidic—if left to sit, it can eat away at the steel's finish over time.
Here's a pro tip for every type of commercial table: cleaning is more than just the top surface. Always check the undershelves, legs, and adjustable feet. These spots are notorious for collecting splashes and debris that get missed during a hectic shift.
To stay on top of it all, you need a structured cleaning schedule. It’s the only way to ensure daily hygiene is handled while also taking care of the long-term maintenance that protects your investment. For more on choosing the right gear, a good guide on restaurant stainless steel tables can help you select and care for the best equipment for your kitchen.
Here’s a look at a basic schedule you can adapt for your kitchen's needs.
Commercial Prep Table Cleaning Schedule
A consistent cleaning schedule is the best way to keep your tables in top shape, ensuring they are safe, sanitary, and durable.
| Frequency | Task for Standard Tables | Task for Pizza/Sandwich Prep Tables |
|---|---|---|
| Daily | Wipe down, clean, and sanitize the entire surface and backsplash after each use, especially after contact with raw foods. Clean legs and undershelf. | Perform all standard table tasks. Additionally, empty, clean, and sanitize all ingredient wells. Wipe down gaskets and interior of refrigerated lids. |
| Weekly | Deep clean the entire table, including polishing the surface to protect it. Inspect for and address any light rust spots with a baking soda paste. | Perform all standard weekly tasks. Also, pull out all food pans and clean the entire refrigerated rail system. Check and clear any drain lines. |
| Monthly | Inspect all welds and joints for integrity. Tighten any loose casters or feet. Thoroughly clean and sanitize hard-to-reach areas, like behind and underneath the unit. | Perform all standard monthly tasks. Check that refrigeration is holding the correct temperature and that all gaskets have a tight seal, cleaning or replacing them as needed. |
Following a system like this ensures your stainless steel prep tables don't just pass inspections but remain a reliable backbone of your kitchen's operations for years to come.
Common Mistakes That Can Ruin Stainless Steel
Sometimes, the best way to learn how to clean stainless steel is to first learn what not to do. It’s surprisingly easy to cause irreversible damage with well-meaning habits, turning a beautiful, gleaming surface into a dull, scratched-up mess.
Protecting your investment really comes down to steering clear of a few common but critical mistakes. The good news? Once you know what to watch out for, avoiding these slip-ups is simple. Getting this right will keep your appliances and work surfaces in pristine condition for years, preserving both their look and their hygienic properties.
Using Abrasive Tools and Cleaners
The absolute number one mistake I see people make is grabbing an abrasive tool for a tough spot. Steel wool, wire brushes, and aggressive scouring powders might seem like the obvious choice for burnt-on food, but they are the fastest way to destroy your stainless steel's finish.
These harsh materials create thousands of tiny scratches. While you might not see a single one, the cumulative effect permanently dulls the steel's natural luster. More importantly, those scratches compromise the protective chromium oxide layer, opening the door for rust and corrosion down the road.
Stick with the right tools from the start:
- Soft microfiber cloths are perfect for general cleaning and polishing.
- Non-abrasive sponges (the kind you’d trust on your non-stick pans) handle light scrubbing.
- A simple paste of baking soda and water works wonders as a gentle scouring agent.
The Dangers of Harsh Chemicals
Just as damaging as physical abrasives are chemical ones. Many common household cleaners contain ingredients that are extremely corrosive to stainless steel and should be kept far away. The worst offenders are products with chlorine, chlorides, or bleach. You’ll often find these in oven cleaners, some heavy-duty sanitizers, and hard water stain removers.
These chemicals attack the passive layer of chromium oxide that gives stainless steel its legendary corrosion resistance. Once that layer is damaged, the iron in the steel is exposed to oxygen and moisture, leading to pitting, discoloration, and eventually, rust spots.
Always, always check the label before you spray. If you see ingredients like "sodium hypochlorite" (the chemical name for bleach) or any mention of chlorides, put it back under the sink. It doesn't belong anywhere near your steel surfaces.
Overlooking Simple Technique Errors
Beyond the tools and cleaners you use, a few small mistakes in your technique can leave your surfaces looking streaky and dull. These are easy habits to fix, but they make all the difference in the final result.
One of the most frequent missteps is wiping against the grain. If you look closely, stainless steel has very fine lines running in one direction. Wiping across these lines doesn't just look bad; it can create tiny new scratches and push grime deeper into the grooves. Always find the direction of the grain and wipe parallel to it.
Another classic mistake is letting water or cleaning solutions air-dry on the surface. As the water evaporates, it leaves behind all the minerals, creating those frustrating spots and streaks. The final step of any cleaning routine should be to thoroughly dry the surface with a clean, dry microfiber cloth. This one simple action is the secret to getting that flawless, streak-free shine every time.
Your Top Stainless Steel Cleaning Questions Answered
Even when you have a good cleaning process down, stainless steel can throw you a curveball. You might discover a stubborn rust spot that won't budge or find yourself battling streaks after you thought the job was done. Let's tackle some of the most common questions that pop up.
Getting these little details right is what separates a decent cleaning job from a professional one, keeping your equipment looking brand new for years.
Can I Use Bleach to Clean My Stainless Steel Sink?
The short answer is no. You should never use bleach or any cleaner containing chlorine on your stainless steel. It might seem like the ultimate disinfectant, but bleach is incredibly corrosive to steel. It aggressively attacks the protective chromium oxide layer that gives stainless its anti-rust superpowers.
Using bleach can cause permanent damage like pitting, ugly stains, and rust spots. For safe and effective sanitizing, you're much better off with pH-neutral cleaners, a simple solution of vinegar and water, or products specifically made for stainless steel.
How Do I Remove Rust Spots From Stainless Steel?
Finding rust on stainless steel can be a shock, but it’s usually fixable if you get to it early. The rust often comes from an external source, like contact with a cast iron pan or damage from a harsh chemical cleaner. For minor rust, a simple paste of baking soda and water is your best first move.
Apply the paste right on the rust spot and let it sit for about 30 minutes. Then, take a soft cloth and gently scrub in the direction of the grain. The mild abrasive action is usually enough to lift the surface rust without scratching the steel. If you're dealing with a more stubborn patch, a cleaner with oxalic acid might be necessary, but always test it on a hidden spot first and follow the directions to the letter.
The key here is gentle persistence. Grabbing a steel wool pad and scrubbing aggressively will only scratch the surface, making the problem worse and creating a new spot for future rust to form.
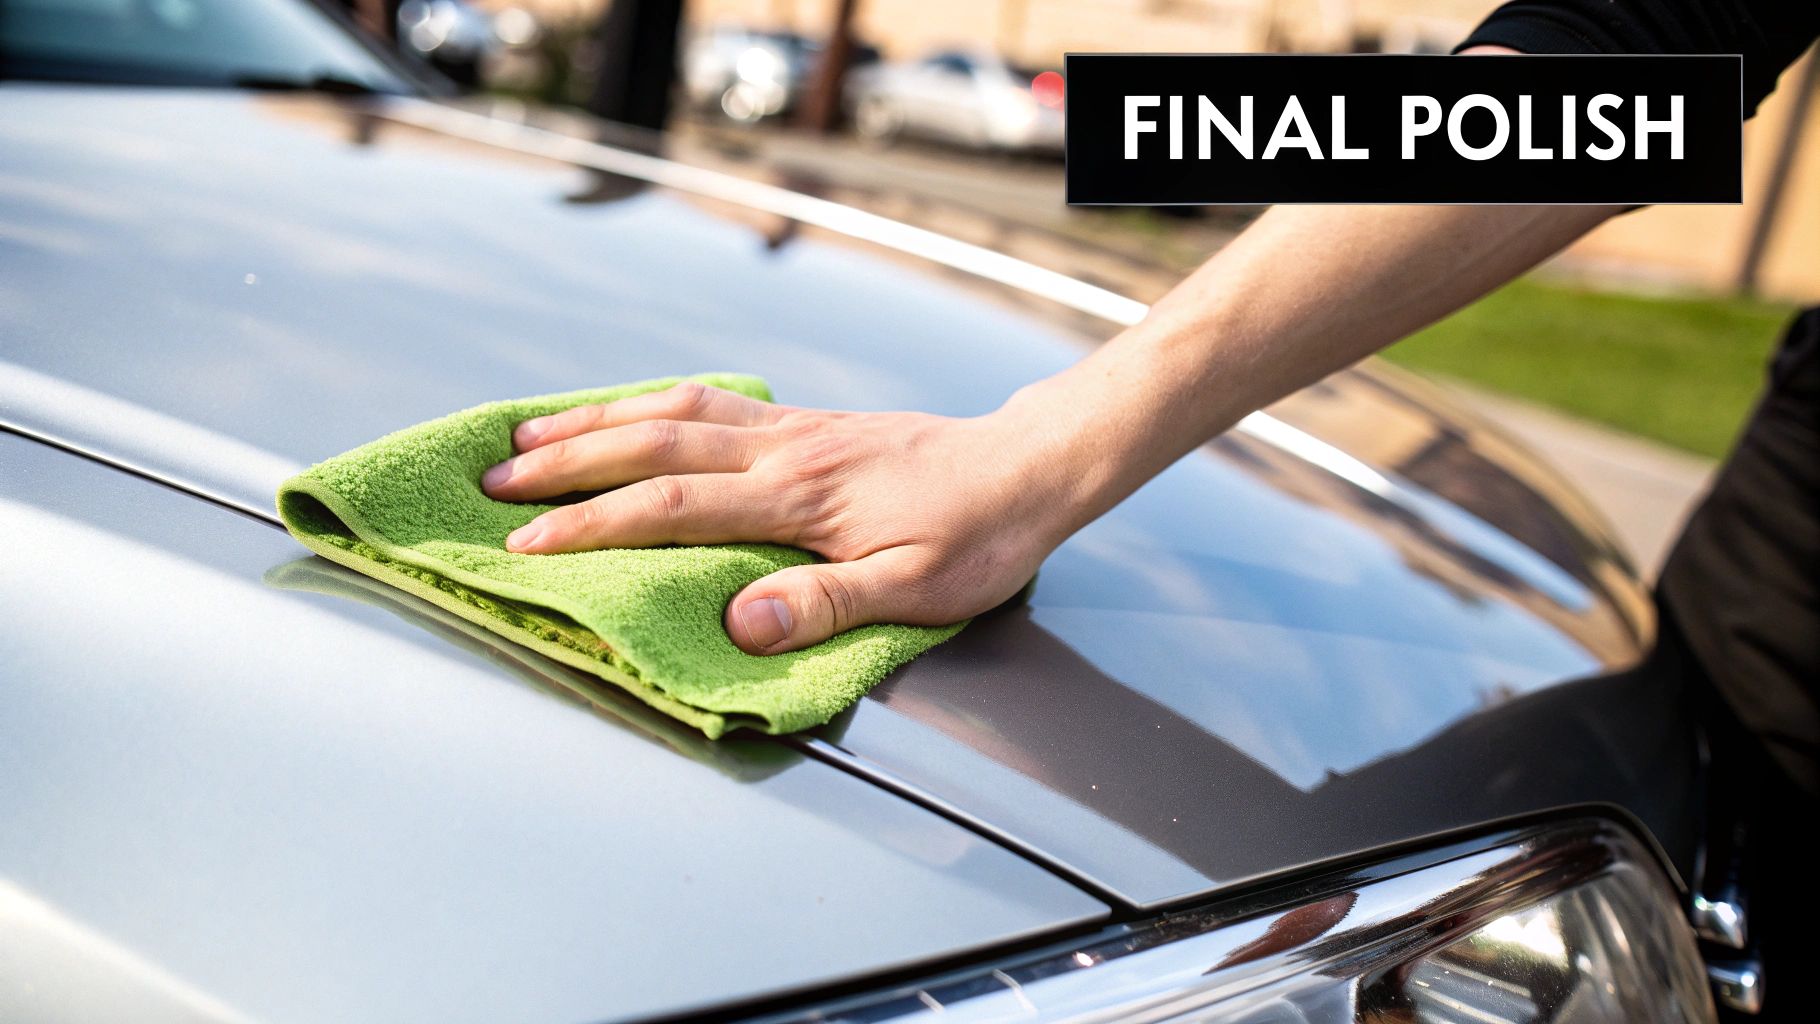
What Is the Best Way to Polish Stainless Steel for a Streak-Free Shine?
That perfect, mirror-like shine is all about what you do after the cleaning. Once the surface is completely clean and—this is critical—completely dry, a tiny bit of oil is the secret ingredient.
A few drops of mineral oil or even olive oil on a clean microfiber cloth works wonders. Of course, a commercial stainless steel polish is a great option, too. Gently wipe it across the surface, always moving with the grain. This not only makes it gleam but also adds a thin protective layer that helps repel fingerprints. Grab a second clean, dry cloth to lightly buff away any excess, and you'll be left with a brilliant, streak-free luster.
How Can I Remove Hard Water Stains From Stainless Steel?
Hard water stains are those chalky white mineral deposits left behind when water evaporates. They're especially common and stubborn on sinks and faucets. The most effective way to dissolve these alkaline deposits is with a mild acid—and plain old white vinegar is perfect for the job.
- Soak a cloth: Get a soft cloth good and wet with white vinegar and lay it right over the hard water spots.
- Let it sit: Give the vinegar about 20-30 minutes to work its magic. The acetic acid needs time to break down the calcium and magnesium buildup.
- Gently scrub: Remove the cloth and use a non-abrasive sponge to lightly scrub the area before rinsing it thoroughly with clean water.
- Dry completely: This last step is non-negotiable. Immediately dry the area with a clean microfiber cloth to prevent new water spots from forming all over again.
At PrepTables.com, we know that quality equipment demands proper care. We offer durable, NSF-certified stainless steel solutions built for professional kitchens, from standard work tables to specialized refrigerated units. Take a look at our wide selection of prep tables, commercial refrigeration, and cooking equipment to find the right fit for your kitchen’s standards.