
Ice Machine Cleaning Tips to Protect Your Business
Keeping your ice machine cleaning on a regular schedule isn't just another item on a long to-do list—it's one of the most important things you can do to protect your customers, your equipment, and your business's reputation.
When a machine is neglected, it doesn't take long for it to become a breeding ground for nasty stuff like slime, mold, and bacteria. This can lead directly to failed health inspections, unexpected and expensive breakdowns, and even, in the worst-case scenario, foodborne illness. Seeing it this way, routine maintenance stops being a chore and starts being a smart investment in your operation's future.
The Unseen Dangers in Your Ice Machine
It's pretty easy to forget about the inner workings of an ice machine. Out of sight, out of mind, right? But what you can't see can definitely hurt your business. The dark, damp, and cool environment inside is the perfect storm for microorganisms to set up shop, creating some serious problems that go way beyond just having cloudy ice.
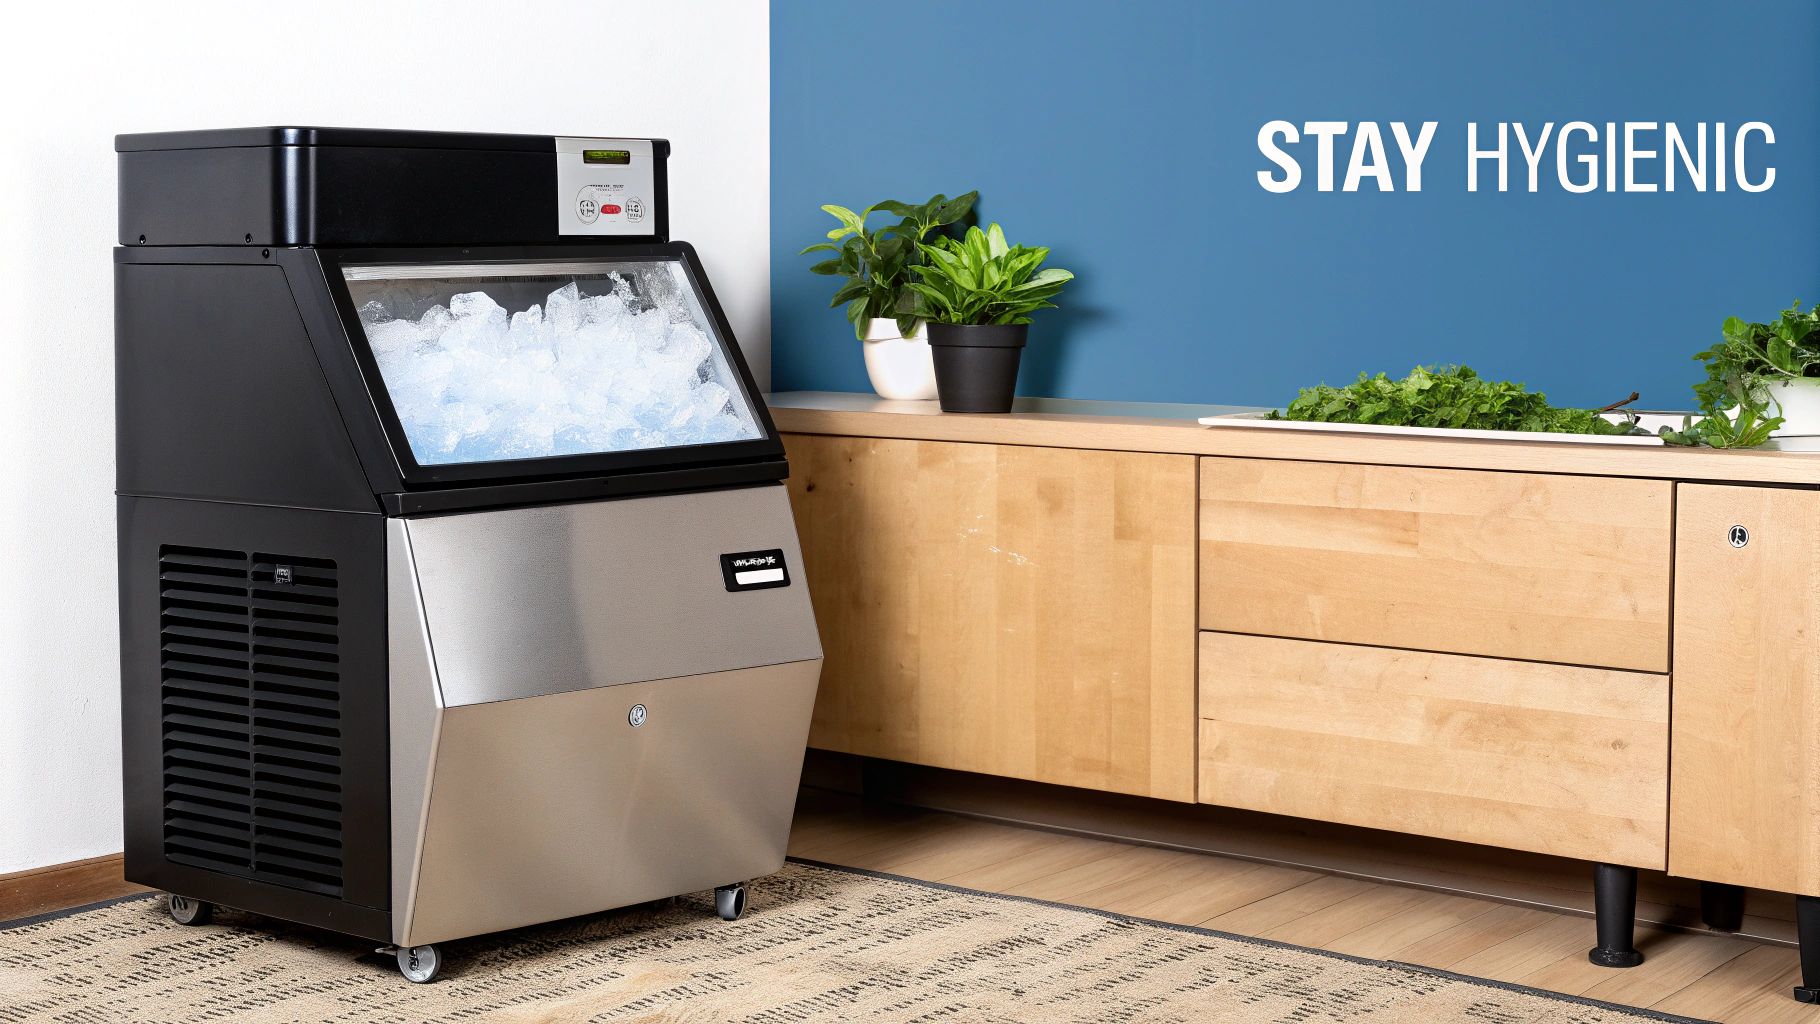
The main culprits you'll find lurking inside a dirty machine are slime, mold, scale, and some pretty dangerous bacteria. Each one brings its own set of challenges, affecting both the quality of your ice and the lifespan of your machine. It can turn a vital piece of equipment into a legitimate hazard.
From Health Code Violations to Customer Illness
The most immediate threat of a dirty machine is failing a health inspection. Health departments treat ice just like any other food product, and any sign of contamination can get you hit with fines or even a temporary closure. Even more concerning is that pathogens like E. coli, Salmonella, and Listeria can thrive in unsanitary ice bins, creating a real risk of making your customers seriously ill.
Beyond the fines and shutdowns, the damage to your reputation from serving contaminated ice can be something you never recover from. All it takes is one bad experience to destroy customer trust, leading to a flood of negative reviews that can haunt your business for years to come.
Equipment Breakdowns and Financial Strain
Letting cleaning slide also causes major mechanical headaches. Mineral deposits from hard water create scale buildup on critical parts, like the evaporator plates. This scale acts like an insulator, which forces the machine to work much harder and run longer just to produce ice. This, in turn, drives up your energy bills and puts a ton of strain on the compressor.
Neglecting maintenance doesn't just risk contamination; it directly leads to inefficient operation, higher utility bills, and premature equipment failure, turning a preventable issue into a major capital expense.
The global ice maker market is on track to hit $7.4 billion by 2033, and North America currently holds a 37.8% slice of that pie. It just goes to show how essential these machines are for anyone in foodservice and hospitality. As the market expands, manufacturers are putting more and more emphasis on hygiene, making it clear that proper cleaning is directly linked to food safety. You can find more insights on the ice maker market and its growth over at IMARC Group. This reliance on ice machines makes keeping them in good working order absolutely critical for your day-to-day operations.
Gathering Your Essential Cleaning Toolkit
Trying to clean a commercial ice machine without the right gear is a recipe for disaster. It's not just inefficient; it can be downright dangerous. Before you even think about starting, you need to assemble a dedicated toolkit. This isn't about grabbing a random bucket and sponge—we're talking about using professional-grade supplies that are actually designed for the job.
Having everything ready ensures the whole process goes smoothly and, more importantly, keeps your team safe from some pretty potent cleaning chemicals.
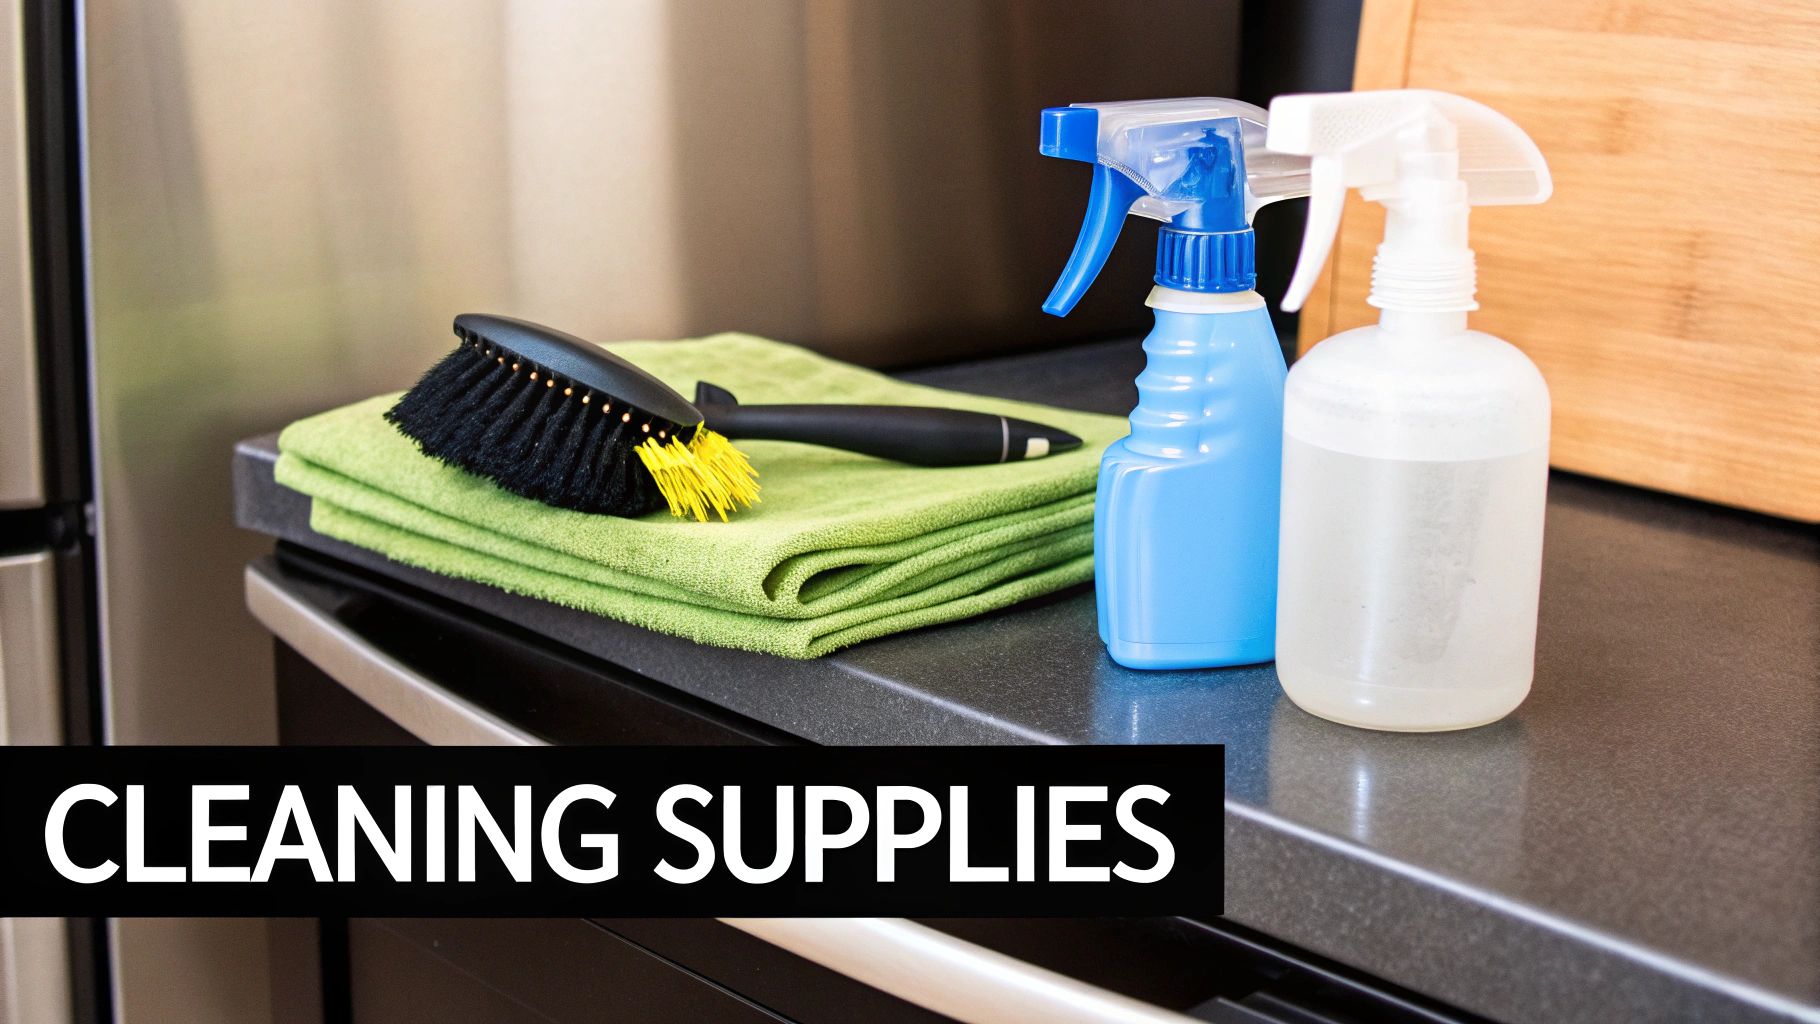
The most critical items you'll need are your chemical solutions. You absolutely must have two different products: a cleaner and a sanitizer. A common—and risky—mistake I see all the time is people confusing the two or just using one. That'll leave your machine either still caked in scale or teeming with bacteria.
Cleaner vs. Sanitizer: What’s the Difference?
Let's get this straight, because it's vital: cleaning and sanitizing are two separate, equally important steps. You can't skip one.
The cleaner, often called a descaler, is an acidic solution. Its entire job is to dissolve and strip away mineral deposits like limescale. This is the stuff that tackles that hard, crusty buildup that forces your machine to work overtime.
A sanitizer, on the other hand, comes in after the deep cleaning is done. Its purpose is to kill harmful microorganisms—bacteria, slime, and mold—on every surface that touches the ice. You simply can't sanitize a dirty surface, which is why you always, always clean first.
Pro Tip: Always choose an EPA-approved, nickel-safe ice machine cleaner. Using a standard cleaner is a fast track to corroding the sensitive nickel plating on the evaporator plates. That mistake can lead to some seriously expensive repairs and component failure. The right chemical protects your investment.
Your Ice Machine Cleaning Supply Checklist
Before you start, get everything organized in one place. It saves a ton of time and prevents people from taking shortcuts later. A well-stocked cleaning station is just as fundamental to food safety as having sanitized prep tables. And if you're looking to build out your restaurant's entire cleaning arsenal, you can find more tips in our guide to essential cleaning supplies for restaurants.
Here’s a quick-reference checklist to make sure you have every tool you need for the job.
| Supply Item | Primary Purpose | Important Feature to Look For |
|---|---|---|
| Protective Gear | Personal safety from chemical splashes | Chemical-resistant gloves & safety glasses (non-negotiable) |
| Ice Machine Cleaner | To dissolve and remove limescale and mineral buildup | Must be nickel-safe to protect evaporator plates |
| Food-Grade Sanitizer | To eliminate bacteria, mold, and slime | EPA-approved and specifically rated for food equipment |
| Soft-Bristle Brushes | To scrub components without causing damage | A set of various-sized nylon brushes works best |
| Cloths & Sprayers | For wiping, drying, and applying sanitizer | Clean, lint-free cloths and a dedicated spray bottle |
| Buckets | To hold cleaning solutions and rinse water | At least two clean buckets, clearly labeled if possible |
With this checklist, you’ll have everything you need to perform a thorough, safe, and effective cleaning every single time.
Your Guide to a Complete Deep Cleaning Cycle
Alright, this is where the real work happens. A proper deep clean is much more than just running a cleaning solution through the machine. It’s a hands-on process to make sure every single component is free from scale buildup and nasty microbes. Following these steps in order isn't just a suggestion—it's essential for effective ice machine cleaning and keeping your customers safe.
First thing's first: safety. Before you even think about starting, you have to disconnect the ice machine from its power source. Unplug it from the wall or, even better, flip the corresponding circuit breaker. This simple but critical step eliminates any risk of electrical shock or the machine suddenly kicking on while you're working.
With the power safely off, it's time to empty the machine. Scoop every last cube of ice out of the storage bin and get rid of it. You never, ever want to save this ice, as it's likely contaminated with the very gunk you're about to clean out.
Initiating the Automated Cleaning Cycle
Most modern commercial ice machines have a handy automated cleaning cycle. This feature is designed to circulate a cleaning solution through all the internal water lines, the evaporator plates, and other components you can't easily reach. Look for a "Clean" or "Wash" button on your machine's control panel to get this started.
You'll need to pour the correct amount of a nickel-safe ice machine cleaner directly into the water trough. The manufacturer’s instructions will tell you exactly how much to use. Don't eyeball it—using too little won't be effective, and using too much could actually damage your machine. Once the solution is in, start the cycle and let the machine handle the internal descaling.
This graphic breaks down the manual cleaning process that should always follow the automated cycle.

As you can see, the hands-on part involves three key stages: draining, scrubbing, and sanitizing. All three work together to ensure your ice is not just clear, but genuinely safe.
Manual Scrubbing for a Deeper Clean
While the automated cycle is great for the internal plumbing, it's not going to get everything. Now it’s time to get your hands dirty. You’ll need to carefully remove all the accessible components that touch water or ice.
These parts typically include:
- The water trough or reservoir
- The evaporator cover or curtain
- Distribution tubes that spray water onto the evaporator
- The ice thickness sensor or probe
Submerge these parts in a bucket filled with your cleaning solution and let them soak for a bit. Then, use your soft-bristle brushes to scrub away any remaining scale or slime. Pay extra attention to corners and small crevices where buildup loves to hide. A word of caution: never use an abrasive pad or steel wool, as it will create permanent scratches on the plastic and metal surfaces.
Expert Tip: After the cleaning cycle, gently wipe down the evaporator plates themselves with a soft, clean cloth soaked in the cleaning solution. This ensures no stubborn scale deposits get left behind, which can seriously impact ice production.
Once you're done scrubbing, rinse every single component thoroughly with clean water. You need to remove all traces of the acidic cleaner. Any leftover residue can affect the taste of your ice and might even damage the machine over time. Understanding how all these parts function is key, and you can learn more in our deep dive on the commercial ice machine.
The Final Sanitizing Rinse
Cleaning gets rid of the visible grime, but sanitizing is what kills the invisible threats. After every surface is clean and free of scale, you have to sanitize everything to eliminate any lingering bacteria, mold, or other microorganisms. This is the non-negotiable step that makes your ice safe to serve.
Mix your EPA-approved, food-grade sanitizer exactly as the package directs. A spray bottle works best to coat every surface that water or ice touches—the inside of the bin, the scoop, the door, and all the components you just scrubbed. Let the sanitizer sit for the required contact time, which is usually about 10 minutes, but always double-check the label.
Unless the instructions specifically say to, do not rinse the sanitizer off. Most food-grade sanitizers are designed to air dry, leaving behind a protective film that helps inhibit future microbial growth. Once everything is dry, you can reassemble the machine, turn the power back on, and start a new batch of fresh, clean ice.
Creating a Sustainable Cleaning Schedule
A one-and-done deep clean feels great, but let's be honest—it's a temporary fix. Real food safety and keeping your machine running for years comes down to one thing: consistency. You need a sustainable ice machine cleaning schedule. When you build these tasks into your team's everyday duties, maintenance stops being a massive, dreaded project and becomes just another part of the routine.
The trick is to break down the huge job of "cleaning the ice machine" into smaller, more frequent tasks. This simple shift prevents that heavy buildup of slime and scale that turns a deep clean into a multi-hour ordeal. A proactive schedule will always beat a reactive deep clean.
Daily and Weekly Maintenance Tasks
Your first line of defense is simple daily habits. These things take just a few minutes but make a huge difference in the long run.
- Daily (5 minutes): At the end of every shift, give the machine's exterior a quick wipe-down. More importantly, wash and sanitize the ice scoop. Store it in a clean, designated holder—never, ever leave it sitting in the ice bin.
- Weekly (15 minutes): Once a week, empty the ice bin completely. Do a quick wipe-down of the bin's interior with a food-safe sanitizer. Get into the corners and around the door gasket, as that's where slime and mold love to start.
It's easy to forget, but the FDA actually regulates ice as a food product. Contaminated ice from a dirty machine can cause foodborne illness just as easily as spoiled meat. Those small, regular cleaning tasks are your foundation for food safety.
Adapting Your Semi-Annual Deep Clean
That full-on, deep cleaning and sanitizing process we walked through earlier? That's your big reset. The general rule of thumb in the industry is to do a full cycle at least every six months.
But here's the thing: that's just a baseline. Your specific environment is what really dictates the schedule. You have to look at your kitchen's unique conditions to figure out what's truly effective.
A pizzeria or a brewery, for example, is full of airborne yeast. That yeast inevitably finds its way into your ice machine and dramatically speeds up slime growth. In those places, you're probably looking at a deep clean every three to four months.
Likewise, if your restaurant is in an area with hard water, you'll see scale build up much faster, which puts a major strain on your machine and tanks its efficiency. If you start seeing cloudy ice or notice the machine isn't producing as much as it used to, don't wait for the six-month mark. Clean it now. Understanding these environmental factors is a big deal when choosing an ice machine for commercial use in the first place, as some models are built to handle these tougher conditions better than others.
A Note on Prep Tables and Overall Kitchen Hygiene
When it comes to kitchen hygiene, your ice machine is just one piece of the puzzle. The surfaces where you chop, mix, and assemble are just as critical, and that's where stainless steel prep tables come in. They're the unsung heroes of food safety, providing a tough, non-porous surface that’s a breeze to keep sanitized. Just like an ice machine, the right prep table is an investment in safety and efficiency.
The variety of stainless steel prep tables available allows you to find the perfect fit for your kitchen's workflow. Common types include:
- Standard Work Tables: These flat-topped tables are the versatile workhorses of any kitchen, ideal for general prep work.
- Tables with Undershelves: Offering valuable storage space for equipment and supplies, keeping your work surface clear.
- Tables with Backsplashes: A raised edge at the back prevents spills and splashes, making cleanup easier and protecting your walls.
For more specialized tasks, there are tables designed to optimize specific processes. Pizza prep tables, for instance, feature refrigerated rails to keep toppings chilled and accessible, often with a marble or stone work surface that prevents dough from sticking. Similarly, sandwich and salad prep tables have refrigerated wells to hold food pans, streamlining the assembly line for cold items and ensuring ingredients stay at a safe temperature. Choosing the right table, like maintaining your ice machine, is a foundational step in running a clean and efficient kitchen.
Answering Your Ice Machine Cleaning Questions
Even after you've run through the cleaning process a few times, it’s completely normal to have some lingering questions. Honestly, getting these finer points right is what separates a quick wipe-down from a deep clean that actually protects your machine and your customers. Let's tackle some of the most common questions that come up.
A big point of confusion I see all the time is the difference between cleaning and sanitizing. Just think of it like this: cleaning handles the grime you can see, while sanitizing kills the threats you can't.
Cleaning vs. Sanitizing Explained
People often use these terms as if they mean the same thing, but in the world of food safety, they are two completely separate—and mandatory—steps. You simply can't do one without the other.
- Cleaning: This is your descaling phase. You'll use an acidic, nickel-safe cleaner made specifically to break down and wash away mineral deposits, limescale, and other gunk built up in the water system. This step gets rid of the physical grime and preps every surface for what comes next.
- Sanitizing: Now it's time to kill the germs. Once the scale is gone, you'll use an EPA-registered sanitizer to wipe out harmful microorganisms. We're talking bacteria, mold, and that nasty slime that loves to grow on all the food-contact surfaces inside the machine.
You can't sanitize a dirty surface—it just doesn't work. Scale and grime literally act as a shield, protecting bacteria from the sanitizer. This is exactly why you have to clean first, every single time, to make sure the sanitizer can do its job.
How Often Should a Commercial Ice Machine Be Cleaned?
The rule of thumb you'll hear everywhere is a full deep clean and sanitizing cycle at least every six months. But you should treat that as a starting point, not a hard-and-fast rule. The right schedule really depends on your specific environment.
For instance, a pizzeria or a brewery has a ton of airborne yeast, which means slime is going to grow much, much faster. For those kinds of businesses, cleaning every three months is a much safer bet. Likewise, if your business is in an area with hard water, scale will build up way faster, putting a strain on your machine and making it less efficient. More frequent descaling will be necessary.
Always start with the manufacturer's guidelines in your machine's manual, but never hesitate to clean it sooner if you notice anything off.
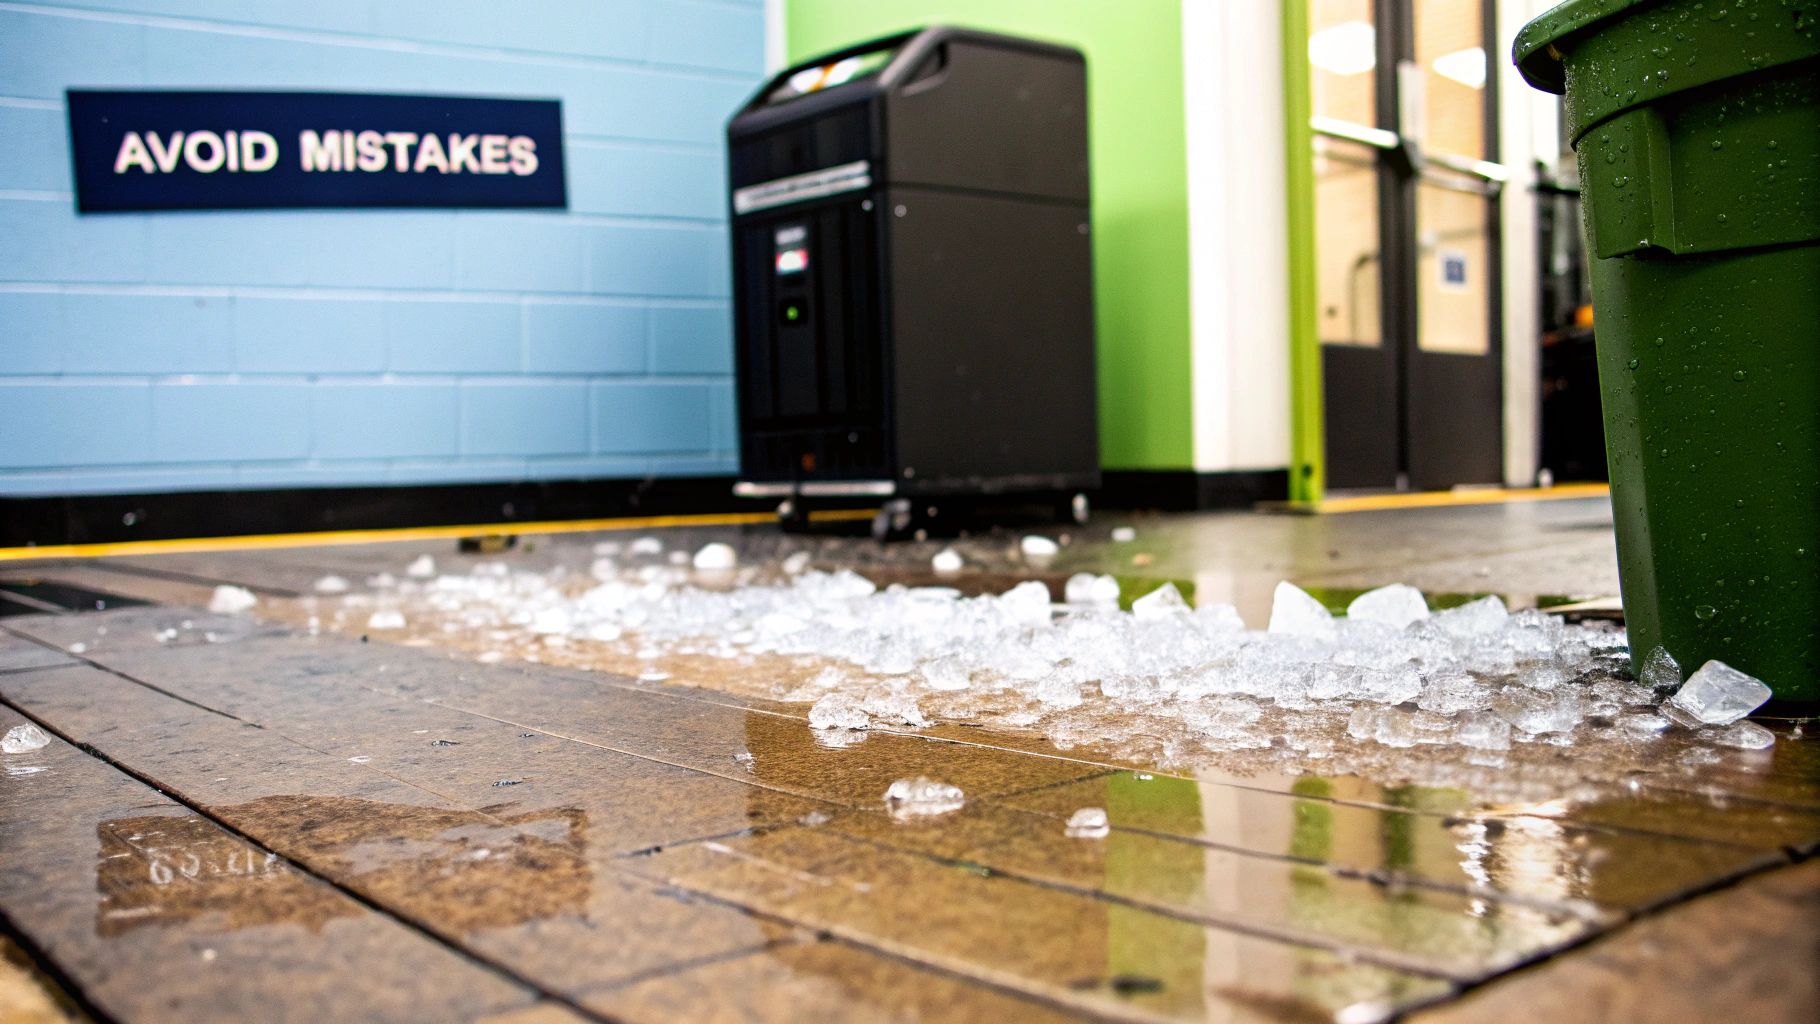
Why You Should Never Use Bleach or Vinegar
This is probably the most critical takeaway: absolutely do not use bleach or vinegar to clean your ice machine. I know they're common cleaners for other things, but for this specific job, they're not only ineffective but can cause some serious, permanent damage.
Bleach is incredibly corrosive. It will eat away at plastic components and destroy the internal O-rings, which is a fast track to leaks and some very expensive repair bills. As for vinegar, it’s not an EPA-approved sanitizer. That means it won’t kill many of the dangerous bacteria and types of slime that thrive inside an ice machine.
Worse yet, both of them can leave behind powerful odors and tastes that will completely ruin your ice. Always, always stick to a dedicated, nickel-safe ice machine cleaner and an EPA-registered sanitizer designed for food equipment.
At PrepTables.com, we know that a safe kitchen is built on reliable, easy-to-clean equipment. From NSF-certified work tables to commercial-grade ice machines, we provide the tools you need to maintain the highest standards of hygiene and efficiency. Explore our full collection of professional kitchen equipment at https://preptables.com.