

How to Prevent Food Contamination in Your Kitchen
Preventing food contamination really just boils down to four critical actions: Clean, Separate, Cook, and Chill. If you can master these fundamentals in your kitchen, you'll have the strongest possible defense against the nasty pathogens that cause foodborne illness. This strategy isn't just a suggestion—it's the bedrock of food safety in any professional setting.
The Core Principles for Safe Food Handling
Figuring out how to prevent food contamination is more than just following a list of rules; it’s about protecting people's health. The consequences of getting it wrong can be devastating.
Globally, a staggering 600 million people—that’s nearly 1 in 10—get sick each year from contaminated food. The result is around 420,000 deaths. Even more heartbreaking is that vulnerable groups, especially children under five, carry the heaviest burden, making up 30% of those deaths. You can learn more about these global food safety findings and see just how serious the impact is on public health.
Those numbers are why a systematic approach is non-negotiable. The four core principles—Clean, Separate, Cook, and Chill—give you a straightforward framework that drastically cuts down the risk of foodborne illness when you stick to it. Think of them as the foundation for everything else you do.
By weaving these four pillars into every single kitchen task, from the moment a delivery arrives to when you plate the final dish, you build a culture of safety. It’s what protects both your customers and your restaurant's reputation.
Clean Surfaces and Hands
The first step is probably the most important one. Pathogens can travel all over a kitchen, latching onto hands, utensils, and cutting boards. Without obsessive cleaning and sanitizing, those germs can easily find their way into the food you're serving.
This goes way beyond just a quick handwash. It means:
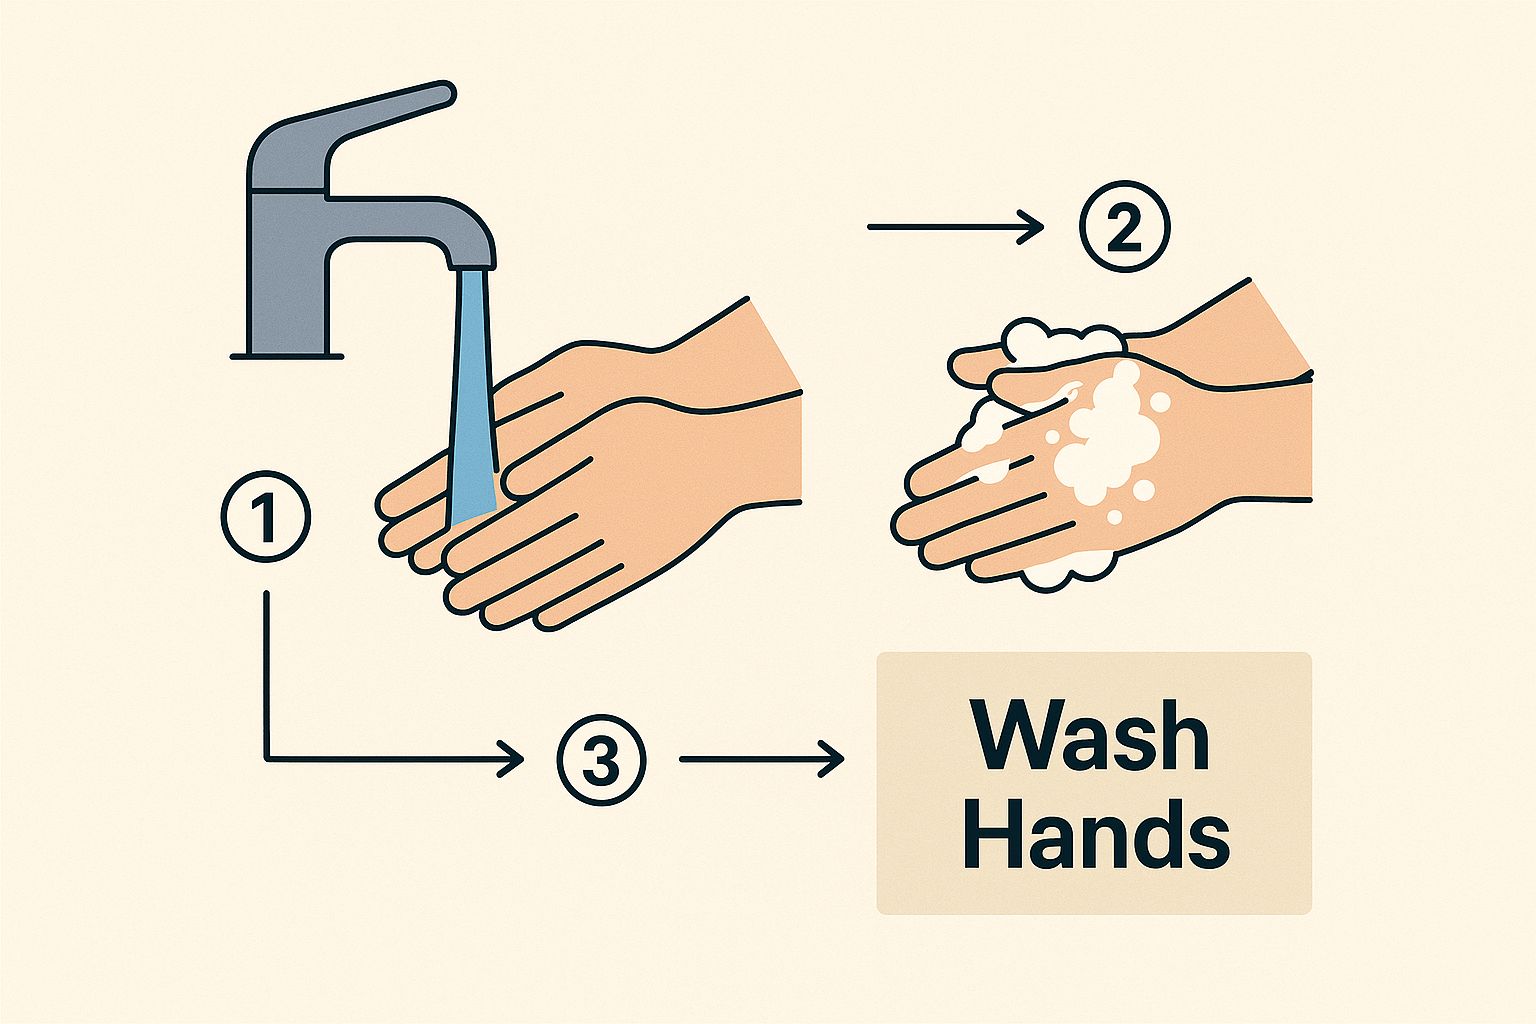
- Washing hands with soap and water before you start, anytime you switch tasks, and after you finish.
- Cleaning and sanitizing every surface, including prep tables and cutting boards, after each use. No exceptions.
- Washing all fruits and vegetables under running water, even if you’re just going to peel them anyway.
Separate to Avoid Cross-Contamination
Cross-contamination is one of the biggest culprits behind food poisoning. It’s what happens when harmful bacteria from one food—usually raw meat, poultry, seafood, or eggs—hitch a ride over to ready-to-eat foods.
To stop this from happening, you absolutely have to:
- Use different cutting boards, plates, and utensils for raw and cooked foods. Color-coded systems are a game-changer here.
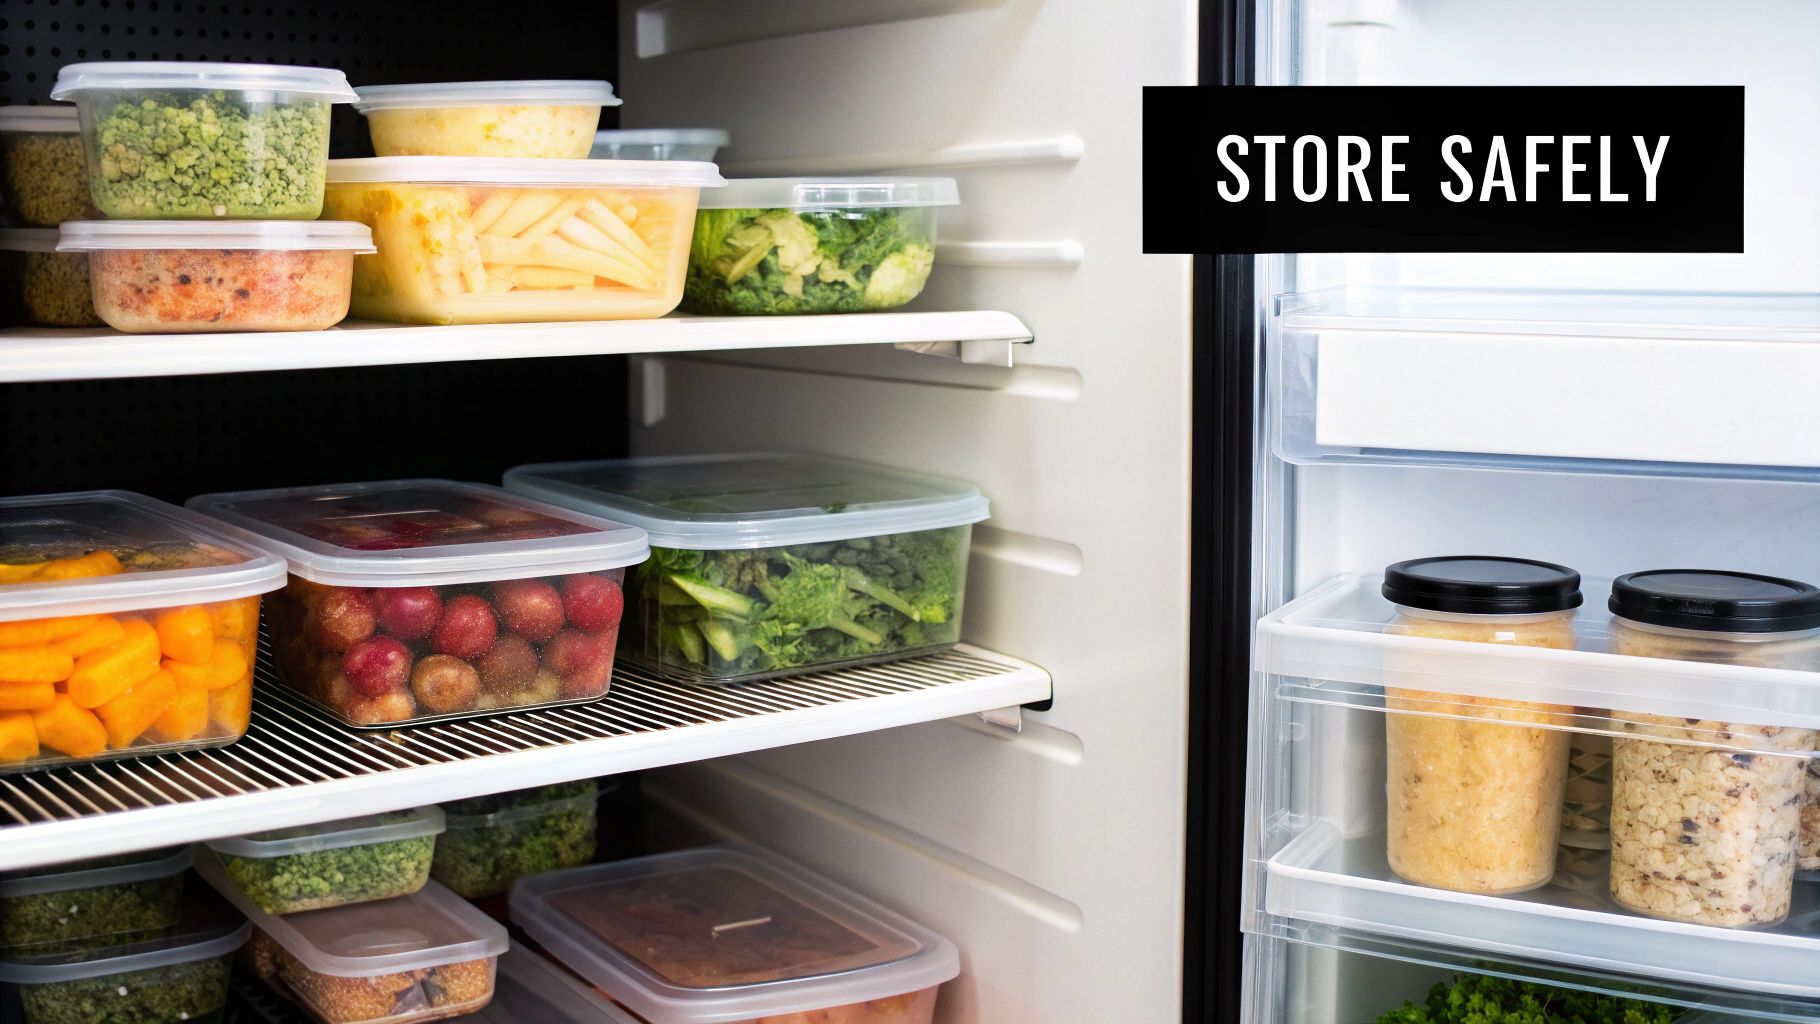
- Always store raw meat, poultry, and seafood on the bottom shelf of the fridge. Make sure they're in sealed containers so juices can't drip onto anything else.
- Keep raw ingredients physically separate from ready-to-eat items while you're working on your prep tables.
To really nail this down, it helps to see how each action directly supports a safer kitchen. This table breaks down these foundational pillars.
The Four Pillars of Food Contamination Prevention
Here's a simple breakdown of the fundamental principles that keep every kitchen environment safe.
| Pillar | Core Action | Why It Matters |
|---|---|---|
| Clean | Wash hands, surfaces, and produce thoroughly. | Removes bacteria and viruses that can be transferred to food, preventing direct contamination. |
| Separate | Keep raw and cooked foods apart during storage and prep. | Prevents cross-contamination, where harmful pathogens from raw items spread to ready-to-eat foods. |
| Cook | Heat food to the correct internal temperature. | Kills dangerous microorganisms like Salmonella and E. coli that can cause serious illness. |
| Chill | Refrigerate perishable foods promptly. | Slows the growth of harmful bacteria, keeping food safe for longer. |
By committing these four actions to memory and making them second nature, you establish a powerful and consistent defense against foodborne illnesses.
Mastering Safe Food Handling from Dock to Dish
Preventing food contamination isn't just one action—it's a whole chain of safe practices that starts the second your supplies hit the back door. True food safety means tracking an ingredient's entire journey, making sure it's handled correctly from the delivery dock all the way to the final dish. This goes way beyond basic kitchen hygiene; it requires a systematic approach to every single step.
The process kicks off with a rigorous inspection of every delivery. You can't just assume a shipment is safe because it showed up. Your team needs to be trained to look past the packing slip and physically check for spoilage, damage, or temperature issues. A box of produce with wilted leaves or a case of chicken that feels warm are huge red flags. That delivery should be rejected on the spot.
Maintaining the cold chain is probably the most critical link in this whole process. Perishable foods need to stay at a safe temperature their entire journey, and that responsibility becomes yours the moment you accept them.
Verifying the Cold Chain
Picture this: a refrigerated truck pulls up with a delivery of fresh fish. The driver hands you the temperature log, but you spot a two-hour gap where the temp creeped up to 48°F. That's a major breach. A short window like that is all it takes for harmful bacteria to start multiplying like crazy.
Accepting that delivery means you're bringing a potential food safety disaster into your kitchen. The only right move is to reject the shipment, document why, and call your supplier immediately. Protecting your customers starts with refusing to let compromised ingredients through the door.
This is also where personal hygiene becomes non-negotiable. Even with perfect receiving protocols, clean hands are the first line of defense against spreading pathogens.
Implementing a Strict Storage System
Once you've accepted good ingredients, they need to be stored properly—and fast. This is where the First-In, First-Out (FIFO) system is your best friend. FIFO is a simple but incredibly effective way to rotate inventory, ensuring you use older stock before the new stuff.
- Label Everything: As soon as items arrive, mark them with the delivery date. If you take anything out of its original box, add a "use-by" date, too.
- Organize Strategically: In your walk-in, freezer, and dry storage, always put new items behind the existing ones. This makes it second nature for your staff to grab the oldest product first.
- Conduct Regular Checks: Make it a habit to scan your inventory to ensure everything is being rotated correctly and nothing is past its prime.
Sticking to FIFO doesn't just cut down on waste; it dramatically reduces the risk of using ingredients that have started to go bad, which is a cornerstone of how to prevent food contamination.
Avoiding the Temperature Danger Zone
The absolute riskiest place for perishable food is the temperature danger zone, which is anywhere between 40°F and 140°F (4°C to 60°C). In this range, bacteria can double in as little as 20 minutes. Your goal should be to move food through this zone as quickly as possible, whether you're cooling it down or cooking it.
Think about a busy service. It’s easy to leave diced chicken or a cream sauce sitting on a prep table for too long. A solid rule to live by is the two-hour rule: never let perishable foods sit in the danger zone for more than two hours total. If your kitchen is hot (above 90°F), that window shrinks to just one hour.
This means only pulling what you need from the cooler for immediate prep, working in small batches, and putting unused portions right back into the fridge. When you master this flow—from careful receiving and smart storage to mindful prep—you build a powerful defense against foodborne illness that keeps everyone safe.
Choosing and Maintaining Sanitary Prep Surfaces
Your prep table is far more than just a surface to chop vegetables on; it's the frontline in your battle against food contamination. The type of table you choose directly impacts how well you can separate ingredients, how effectively you can clean, and whether you can maintain safe food temperatures. Getting the right equipment isn't just about convenience—it's a cornerstone of food safety.
In any commercial kitchen, stainless steel is the undisputed champion of sanitary surfaces. Its non-porous nature means bacteria, viruses, and mold have nowhere to hide. This is a massive advantage over materials like wood or plastic, which can develop tiny cuts and scratches that become breeding grounds for dangerous pathogens.
But here's something a lot of people don't realize: not all stainless steel is created equal. Picking the right grade is critical for both the table's lifespan and its ability to stay sanitary.
Understanding Stainless Steel Grades
The two grades you'll see most often in kitchen equipment are 304 and 430. They might look the same at a glance, but their composition—and where you should use them—is very different. Making the wrong choice can lead to rust and a compromised surface that's a nightmare to sanitize properly.
-
304 Stainless Steel: This is the premium choice and what you should be looking for in most food prep situations. It has a higher nickel content, which gives it superior resistance to rust and corrosion. Think of it as your go-to for any surface that sees a lot of moisture, acidic foods like tomatoes or citrus, or harsh cleaning chemicals. It’s the perfect material for your main worktables, sinks, and dish tables.
-
430 Stainless Steel: This grade is easier on the wallet but contains no nickel, making it much more likely to corrode over time, especially in wet conditions. It’s best reserved for dry applications, like equipment stands, storage shelves, or prep tables used only for assembling dry goods. If you use a 430-grade table for wet prep, you’re basically asking for rust and pitting, which creates an unsanitary surface.
For a deeper look into all the factors that go into a quality prep table, our guide on restaurant stainless steel tables is a great resource to check out before you buy.
Specialized Prep Tables for High-Risk Foods
Beyond your standard worktables, some equipment is specifically designed to tackle major contamination risks. These specialized stainless steel tables are engineered for specific tasks, which helps streamline workflow and enhance food safety.

Sandwich prep tables and pizza prep tables are prime examples of smart equipment design. These refrigerated units are essential for keeping high-risk ingredients out of the temperature danger zone when the kitchen gets slammed. A typical unit brilliantly combines three features into one station:
- Refrigerated Rail: This is the top section holding pans of perishable ingredients like sliced meats, cheeses, and prepped veggies at a safe, cold temperature, usually below 40°F.
- Cutting Board/Work Surface: A removable cutting board runs the length of the unit, giving you a dedicated space for assembly.
- Refrigerated Base: The cabinet underneath provides extra cold storage for backup ingredients, which means fewer trips to the walk-in cooler.
By building cold holding directly into the workflow, these tables make it so much easier for staff to do the right thing. Ingredients stay chilled right up until the moment they're used, which drastically cuts down the time they spend in the temperature danger zone where bacteria can multiply like crazy.
Comparison of Commercial Prep Table Types
Picking the right table really comes down to its specific job in your kitchen's flow. A table that’s perfect for plating might be a food safety risk if used for raw chicken prep.
This quick comparison breaks down the most common types to show how they fit into a contamination prevention strategy.
| Table Type | Primary Use Case | Key Features for Contamination Prevention | Ideal Stainless Steel Grade |
|---|---|---|---|
| Standard Work Table | General prep, plating, assembling dry ingredients. | Smooth, non-porous surface; easy to clean and sanitize; often has an undershelf for organized storage. | 304 for wet use; 430 for dry use. |
| Sandwich Prep Table | Assembling sandwiches, salads, and wraps. | Integrated refrigerated rail for high-risk ingredients; built-in cutting board; refrigerated base. | 304 for food contact surfaces. |
| Pizza Prep Table | Building pizzas with various toppings. | Extra-deep work surface for dough; refrigerated rail for toppings; often has a raised rail to prevent spillage. | 304 for food contact surfaces. |
At the end of the day, being smart about your prep surfaces is a proactive step toward building a safer kitchen. When you match the stainless steel grade to the task and use specialized refrigerated units for your high-risk foods, you create an environment where preventing contamination is just part of the system.
Putting Your Cleaning and Sanitization Plan into Action
A kitchen that looks clean isn't always a safe kitchen. That's one of the first and most critical lessons in food safety, because the biggest threats—pathogens like Salmonella and E. coli—are completely invisible to the naked eye.
To truly protect your guests, you need a solid plan that goes way beyond just wiping down surfaces. It all starts with understanding the crucial difference between cleaning and sanitizing.
Cleaning is the physical act of scrubbing away food bits, dirt, and grime. Sanitizing is the chemical process that kills the dangerous microorganisms left behind. You absolutely have to do both, in that order. Sanitizing a dirty surface is useless, and a surface that's clean but not sanitized can still be a breeding ground for bacteria.
This two-step process has to become a non-negotiable habit for every single task. Simply wiping down a prep table after dicing raw chicken isn't enough. First, it must be cleaned with soap and water, then treated with a properly mixed sanitizer for the required amount of time.
The Foundation: Manual Warewashing
For most kitchens, the three-compartment sink is the absolute workhorse of the entire cleaning operation. Getting it set up and used correctly is fundamental. Each compartment has a distinct job to do.
A proper setup looks like this:
- Wash Sink: This first bay needs to be filled with hot water (at least 110°F) and a good detergent. This is where you'll do the heavy lifting, scrubbing off all the physical food residue.
- Rinse Sink: The middle sink is just for clean, hot water. Its only purpose is to wash away all the soap and any leftover bits from the first sink.
- Sanitize Sink: The last compartment holds your chemical sanitizer, mixed with water at the right temperature and concentration—always follow the manufacturer's directions to the letter.
Items need to be completely submerged in that sanitizer for a specific amount of time, what we call contact time. This is usually between 30 and 60 seconds, and it's the time needed for the chemical to actually kill the pathogens. Pulling items out too early makes the whole process pointless.
It's so common to see staff eyeball the sanitizer concentration or rush the contact time during a busy service. But those small details are precisely what separates a safe kitchen from one that's a foodborne illness outbreak waiting to happen.
Creating a Bulletproof Cleaning Schedule
A plan is only as good as its execution. To make sure nothing gets missed, you need a crystal-clear cleaning schedule that leaves zero room for guesswork. This schedule should break down tasks into daily, weekly, and monthly jobs, assigning them to specific roles or shifts.
If you’re looking for more in-depth strategies on this, our guide to food safety and sanitation guidelines provides a great framework for building out your own program.
A well-designed schedule helps turn abstract food safety rules into concrete, everyday actions. It ensures the bigger deep-cleaning tasks don't get pushed aside during the chaos of daily service.
Sample Task Breakdown
Here’s a simple way you can structure a schedule to keep your team on track and accountable.
-
After Each Use:
- Clean and sanitize all food-contact surfaces (prep tables, cutting boards).
- Wipe up spills immediately.
- Wash, rinse, and sanitize all utensils and small equipment.
-
End of Shift/Daily Tasks:
- Empty, clean, and sanitize trash cans.
- Sweep and mop all floors.
- Break down, clean, and sanitize equipment like meat slicers and mixers.
- Wipe down walls in high-splash areas, like behind the dish pit.
-
Weekly Tasks:
- Delime sinks and dishwashers to remove mineral buildup.
- Deep clean walk-in refrigerators and freezers, including walls and shelving.
- Scrub and sanitize floor drains.
Putting these tasks into a checklist creates accountability and a clear record that the work is getting done. This systematic approach is the only way to truly embed safety into your kitchen's culture.
Building a Culture of Food Safety
Your top-of-the-line equipment and meticulous cleaning schedules are only as good as the team using them. Preventing contamination isn’t just a manager's job; it’s a shared responsibility that needs to be woven into the fabric of your entire operation.
Fostering a genuine food safety culture means every single employee—from the newest dishwasher to the head chef— feels empowered to prioritize safety and speak up about potential risks. This isn't just about following rules; it's about shifting to a shared value. That shift begins with excellent, continuous training. It's not a one-and-done session during onboarding. It’s an ongoing conversation that reinforces best practices every single day.
Core Training for Every Team Member
To really build this culture, every employee has to master a few non-negotiable fundamentals. Think of these as the foundation of a safe kitchen. They should be revisited regularly to keep them fresh in everyone's mind.
-
Proper Handwashing Technique: This is the single most critical action in stopping the spread of pathogens. Training can't just cover when to wash (before work, after handling raw meat, after a sneeze). It must hammer home the correct method: soap and warm water for at least 20 seconds.
-
Correct Glove Use: Gloves can create a false sense of security. Staff need to understand that gloves are a single-use item. They must be changed just as often as hands should be washed—between tasks, if they get torn, or after touching raw ingredients.
-
Sick Employee Policies: You need a clear, firm policy for when sick employees must stay home. No one should ever feel pressured to come in with symptoms like vomiting, diarrhea, or a fever. This policy is non-negotiable for protecting both your staff and your customers.
The impact of this kind of ongoing education is huge. Research actually shows that restaurants with formal food safety training programs can see a 50% reduction in health violations. It’s a direct link between knowledge and prevention.
"When every team member understands the 'why' behind the rules—like why they can't prep salads after handling raw chicken without a full handwash—they stop seeing it as a chore and start seeing it as their professional duty. That ownership is what defines a true food safety culture."
Leading by Example
Management has to walk the walk. When leaders consistently follow every single safety protocol, it sends a powerful message that these aren't just suggestions. They have to set the standard, correct mistakes constructively, and praise employees who show a real commitment to safety.
A strong culture is also supported by well-maintained tools. Keeping your kitchen in top shape is essential because it removes any excuse for unsafe practices. Consistent upkeep is a huge part of this, and our guide on commercial kitchen equipment maintenance offers practical tips to make sure your gear is always ready for safe use.
Ultimately, when the entire team works together, from leadership on down, food safety stops being a checklist and becomes an automatic, ingrained part of the daily routine.
Common Food Contamination Questions Answered
Even the most buttoned-up kitchens have moments of pure chaos. It’s during that dinner rush when quick questions pop up, and getting the right answer in a split second is what separates a safe kitchen from a risky one. Let's tackle some of those common “what if” scenarios head-on.
When the tickets are flying, it’s tempting to take a tiny shortcut. But here’s the thing I’ve learned over the years: those “tiny” shortcuts are where the biggest food safety disasters begin. Understanding why the rules exist is what empowers your team to make the right call, every time.
The Biggest Cross-Contamination Culprit
What’s the single biggest cause of cross-contamination? It’s not fancy equipment or complicated procedures. Hands down, it’s improper handwashing.
Pathogens don’t just magically appear on food; they get a ride. Usually, that ride is on an employee's hands. Someone handles raw chicken, then grabs a handful of lettuce for a salad without washing up in between? That's a direct delivery of bacteria to a ready-to-eat meal.
This isn’t just a theory; it’s a well-documented problem. The Centers for Disease Control and Prevention (CDC) consistently points to infected food handlers and poor personal hygiene as a major source of outbreaks. This is exactly why nailing down the when and how of handwashing is the most critical lesson in any kitchen.
A huge mistake people make is thinking gloves are a magic shield. They aren't. Gloves get just as dirty as bare hands. They absolutely must be changed between tasks, especially after you've touched raw meat, poultry, or fish.
Sanitizing During a Dinner Rush
Okay, let's get real. How often do you actually need to sanitize a prep station when you're slammed? The official guidance is to clean and sanitize surfaces after each new task, particularly when you switch from something raw to something ready-to-eat. In the real world, this means being constantly aware.
Think about a line cook who's been portioning raw steaks for four hours straight. Even though they haven't switched foods, that surface must be cleaned and sanitized at least once within that four-hour window. Why? It stops any bacteria that might be hanging around from multiplying to dangerous levels.
Here’s how to handle it during a busy service:
- Switching Foods: Sanitize the second you switch from raw proteins to anything else. No exceptions.
- After Spills: If raw meat juices splash or spill, stop what you’re doing. Clean and sanitize the area immediately.
- Constant Use: If you're working with the same raw food for a long stretch, set a timer. Hit pause to clean and sanitize that station at least every four hours.
Reusing a Cutting Board After Raw Chicken
I get this question a lot, and the answer is a hard no. You cannot just give a cutting board a quick wash after cutting raw chicken and then use it for vegetables. It's just not safe.
Even if you wash it well with soap and water, microscopic pathogens can hide in the tiny grooves and knife cuts on the board’s surface. The risk is just too high.
The only truly safe way to reuse that same board is to put it through a full wash, rinse, and sanitize cycle. This means either using a proper three-compartment sink or running it through a commercial dishwasher that gets hot enough to sanitize.
Honestly, the easier and much safer solution is to use a color-coded cutting board system. Red for raw meat, green for produce. It’s a simple visual system that’s one of the most effective tools for preventing a dangerous mix-up.
Bacterial vs Viral Threats
While you can't see either of them, bacteria and viruses are different beasts and you have to fight them in slightly different ways.
-
Bacteria (like Salmonella, E. coli): These are living little critters. They can actually grow and multiply on food, especially when it’s left in the temperature danger zone (40°F to 140°F). Our main weapon against bacteria is time and temperature control. We cook foods to the right internal temp and keep cold foods cold.
-
Viruses (like Norovirus, Hepatitis A): Viruses are different. They don't grow on food; they just use it as a taxi service to get inside a person. They’re most often passed to food from an infected person’s unwashed hands. The absolute best defense here is relentless personal hygiene—especially handwashing—and a strict policy that sick employees must stay home.
Knowing this distinction makes it clear why all the rules matter. You can cook a steak to a perfect 145°F to kill E. coli, but that won't mean a thing if a cook with Norovirus touches the plate before it goes to the customer. Temperature control and personal hygiene are two sides of the same food safety coin.
At PrepTables.com, we know that the right equipment is the foundation of a safe and efficient kitchen. From NSF-certified stainless steel work tables that are easy to sanitize to specialized refrigerated prep units that keep high-risk ingredients out of the danger zone, our products are designed to support your food safety culture. Explore our full range of professional kitchen equipment and build a kitchen where safety is built-in.