

How to Organize a Chest Freezer for Maximum Efficiency
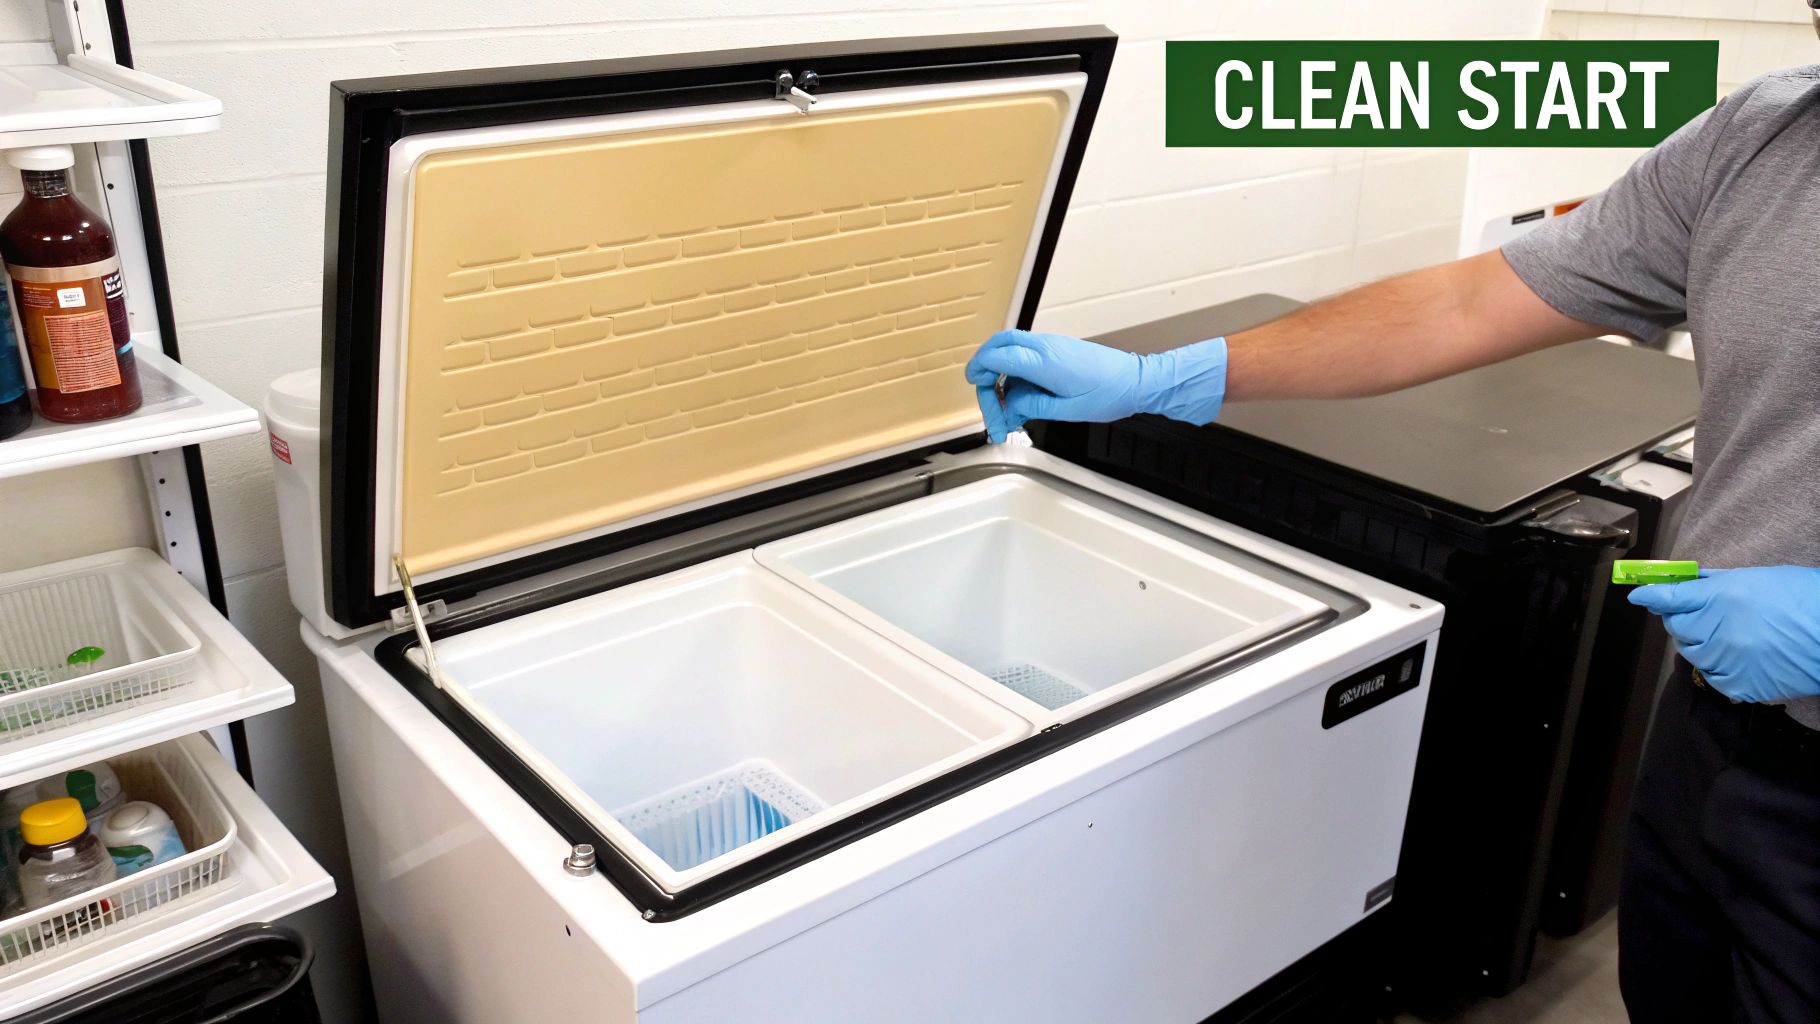
You can’t build a system on a messy foundation. Before you even think about bins and labels, you have to get the freezer itself ready. A truly organized chest freezer starts with a clean slate.
This isn’t just a cleaning chore; it's the first real step in creating a professional-grade inventory system. Starting with a totally empty and sanitized unit gets rid of old ice buildup, which is a notorious energy hog. More importantly, it prevents cross-contamination and ensures you're building your new system on a foundation of impeccable hygiene.
Setting the Stage for an Organized Freezer
Think of this as prepping your mise en place, but for the freezer itself. You wouldn't start a service with dirty pans, and you shouldn't start organizing with a frosty, crumb-filled freezer.
Emptying and Defrosting the Unit
The best time to tackle this is when your stock is naturally low, maybe the day before a big delivery arrives. First things first: unplug the freezer completely. Safety first.
As you pull everything out, get it into another freezer or into some commercial-grade coolers packed with ice. You need to keep those products at a safe temperature.
Once it's empty, just let it defrost. I know it's tempting, but whatever you do, don't try to chip away at the ice with a scraper or a knife. You can easily puncture the freezer's interior lining, causing permanent damage. Lay some old towels around the base to soak up the water and pull the drain plug if it has one. That frost build-up doesn't just eat up space; it makes the compressor work overtime, costing you money.
A Thorough Cleaning and Sanitizing Process
Now that the freezer is defrosted and dry, it's time for a deep clean. Your standard kitchen cleaner won't cut it here. You need something that cleans and sanitizes without leaving behind any sketchy chemical residues.
Here’s a simple, food-safe protocol we use:
- Initial Wash: Mix up some warm water with a few drops of basic dish soap. Grab a soft cloth and wipe down every single interior surface. Don’t forget the lid and the rubber gasket around the seal.
- Sanitizing Rinse: You can mix one tablespoon of unscented liquid bleach per gallon of water, or just use your kitchen's go-to commercial food-safe sanitizer. Wipe everything down again with this solution.
- Final Air Dry: This is key. Prop the lid open and let it air dry completely. If you close it up while it's still damp, you’ll just get a fresh layer of ice forming as soon as you plug it back in.
When you take the time to properly clean and sanitize your freezer, you're doing more than just organizing. You're actively protecting your inventory, upholding health code standards, and getting more life out of your equipment. It's a foundational practice that pays you back every single day in safety and efficiency.
Choosing the Right Tools for the Job
Now that you have a spotless freezer, it's time to gear up. The real secret to turning that deep freeze from a chaotic pit into a streamlined storage machine is your choice of containers. Forget flimsy bins from the home goods store; a professional kitchen demands commercial-grade tools built for the long haul.
The whole point is to pick gear that matches what you're storing and makes the most of that vertical space. This is how you transform a jumbled mess into organized, easy-to-grab layers.
Matching Containers to Your Inventory
What you store dictates the container you need. Pre-portioned steaks, bulk-blanched vegetables, and delicate pastries all have different requirements.
-
Heavy-Duty Plastic Bins: These are the workhorses of any freezer. You want food-grade, BPA-free plastic that won't get brittle and crack at sub-zero temperatures. Their solid walls are perfect for containing any potential leaks from thawing packages, which is a huge plus for preventing cross-contamination.
-
Wire Baskets: The biggest advantage here is air circulation. Cold air moves freely around everything, which is great for flash-freezing and keeping the temperature consistent across the unit. They’re ideal for packaged goods like frozen vegetables or bags of French fries.
-
Reusable Silicone Bags: For smaller portions, sauces, or marinated items, these things are a game-changer. They’re flexible, tough, and you can lay them flat to freeze, then stack them vertically like files in a cabinet to save a ton of space.
Of course, the right containers won't matter if the freezer itself isn't up to snuff. For a deeper dive into selecting the best equipment for your kitchen, check out our guide on the best commercial freezer models.
Optimizing for Stacking and Durability
In a chest freezer, stackability is non-negotiable. Look for containers with straight sides and strong, reinforced rims. This lets you build stable vertical layers, basically creating shelves where there aren't any. It's the only way to avoid crushing delicate items buried at the bottom.
Pay attention to construction when you're buying bins. Commercial-grade containers usually have reinforced corners and bottoms. They’re designed to handle the weight of bulk items like frozen roasts or cases of stock without buckling or cracking over time.
A well-chosen container system isn't just about being neat; it's a food safety strategy. By separating raw meats from ready-to-eat items in designated, color-coded bins, you create a physical barrier that drastically reduces the risk of cross-contamination.
To help you make the right call for your kitchen's needs, here’s a quick comparison of the most common container types.
Commercial Freezer Container Comparison
This table breaks down the best container options based on key requirements for a professional kitchen, helping you decide what to invest in for your specific needs.
| Container Type | Best For | Durability | Stackability | Air Circulation |
|---|---|---|---|---|
| Plastic Bins | Raw meats, sauces, bulk items, and anything that could potentially leak. | High | Excellent | Low |
| Wire Baskets | Pre-packaged goods like vegetables, fries, and boxed items. | Medium | Good | Excellent |
| Silicone Bags | Soups, stocks, marinades, and pre-portioned ingredients. | High | Fair | Medium |
| Stainless Steel Pans | Prepping and flash-freezing individual items before bagging. | Excellent | Excellent | Good |
When you invest in the right mix of these tools, you're building a system that’s both flexible and resilient. It means any staff member can find what they need quickly, which keeps the door-open time down, saves energy, and ultimately makes your entire kitchen run a lot smoother.
Implementing a Strategic Freezer Zoning System
A chest freezer without a system is just a cold, chaotic box. To turn it into an efficient workhorse for your kitchen, you need to map out the space and dedicate specific zones to different food categories. This creates a predictable layout where any staff member can find what they need in seconds.
The goal here is simple: stop the endless digging. When a line cook needs pre-portioned chicken breasts, they should know exactly which bin to grab without having to excavate three other layers of frozen product. This predictability is a game-changer for speeding up prep, cutting down on food waste from forgotten items, and keeping service running smoothly.
Blueprinting Your Freezer Zones
First things first, you need to categorize your inventory. Think about how your kitchen actually operates and group items in a way that makes sense for your workflow. A busy restaurant, for instance, might create zones that mirror its prep and service flow.
Common zones we see in professional kitchens include:
- Raw Meats and Poultry: This is your most critical zone for food safety. Always, always place this bin on the very bottom layer. This prevents any accidental drips from contaminating other foods below.
- Prepared Vegetables: Blanched, pre-chopped, or pureed vegetables can be grouped together for quick access during a busy service.
- Stocks, Sauces, and Soups: Liquids frozen flat in bags or in containers need their own dedicated space to keep them organized.
- Finished or Par-Cooked Dishes: Items ready for reheating, like a pre-made lasagna or portioned entrees, belong in an easy-to-reach zone near the top.
- Baked Goods and Breads: Keep delicate items like these in a separate bin on the top layer to prevent them from getting crushed.
Mastering Horizontal and Vertical Layouts
The depth of a chest freezer is its biggest organizational challenge. The trick is to think in both horizontal and vertical dimensions, using stackable bins to essentially create "shelves" where none exist.
Horizontal Zoning means dividing the freezer's length into sections. For example, the left side could be all proteins, the middle for vegetables, and the right for sauces and stocks. This method works especially well for wider freezers.
Vertical Zoning is all about layering. You use sturdy, stackable bins to build your way up. A typical setup might have raw meats on the bottom, a stack of vegetables on top of that, and then finished dishes in a shallower bin at the very top for quick grabs.
This simple flowchart shows the thought process for picking the right bins to build out your zones.
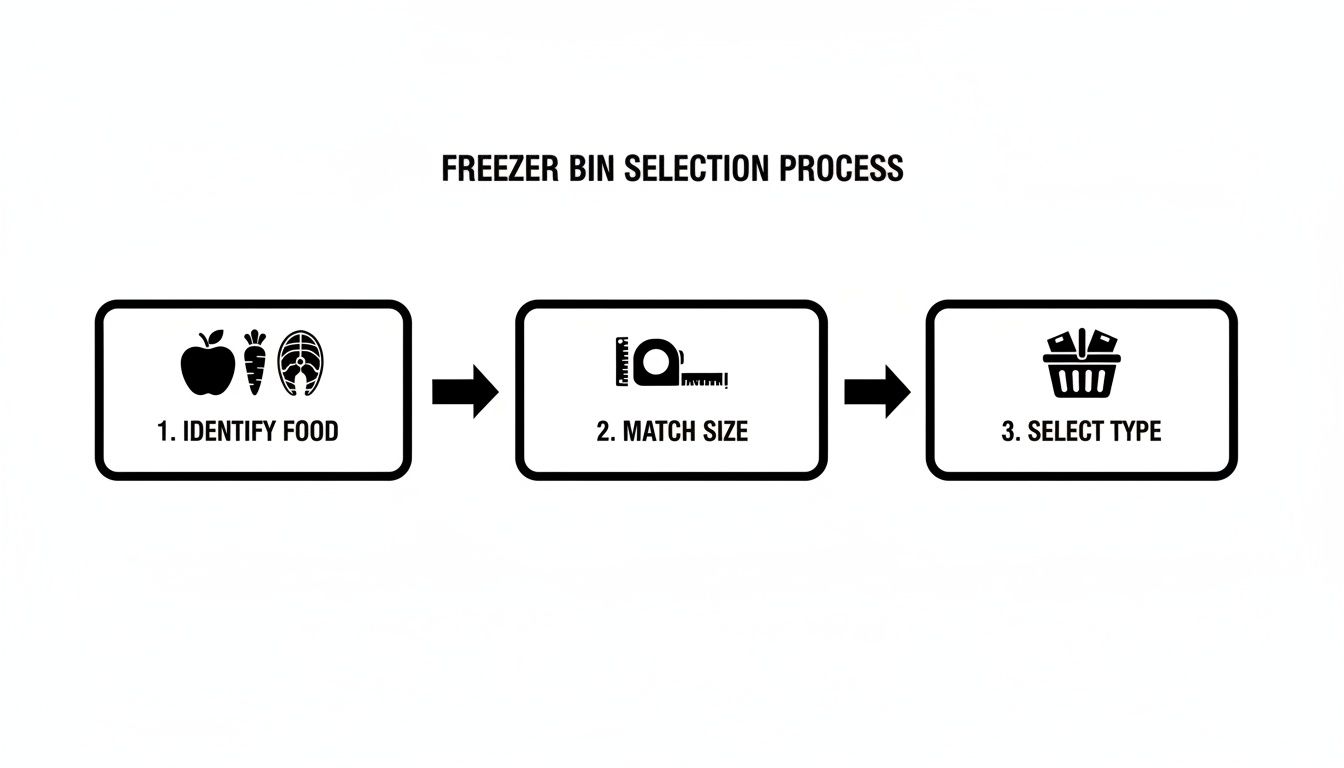
As you can see, effective zoning really starts with matching the container to the food type and the space you have to work with.
Pro-Tip: Once you've set up your zones, make a simple, laminated map of the freezer layout. Post it on the lid or a nearby wall. This visual guide is a fantastic training tool for new staff and a quick reminder for everyone, making sure the system actually sticks.
It's the same logic you'd use for planning your dry storage. A thoughtful freezer map prevents confusion and wasted time. The principles of smart storage are universal, whether you’re organizing frozen goods or arranging supplies on commercial kitchen shelves.
By taking a little time to blueprint your freezer with clear zones, you create a system that directly boosts your kitchen's efficiency. It's a foundational step that transforms your chest freezer from a simple storage box into a dynamic part of your daily workflow.
Mastering Inventory with Smart Labeling and FIFO
A perfectly zoned freezer is only half the battle. If you can't tell what’s inside or how long it's been there, you're just staring at a cold, expensive mystery box. This is where a rock-solid inventory system comes into play, built on two key pillars: smart labeling and a strict First-In, First-Out (FIFO) process. Get this right, and your freezer transforms from a simple storage unit into a high-performance kitchen asset.
Creating a Labeling System That Lasts
Let's be honest, standard labels just don't cut it in a freezer. They peel off in the cold, the ink smears from condensation, and suddenly your whole inventory system is shot. You need something that can handle the deep freeze without giving up.
Invest in good-quality, freezer-safe labels and a permanent marker that won't fade. Some old-school chefs swear by masking tape because it sticks well in the cold, but purpose-built freezer tape is your most reliable bet. Knowing the best way to label storage bins is fundamental to keeping everything clear and instantly identifiable.
Every single item that goes into that freezer needs a label. No exceptions. Keep it simple, clear, and consistent with this essential info:
- Item Name: Be specific. "Chicken Breast, 8oz Portions" is useful; "Chicken" is not.
- Date Frozen: The day it went into the freezer.
- Use-By Date: The last day it should be used to maintain quality.
This isn't just about being organized; it's a non-negotiable for food safety and meeting health codes. Plus, it kills all the guesswork during a busy service.
Implementing a Foolproof FIFO System
First-In, First-Out. It's a simple idea: use the old stuff first. But in a deep chest freezer, it's easy for older items to get buried and forgotten. Making FIFO a habit requires a deliberate strategy.
The process is simple. When you're adding new product, you have to physically move the older items to the top or front of the bin. The brand-new stuff always goes to the bottom or the back. This makes it second nature for your staff to grab the oldest stock first, which is a game-changer for cutting down on spoilage and waste.
A well-managed FIFO system isn't just an organizational tactic—it's a financial strategy. By methodically rotating your stock, you're protecting your food cost, keeping your product quality consistent for guests, and slashing the high cost of expired ingredients.
Tracking Inventory Beyond the Freezer
You shouldn't have to dig through the freezer just to know what you have. The final piece of the puzzle is a simple, visible inventory log that lives outside the freezer, giving your team an at-a-glance view of your stock.
Here are a few practical ways to track what's coming and going:
- Whiteboard Log: A small whiteboard mounted near the freezer is perfect. Create columns for the item, quantity, and freeze date. It’s easy for staff to update on the fly.
- Laminated Inventory Sheet: Keep a clipboard handy with a laminated, reusable sheet. A dry-erase marker is all you need to track changes throughout the shift.
- Color-Coded Bins: This is a great visual trick. Assign a different color bin for each week of the month. Maybe the first week is red, the second is blue, and so on. It gives you a quick visual cue of which stock is oldest.
These methods aren't just about tracking; they build accountability. For a more comprehensive look at running an efficient back-of-house, you might want to explore these inventory management best practices in our complete guide.
Keeping Your System Dialed In for the Long Haul
An organized chest freezer is a living system, not a one-and-done project. Without simple, repeatable routines, it'll inevitably slide back into that chaotic pit you just escaped. Consistent upkeep is what turns your freezer from a potential problem spot into a safe, efficient, and cost-effective asset.
This isn't just about tidiness. It’s about protecting your inventory, maintaining food quality, and making sure the equipment itself runs efficiently. A few minutes of scheduled work each week can save you a mountain of time and money over the course of a year.
The Essential Maintenance Routines
The real secret to long-term success is consistency. By weaving a few quick checks into your daily and weekly workflow, you’ll stop small issues from turning into massive headaches. These aren’t time-consuming chores; they're small habits that protect the whole system.
Get started with these two non-negotiables:
- Daily Temperature Logs: Every freezer needs a temp log posted right on it or nearby. Assign someone to check and record the temperature at the start of every shift. This simple step is your first defense against equipment failure and keeps you in line with health codes, ensuring everything stays safely at or below 0°F (-18°C).
- Weekly Zone Audits: Once a week, just take five minutes. Pop the lid and do a quick visual scan of your zones. Are the bins still in the right order? Did a new delivery get shoved on top instead of rotated to the bottom? This quick audit is crucial for enforcing your FIFO system and stopping the organizational structure from slowly falling apart.
Why You Can’t Skip the Defrosting Schedule
Ice buildup isn’t just an annoyance that hogs precious space—it's an energy thief. A thick layer of frost is like a winter coat for the inside of your freezer, forcing the compressor to work overtime just to keep things cold. That means higher energy bills and a shorter lifespan for the unit.
A scheduled defrost isn't just cleaning—it's preventative maintenance. Keeping ice to a minimum (no more than a quarter-inch thick) guarantees your freezer runs at peak efficiency, protecting both your food and your profits.
Plan on a full defrost for your commercial chest freezer at least twice a year. Do it more often if you see ice building up quickly. The perfect time is during a slow period when inventory is naturally low, which also gives you a great opportunity for a complete inventory reset. This is especially important because chest freezers are built to be energy-efficient; cold air stays put when you open the lid. Keeping them well-maintained capitalizes on this natural advantage. If you want to dive deeper, there's some great information on the efficiency of chest versus upright freezers.
Create a Simple SOP for the Team
Your system is only as good as the people using it. Pull together a simple, one-page Standard Operating Procedure (SOP) that spells out the rules of the freezer. Laminate it and post it right next to the unit where nobody can miss it.
Make sure it includes clear, punchy instructions on:
- Labeling Protocol: Item name, freeze date, and use-by date on every single package. No exceptions.
- FIFO Rule: New stuff goes to the bottom. Old stuff gets moved to the top.
- Zone Map: A simple diagram showing where each food category lives.
- Lid Check: Always make sure the lid is sealed tight after closing.
When maintenance becomes a documented and shared responsibility, the whole team is empowered to keep the system running smoothly. It’s how your organized chest freezer goes from a one-time win to a sustainable part of your kitchen’s daily success.
Common Questions About Chest Freezer Organization
Even with a killer system in place, questions always pop up when you're dialing in chest freezer organization for a pro kitchen. Let's tackle the most common ones we hear from chefs and kitchen managers. Getting these right from the start will keep your system running smoothly and safely.
How Often Should a Commercial Chest Freezer Be Defrosted?
In a busy commercial kitchen, you should plan to defrost your chest freezer at least twice a year. The non-negotiable rule, though, is to do it whenever the ice builds up to about a quarter-inch thick.
Once that ice gets too thick, it makes the compressor work overtime, which jacks up your energy bill and shortens the freezer's life. Try to schedule your defrosting during a slower service period to keep kitchen disruption to a minimum. It’s also the perfect time to do a full inventory count and tighten up any zones that have gotten a little messy.
What Is the Best Way to Stack Items to Avoid Crushing?
The secret here is using a system of tough, stackable bins. Think of them as creating an internal shelving unit inside the freezer. Always put your heaviest, densest items—like frozen roasts, cases of protein, or containers of stock—in sturdy bins at the very bottom.
For more delicate stuff like bread, pastries, or herbs, use shallower bins or even wire baskets and place them on top of the heavier bins. You never want to stack a heavy box directly on a soft product. A good bin system is your best defense against crushed, unusable inventory.
A classic mistake is just piling things in without thinking about weight distribution. Creating that solid base with your heavy items and layering the lighter products on top protects your inventory and makes it much safer and easier for your team to grab what they need.
Can I Use Cardboard Boxes to Organize My Freezer?
Absolutely not. We strongly advise against using cardboard boxes for any kind of long-term freezer organization. Cardboard acts like a sponge for moisture in a freezer, quickly getting soggy and weak. Before you know it, your carefully built stacks can collapse.
Even more critical is the food safety risk. Damp cardboard is a perfect breeding ground for bacteria and mold. Stick with materials made for a commercial kitchen environment: non-porous, food-safe plastic bins, stainless steel containers, or coated wire baskets. They're built to last and, most importantly, they're easy to properly clean and sanitize.
For durable, NSF-certified equipment that can handle the rigors of a professional kitchen, check out the full range of commercial refrigeration and stainless steel solutions from PrepTables.com. You can find the right tools to build out your kitchen's systems at https://preptables.com.