

How to Clean Stainless Steel Table (how to clean stainless steel table)
Your stainless steel table is the unsung hero of your kitchen. But let's be honest, keeping it pristine through the daily grind is a real challenge. We're talking about moving beyond a simple wipe-down. This is your complete playbook for maintaining that critical work surface.
We’ll cover everything from the specific needs of a standard worktop to the complexities of a refrigerated sandwich prep unit. I'll show you how to handle daily sanitation, deep cleaning, and even stubborn stain removal. Think of this as your strategy for protecting your investment and guaranteeing top-notch hygiene for years.
Why Proper Cleaning Is Non-Negotiable
Stainless steel is legendary for a reason—with the right care, a good prep table can last over 100 years. But neglect it, and you'll pay the price. Research shows that failing to clean these surfaces properly leads to scale buildup, which can slash efficiency by 15-25% in a busy food processing environment.
For your daily routine, stick to mild detergents and a natural bristle brush. Use light pressure to avoid creating tiny scratches where bacteria love to hide. It’s a simple rule that makes a huge difference.
First, Know Your Table
Not all prep tables are created equal, and your cleaning approach needs to adapt to the specific type in your kitchen.
- Standard Work Tables: These are the most common, usually just a flat top with an open base or an undershelf. Cleaning is pretty straightforward. Focus on the main surface, but don't forget to wipe down the legs and shelf where grease and grime love to collect.
- Tables with Cabinet Bases: That enclosed storage is great, but it requires extra attention. The inside of those cabinets, plus the door handles and tracks, can become hotspots for spills and food debris. Make sure to empty and clean them out regularly.
- Pizza Prep Tables: These specialized units have refrigerated wells for toppings and a wide cutting board. The challenge here is cleaning multiple components. You have the main steel surface, the individual ingredient pans that need daily sanitizing, and the cutting board that needs a good scrub to prevent cross-contamination.
- Sandwich Prep Tables: Very similar to pizza tables, these have refrigerated sections for all your cold cuts, cheeses, and veggies. The cleaning protocol is almost identical, emphasizing the need to clean both the stainless steel surround and all the individual food-holding components.
The big takeaway here is that specialized equipment demands a specialized cleaning plan. A one-size-fits-all approach just won’t cut it for refrigerated or complex prep units.
This guide will walk you through exactly what you need to do. If you're interested in the thinking behind creating clear, actionable instructions like these, learning how to create a step-by-step guide can offer some great insights.
Gathering Your Cleaning Toolkit
Before you roll up your sleeves, you need the right tools for the job. Using the wrong supplies can scratch the surface or leave behind harmful residues. Here’s a quick rundown of what you should have on hand.
Essential Cleaning Supplies for Your Stainless Steel Table
| Item | Purpose | Pro Tip |
|---|---|---|
| Microfiber Cloths | Daily wiping, polishing, and drying. | Have a few dedicated cloths: one for washing, one for rinsing, and one for drying/polishing to avoid cross-contamination. |
| Mild Dish Soap | General daily cleaning to cut through grease and grime. | A few drops in warm water is all you need. Avoid anything with harsh chemicals like bleach or chlorine. |
| Food-Safe Sanitizer | Kills bacteria and ensures a hygienic surface. | Always check that your sanitizer is approved for food-contact surfaces and follow the dilution instructions perfectly. |
| Baking Soda | Mild abrasive for deep cleaning and removing stuck-on food. | Make a paste with water to gently scrub away tough spots without scratching the steel. |
| White Vinegar | Removes hard water spots and mineral deposits. | A 50/50 mix with water in a spray bottle works wonders. Rinse thoroughly afterward. |
| Nylon Scouring Pad | For scrubbing tough messes without damaging the finish. | Always scrub in the direction of the grain to avoid visible scratches. Never use steel wool! |
| Olive or Mineral Oil | Polishing the surface to a shine and adding a protective layer. | Apply a tiny amount to a clean, dry cloth and buff in the direction of the grain for a streak-free finish. |
Having these items ready makes both daily cleaning and deeper maintenance jobs much faster and more effective. It's all about being prepared.
Know Your Stainless Steel Prep Table
Before you can clean a stainless steel table properly, you have to know what you’re working with. Not all tables are created equal, and the subtle differences in their design, material, and build quality will dictate the best way to care for them. Get this right, and you'll prevent damage and make sure your cleaning actually works.
Think of it this way: you wouldn't use the same cleaning method on a wood cutting board as you would a cast iron pan. It's the same principle here. A simple flat-top table has very different needs than a complex refrigerated prep station. The goal is to match your technique to the equipment.
Common Commercial Prep Table Designs
The most basic and common model is the standard work table. These are the true workhorses of any kitchen, usually just a flat top with either an open base or an undershelf for storage. Cleaning is pretty straightforward, but that undershelf is a magnet for spills and forgotten items, so it needs consistent attention.
A step up from that is the table with a cabinet base. The enclosed storage is great for keeping supplies organized and out of sight, but it also creates a new cleaning challenge. The inside of those cabinets, plus door handles and sliding tracks, can easily trap food debris and become breeding grounds for bacteria, demanding a much more thorough routine.
Then you have the specialized units.
- Pizza Prep Tables: These are complex stations. They combine a stainless steel work surface with refrigerated wells for toppings and often have a wide, built-in cutting board. Cleaning isn't just about the steel; it means removing and sanitizing every single ingredient pan and scrubbing the cutting board to stop flavor transfer and bacterial growth.
- Sandwich Prep Tables: Very similar to their pizza-focused cousins, sandwich prep tables also have refrigerated compartments for meats, cheeses, and veggies. The cleaning process is nearly identical, requiring meticulous attention to both the stainless steel frame and all the components that touch food.
The bottom line is this: the more complex the table, the more detailed your cleaning process needs to be. A quick wipe-down just won't cut it for a unit with refrigeration and multiple food wells.
Understanding Steel Grades and Gauge
Beyond the table's design, the steel itself plays a huge role. You'll often see numbers like 304 or 430 when you're looking at tables. These aren't just random specs; they refer to the grade of the stainless steel.
304-grade stainless steel is the gold standard for food prep surfaces. It contains more chromium and nickel, which makes it exceptionally resistant to rust and corrosion from salts, acids, and cleaning chemicals. It’s the top choice for durability in a tough kitchen environment.
430-grade stainless steel, on the other hand, is a more budget-friendly option but has less nickel. This makes it a bit more likely to corrode over time, especially if it's constantly exposed to harsh chemicals or acidic foods. You'll often find it used for undershelves or parts of the table that don't have direct food contact. For a deeper dive, check out our guide that explains the differences between stainless steel grades in more detail.
Another key factor is the gauge, which is just a fancy word for the steel's thickness. A lower gauge number means thicker, stronger steel. For example, 14-gauge is much heavier and more robust than 18-gauge. While this doesn't dramatically change how you clean it, thicker steel is less likely to dent and can handle more aggressive use and scrubbing over its lifespan. Knowing your table's specs helps you understand its limits and its value.
The Daily Ritual for Cleaning and Sanitizing
In any professional kitchen, your stainless steel table is more than just a work surface—it's ground zero for food safety. A rock-solid daily cleaning and sanitizing routine is your absolute best defense against cross-contamination. This isn't just about a quick wipe-down; it's a methodical process that keeps you ready for service and on the right side of health inspectors.
Phase 1: Pre-Cleaning to Clear the Surface
Before a single drop of water hits the table, you need to clear the canvas. This is the pre-cleaning phase, and it’s all about getting rid of the big stuff.
Grab a plastic scraper or a squeegee and clear off all the loose food scraps, crumbs, and other debris. Scrape everything straight into a waste bin to keep your station tidy and efficient. This simple move prevents all those food bits from turning into a greasy mess when you start washing, which makes the whole job go faster.
Phase 2: The Wash and Rinse Cycle
With the surface clear, it’s time to tackle the real grime. This two-part process is what cuts through the grease and buildup from a busy shift.
First, mix up a solution of warm water and a mild, non-chlorinated detergent. Using a soft microfiber cloth, wash the entire table, always moving with the grain of the steel. This isn’t just for looks; wiping with the grain helps pull tiny particles out of the metal's microscopic grooves and avoids creating fine scratches where bacteria love to hide.
After washing, the rinse is absolutely critical. Toss the soapy cloth aside and grab a fresh, clean one. Dip it in warm, clear water and wipe down the entire surface again to get rid of every last bit of detergent. Any soap left behind can mess with your sanitizer's effectiveness or leave a sticky film that just attracts more dirt.
Pro Tip: Never, ever use the same cloth for washing and rinsing. Keeping them separate is one of the simplest ways to prevent cross-contamination. You don't want to just smear diluted grime back onto the surface you're trying to clean.
Phase 3: Sanitizing for Food Safety
Washing gets rid of the dirt you can see, but sanitizing is what kills the invisible threats like bacteria and other pathogens. For any surface that touches food, this step is non-negotiable.
Once the table is rinsed, apply a food-safe sanitizer. Make sure you follow the manufacturer's directions for the right dilution and, most importantly, the right contact time. This is key—the sanitizer needs to sit on the surface for a specific period, usually somewhere between 30 seconds and a few minutes, to actually work. If you wipe it off too soon, you're not really sanitizing.
You can dive deeper into choosing the right product in our guide to food-safe sanitizer for your kitchen.
After the required dwell time has passed, the final step is to let the table air-dry completely. Don't be tempted to wipe it with a towel, which can just reintroduce contaminants you worked so hard to eliminate. A properly sanitized, air-dried surface is the safest possible starting point for your next prep task.
This daily wash-rinse-dry routine is backed by solid science. A 2023 Stat Medical analysis of 300-series steel, used in 85% of commercial tables, shows that daily wiping with mild detergent and distilled water prevents 98% of surface damage. Since the 1970s, when bleach was phased out for corroding kitchen equipment, vinegar-based solutions have seen a 40% rise in adoption, killing 99% of E. coli without harming the steel. For businesses like pizzerias and labs, sticking to non-bleach disinfectants as part of this daily ritual ensures hygiene and reduces equipment downtime by a remarkable 50%. You can explore more about these findings and instructions for cleaning stainless steel tables to protect your investment.
Tackling Tough Stains, Rust, and Discoloration
Daily cleaning is your first line of defense, keeping your stainless steel table sanitary and ready for service. But in a busy professional kitchen, it's not always enough. Over time, you’re bound to face tougher challenges—the kind that a quick wipe-down won't solve.
This is where you learn to handle the stubborn stuff, from caked-on food residue to the dreaded appearance of rust spots. Knowing how to fix these issues without damaging the surface is the key to making your equipment last. The wrong approach can turn a small stain into a permanent scratch, but the right technique will restore your table's finish and keep it looking professional.

Think of the daily wash, rinse, and dry cycle as the foundation. Get this right, and you'll prevent most of the tougher problems from ever showing up.
Dealing with Burnt-On Food and Residue
It happens. A hot pan gets left on the surface for a second too long, or a spill gets cooked right onto the steel. Your first instinct might be to reach for a metal scraper or steel wool, but don't do it. Abrasive tools will permanently scratch your table, creating tiny grooves where bacteria can hide.
Instead, let's use a much safer—and surprisingly effective—solution: baking soda.
- Start by mixing baking soda with a little warm water until you have a thick paste.
- Apply the paste directly over the burnt-on mess and let it sit for 15-20 minutes. This gives the alkaline paste time to work its magic and break down the carbonized food.
- Next, grab a non-abrasive nylon scrubber or a soft cloth and gently scrub the area, always moving in the direction of the steel's grain.
- Wipe away the gunk with a clean, damp cloth and give the spot a final rinse.
- Finish by drying the surface completely with a microfiber cloth to prevent water spots.
This simple method lifts the residue without harming the steel's finish, making it the perfect trick for those baked-on disasters.
Erasing Heat Tint and Discoloration
Ever notice a weird rainbow or bluish-gold tint on your table, especially near equipment that gets hot? That's called heat tint. It happens when high heat thickens the steel's protective chromium oxide layer. While it doesn't actually damage the steel, it’s not a great look in a clean kitchen.
To get rid of it, you'll want a cleaner made specifically for the job. Look for a non-abrasive stainless steel cleaner that contains a mild acid, like citric acid. Just apply a small amount to a soft cloth and gently polish the discolored area, remembering to move with the grain. A quick rinse and a thorough dry will bring back that uniform, professional finish.
Conquering Rust and Preventing Its Return
Seeing orange or brown spots on your "stainless" steel can be alarming. The good news is, it's usually not the table itself rusting. This is often called 'rouging,' and it happens when tiny iron particles from other sources—like steel wool, old water pipes, or other utensils—land on the surface and start to oxidize.
If you ignore it, these spots can eventually compromise the steel’s protective layer and lead to real pitting and corrosion. The goal is to remove the rust and restore that protective barrier, a process known as passivation.
Never, ever use steel wool or harsh scrapers to remove rust spots. You'll just embed more iron particles into the surface and make the problem a hundred times worse. The idea is to remove the contaminant, not scratch the steel.
To tackle rust the right way, an acid-based cleaner is your best friend. In fact, poor maintenance is responsible for 20-30% of stainless steel equipment failing prematurely. Treating the surface with the right solution is critical. For a deeper dive, our article on https://preptables.com/blogs/prep-tables/acid-rust-removal offers a comprehensive look at the process.
Often, what looks like early rust or discoloration is actually mineral buildup. For tips on dealing with that common issue, check out this guide on how to remove hard water stains.
When cleaning, a quick summary of what to do versus what to avoid can be a lifesaver. Keep these simple rules in mind to protect your investment.
Do's and Don'ts of Stainless Steel Cleaning
| Do | Don't |
|---|---|
| Always clean with the grain of the steel. | Never use steel wool or abrasive scrapers. |
| Use soft cloths, microfiber, or nylon scrubbers. | Never use chlorine bleach or cleaners with chlorides. |
| Rinse thoroughly with clean water after cleaning. | Never let salty or acidic foods sit on the surface. |
| Dry the surface completely to prevent water spots. | Never clean in circles; it can create swirl marks. |
| Use a dedicated stainless steel cleaner for polishing. | Never use abrasive powders like household scouring powders. |
Following these guidelines will not only get your tables clean but will also preserve their finish and extend their lifespan in your busy kitchen.
Polishing and Long-Term Maintenance Tips
True care for your stainless steel table goes way beyond the daily wash-and-rinse cycle. It's about keeping it looking professional and extending its life with some smart, proactive maintenance. Think of it like a chef sharpening their knives—regular polishing and a solid upkeep schedule protect your investment and keep your kitchen's most important surface in prime condition.
This final step is what separates a table that just gets by from one that consistently looks brand new. It turns a simple chore into a genuine asset management strategy.
Achieving a Streak-Free Shine
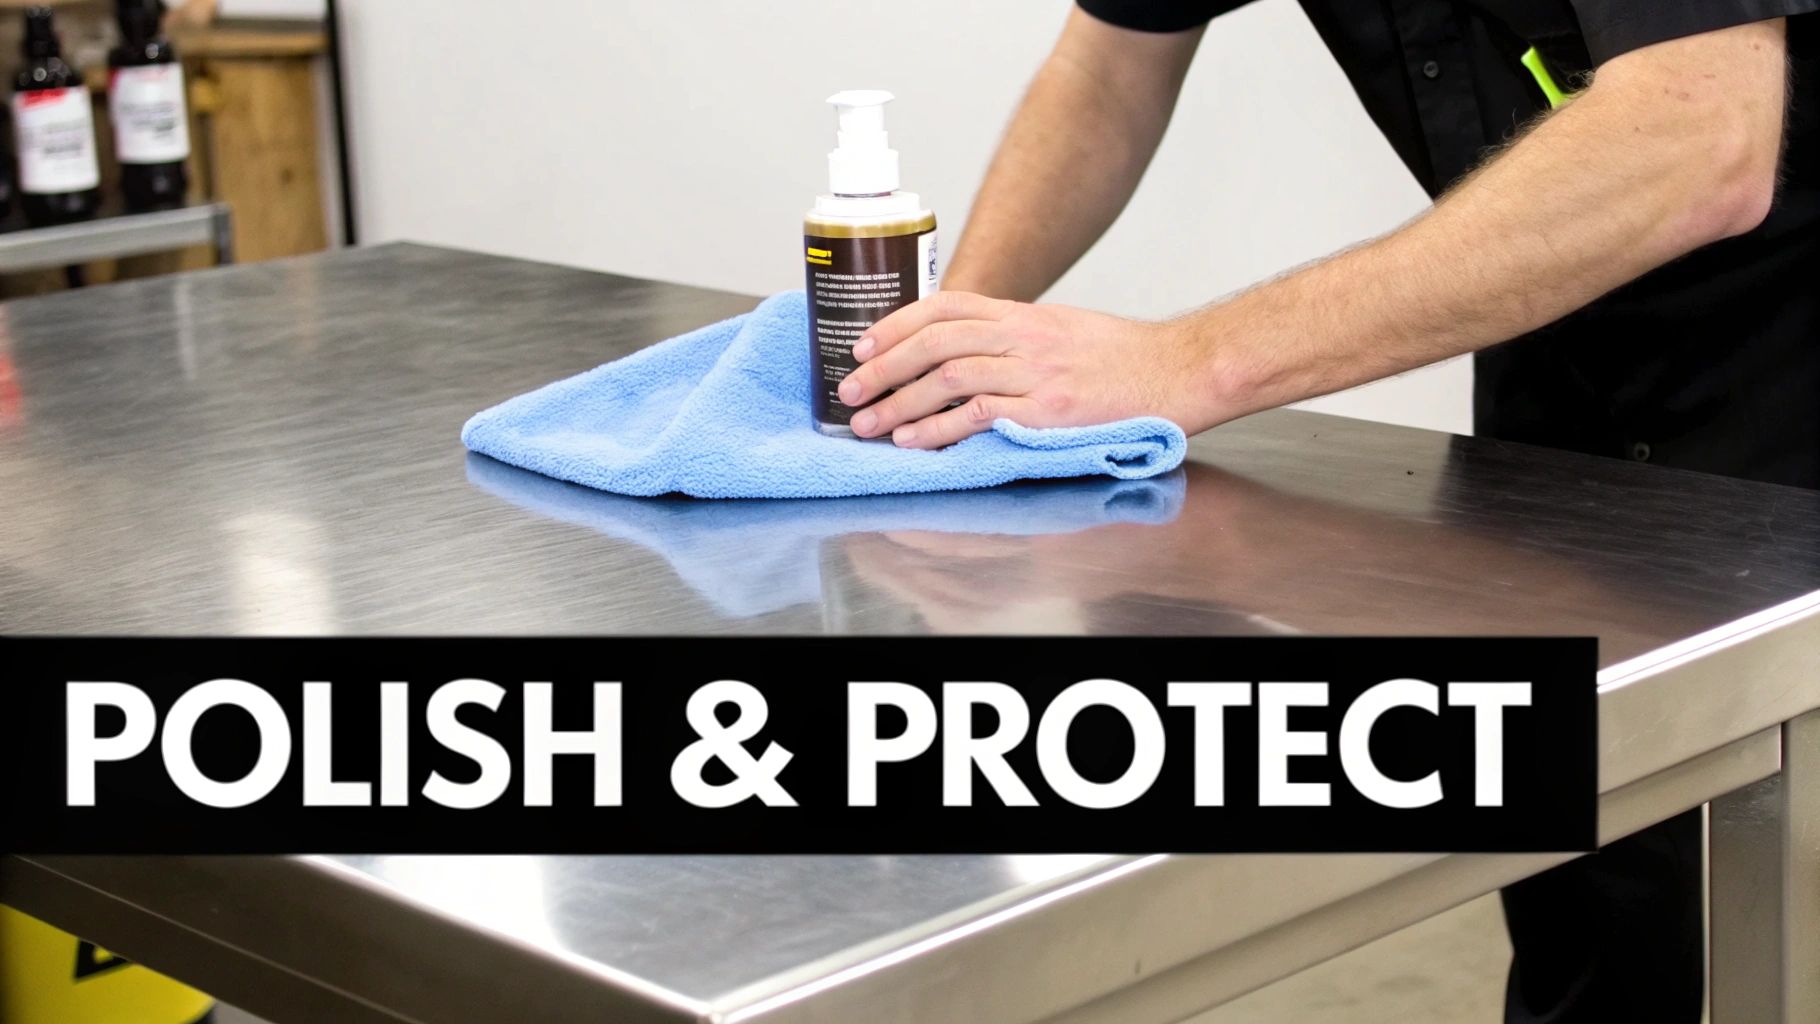
Once your table is completely clean and dry, it's time for the final touch: polishing. This isn't just for looks; it restores that brilliant luster and adds a microscopic protective layer that helps fight off water spots and fingerprints.
Getting that flawless, streak-free finish is all in the technique. You’ve got a couple of great options for a polishing agent: either a dedicated food-safe stainless steel polish or a light mineral oil. Even olive oil can work in a pinch. The secret is to use it sparingly. A little goes a very long way.
Apply a small amount to a clean, dry microfiber cloth, not directly onto the steel. Gently buff the surface, always moving in the direction of the grain. This is critical. Wiping in circles or against the grain will leave you with a blotchy, streaky mess. Following the grain works the polish evenly into the steel's microscopic lines.
The grain is your guide. Polishing against it creates a hazy finish, but buffing with it aligns the polish within the steel's natural texture for a uniform, reflective shine.
Establishing a Maintenance Schedule
In a professional kitchen, consistency is everything. Stop thinking of cleaning as a reaction to messes and start treating it as a proactive routine. A simple, tiered schedule makes long-term care manageable and incredibly effective.
Here’s a practical schedule you can put into action right away:
- Daily Clean: This is your end-of-day non-negotiable. Run through the full wash, rinse, and sanitize process every single day. No exceptions. This prevents food residue and bacteria from ever getting a foothold.
- Weekly Polish: Pick a specific time once a week—maybe during a slow period—to give your tables a proper polish. This keeps the protective coating intact and ensures the steel looks its best under those harsh kitchen lights.
- Monthly Inspection: Once a month, take a few extra minutes to do a deep-dive inspection. This is your chance to find small issues before they blow up into big problems.
A structured approach like this takes all the guesswork out of maintenance.
Your Monthly Deep-Cleaning Checklist
Your monthly check-in needs to cover more than just the main work surface. You've got to focus on the spots that are easy to forget—the places where grime and potential problems love to hide.
Use this quick checklist to guide your inspection:
- Examine Legs and Feet: Wipe down the legs from top to bottom and check the adjustable feet. Make sure they're clean, level, and not collecting gunk where they meet the floor.
- Inspect Undershelves: Clear everything off the undershelf and give it a thorough cleaning. Look closely for any signs of rust or corrosion, paying special attention to corners and weld points where moisture loves to sit.
- Check Casters: If your table is on wheels, those casters need some love. Clean out any hair, food bits, or grime stuck in the wheels. Check that they swivel and lock correctly. A sticky caster isn't just annoying; it's a safety hazard.
- Tighten Hardware: The constant vibration in a busy kitchen can loosen things over time. Give any visible nuts and bolts a quick check to make sure everything is still tight and secure.
Sticking to this schedule ensures every single part of your stainless steel table is cared for, protecting its functionality and appearance for years to come.
Frequently Asked Questions About Stainless Steel Care
No matter how dialed-in your daily cleaning routine is, questions are going to pop up. When you're working with stainless steel day-in and day-out in a busy kitchen, unique situations happen. It's critical to have the right answers to protect your gear and keep your workspace safe. This section tackles some of the most common things we hear from kitchen pros about caring for their tables.
Think of this as your go-to for those "what if" moments that inevitably come up during a busy service.
Is It Safe to Use Bleach to Sanitize My Stainless Steel Table?
This is a big one, and the answer is a hard no. Bleach might be a great disinfectant, but it's loaded with chlorine—the absolute arch-nemesis of stainless steel. When chlorine hits that protective chromium oxide layer on your table, it starts to eat away at it, causing a nasty type of corrosion called pitting.
Pitting isn't just ugly; it creates tiny, microscopic holes where bacteria can set up shop, making your table almost impossible to properly sanitize. Over time, hitting it with bleach again and again will cause permanent damage and rust-like stains, seriously cutting down the life of your table.
Always reach for a quaternary ammonium compound (we just call it "quat") sanitizer or another food-safe, non-chlorinated solution. They're designed to kill pathogens without wrecking your stainless steel surfaces.
How Can I Remove Scratches from the Surface?
Scratches are just a fact of life in a working kitchen. Every knife slip, every pan dragged across the top—it all leaves a mark. The first thing to do is just accept that your table is a workhorse, not a museum piece. A few signs of wear mean you're actually getting work done.
That said, you do have a few options, depending on how bad the scratch is.
- Minor Scuffs and Light Scratches: For those super-fine surface scratches, you can sometimes make them less noticeable. Clean the spot well, then use a non-abrasive stainless steel cleaner or a special scratch removal kit to gently buff the area. The golden rule? Always work in the same direction as the steel's grain. This helps blend the scratch into the finish.
- Deep Scratches and Gouges: If you can feel the scratch with your fingernail, it's probably there to stay. Trying to aggressively buff out a deep gouge usually just makes it worse, leaving you with a big, hazy patch that's more eye-catching than the original scratch.
The best plan here is to focus on keeping those deeper scratches clean. Use a soft nylon brush during your daily cleaning to make sure no food gunk gets stuck in there. It's often better to embrace a few "character marks" than to risk a bad repair job.
What’s the Best Way to Clean the Casters and Legs?
The legs and casters (the wheels) are easily the most ignored parts of a prep table, but they’re crucial for hygiene. They live on the floor, collecting everything from spilled sauces to dirt tracked in from the dining room. If you don't clean them, you're just rolling contaminants all over your kitchen.
Here’s a simple way to keep them clean:
- Lock the Brakes: First thing's first—lock the casters. The last thing you want is the table rolling away while you're trying to scrub it.
- Scrape Off the Gunk: Grab a putty knife or a small brush and get all the caked-on food, hair, and whatever else is wrapped around the axles. A can of compressed air works wonders for blasting out the hard-to-reach bits.
- Give Them a Good Wash: Use the same mild soap and warm water you use for the tabletop. A stiff nylon brush is your best friend here for getting into all the nooks and crannies of the caster assembly. Don't be shy with the elbow grease.
- Rinse and Dry Completely: Wipe everything down with a clean, damp cloth to get the soap off. Then, dry the legs and casters thoroughly with another clean cloth. This is key to preventing rust, especially on any parts of the caster that aren't stainless steel.
Make this a part of your monthly deep clean. It ensures your table is clean from top to bottom and keeps your equipment rolling smoothly and safely.
For professional-grade equipment that stands up to the demands of a busy kitchen, explore the wide selection of NSF-certified tables at PrepTables.com. Find the perfect stainless steel work surface for your needs at https://preptables.com.