

How to Clean Stainless Steel Grill Grates for a Pro Finish
Keeping your stainless steel grill grates in pristine condition is more than just a chore—it’s the foundation of great food, kitchen safety, and smart equipment management. The secret isn't complicated. It boils down to a simple, consistent routine: burn off the gunk right after service, give the grates a good brush while they're still hot, and then wipe on a light coat of oil. Think of it as creating a protective shield for your grill. This basic process is your best defense against the stubborn buildup and corrosion that can plague any busy kitchen.
The Professional Approach to Spotless Grill Grates
In a high-pressure commercial kitchen, cleaning is never just about looks. It's about performance and, frankly, profitability. When you let grates get neglected, you're asking for trouble—food starts to cook unevenly, you get funky flavor transfer between dishes, and your expensive equipment gives out way too soon. The smart move is to set up a cleaning system that covers everything from the daily grind to the occasional deep clean. This holds true whether you're running a bustling restaurant or a tight-knit food truck crew.
This isn't just about saving a little time, either. We're talking about a serious impact on your bottom line. In professional kitchens, where a single grill can handle thousands of sessions a year, proper cleaning can extend the life of your stainless steel grates by up to 300%. A 2023 survey from the National Restaurant Association found that 68% of commercial kitchens in the U.S. slashed their replacement costs just by implementing daily hot-cleaning routines. On average, they saved $1,200 per grill, per year.
Understanding the Levels of Clean
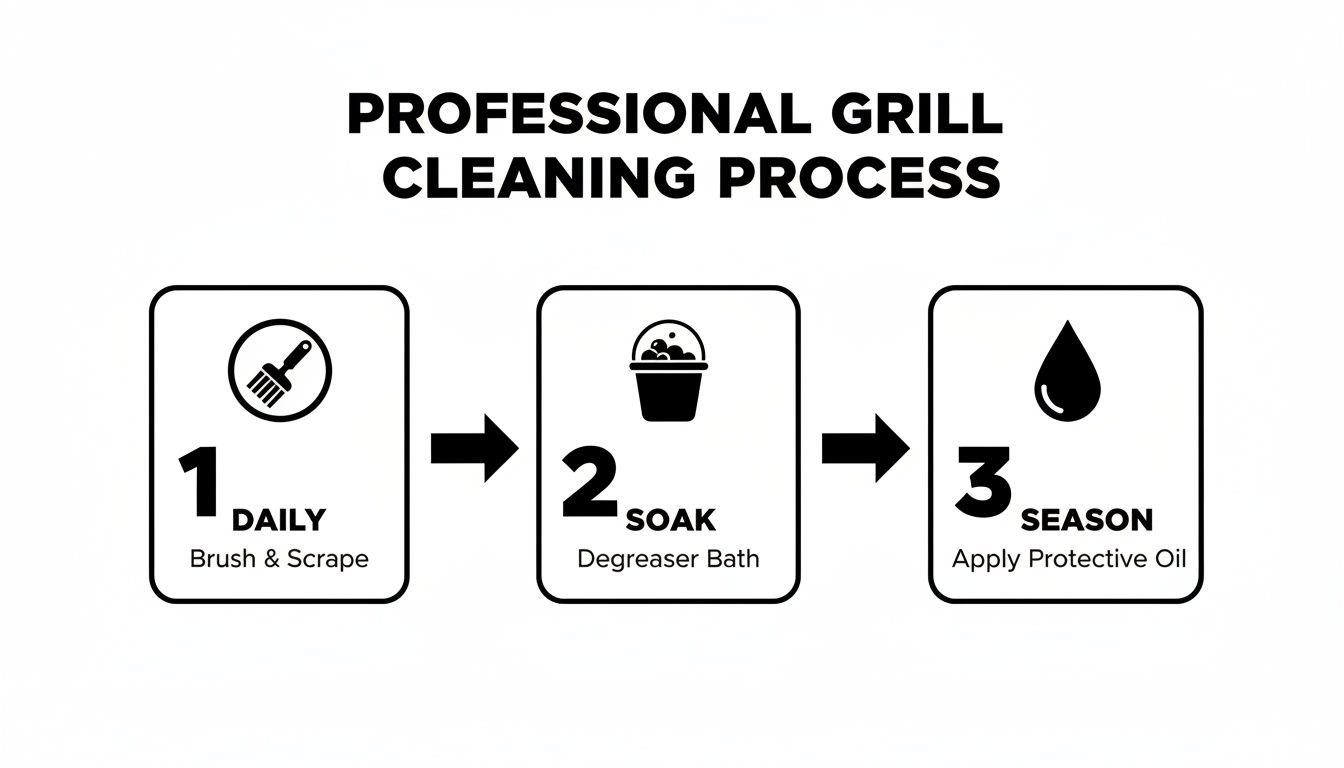
You wouldn't use a sledgehammer to crack a nut, and the same idea applies to cleaning. Your maintenance schedule needs to distinguish between the quick daily tidy-up and the more serious deep clean.
- Daily Maintenance: This is the non-negotiable "burn and brush" you do after every single service. The whole point is to knock off fresh food debris before it has a chance to carbonize and weld itself to the grates.
- Periodic Deep Clean: This is a more involved process you'll schedule weekly or maybe monthly, depending on how hard you're pushing your grill. It means soaking and scrubbing to get rid of the deep-seated grease and carbon that a quick daily brush just can't touch.
Of course, knowing how to clean is only half the battle. You also need to know what you're cleaning. For a closer look at the material itself, check out our guide on the different stainless steel grades explained.
A well-maintained grill is a reliable tool. The time you invest in cleaning your grates pays dividends in food quality, customer satisfaction, and the longevity of your most valuable kitchen assets.
While we're focused on grills here, the core principles of stainless steel care apply across your entire kitchen. The same logic for preventing scratches and corrosion is covered in this practical guide to professional stainless steel work surfaces. The end goal is to build a system that keeps everything—from your prep tables to the cooking line—in peak condition.
Essential Cleaning Methods at a Glance
To keep things straight, here's a quick breakdown of the three core cleaning protocols. Think of this table as your cheat sheet for maintaining perfect grill grates.
| Cleaning Method | Best For | Frequency | Key Tools |
|---|---|---|---|
| Hot Brush-Down | Immediate post-service cleanup to remove fresh food residue. | Daily, after every service. | High-heat grill brush, scraper, oil-soaked cloth. |
| Warm Water & Degreaser Scrub | Removing moderate, built-up grease that daily cleaning misses. | Weekly, or as needed based on use. | Stiff nylon brush, commercial degreaser, cloths. |
| Overnight Soak | Tackling heavily carbonized, stubborn, caked-on deposits. | Monthly or quarterly. | Large soaking tub, food-safe degreaser, scraper. |
Each method serves a specific purpose, and integrating all three into your regular kitchen routine is the most effective way to ensure your grates are always ready for service.
Your Essential Daily Cleaning Routine
The secret to spotless grates isn't some marathon deep-cleaning session once a month. It’s all about a consistent, non-negotiable ritual you perform after every single service. This is the backbone of grate maintenance in any professional kitchen, and it’s what prevents the kind of stubborn, carbonized buildup that creates bigger headaches down the line. It all starts with the classic "burn and brush."
Right after the last order is off the grill, crank it up to high heat. You're aiming for around 500°F. Just let it rip for a good 10-15 minutes. That intense heat acts like a self-cleaning oven, incinerating any leftover food bits and turning stubborn grease into a dry, flaky ash that’s a whole lot easier to deal with.
Once everything is thoroughly charred, it's time to get scrubbing. Grab a high-quality stainless steel or brass bristle brush and give the grates a vigorous cleaning.
This simple process is the first line of defense in a complete cleaning cycle, which includes less frequent but equally important deep soaks.
As you can see, getting that daily brush-down right makes everything else—the soaking, the seasoning—work that much better.
Perfecting Your Brushing Technique
Believe it or not, how you brush is just as important as when you brush. Always scrub in the same direction as the grate rods. Think of it as going with the grain, not against it.
Brushing crossways might seem like it gets more gunk off, but it actually creates microscopic scratches on the steel's surface. You won't see them at first, but those tiny grooves become perfect little traps for food and grease, making every future cleaning session a bigger battle.
Pro Tip: It's a lot like sanding wood. You always sand with the grain to get a smooth, clean finish. The same principle applies right here to keep your stainless steel grates in top shape and naturally non-stick.
The Final and Most Critical Step
After brushing, don't just walk away. The final step is to re-season the grates. While they're still warm—but not scorching hot—apply a very light coat of a high-smoke-point oil. Canola, grapeseed, or even standard vegetable oil are all great choices for this.
Pour just a little bit onto a clean, folded cloth or a few paper towels, grab it with some tongs, and wipe a thin, even layer across the entire surface. This quick action is a two-for-one deal:
- It Restores the Non-Stick Surface: This preps the grates perfectly for the next service, ensuring a clean release for delicate items like fish or chicken.
- It Creates a Protective Barrier: That thin layer of oil shields the raw steel from moisture and air, which are the main culprits behind rust and corrosion.
This re-seasoning step is non-negotiable, whether you’re a chef at a high-volume steakhouse or a line cook at a sandwich station who depends on that grill every day. In fact, research shows that a simple weekly oil-based polish can slash corrosion rates by a whopping 75% in commercial kitchen settings. For pros who invest in quality equipment from suppliers like PrepTables.com, this small habit keeps their gear looking and performing its best. The experts at BBQGuys have seen it firsthand, noting that up to 35% of untreated surfaces can show significant scratching within just a year in a busy kitchen.
Mastering the Deep Clean for Stubborn Residue
Daily cleaning is your first line of defense, but let's be real—even the most disciplined routine won't stop that heavy, carbonized gunk from building up over time. After weeks of service in a busy kitchen, you'll inevitably face that stubborn, black residue that seems practically welded to the grates. This is where a periodic deep clean isn't just for looks; it's critical for food quality and hygiene.
When you start to see food sticking or notice hot spots causing uneven cooking, that's your cue. It's time to go beyond the daily brush-down. The good news? You don't need harsh, caustic chemicals that can permanently damage your beautiful stainless steel. A couple of proven, food-safe methods can restore your grates to their former glory.
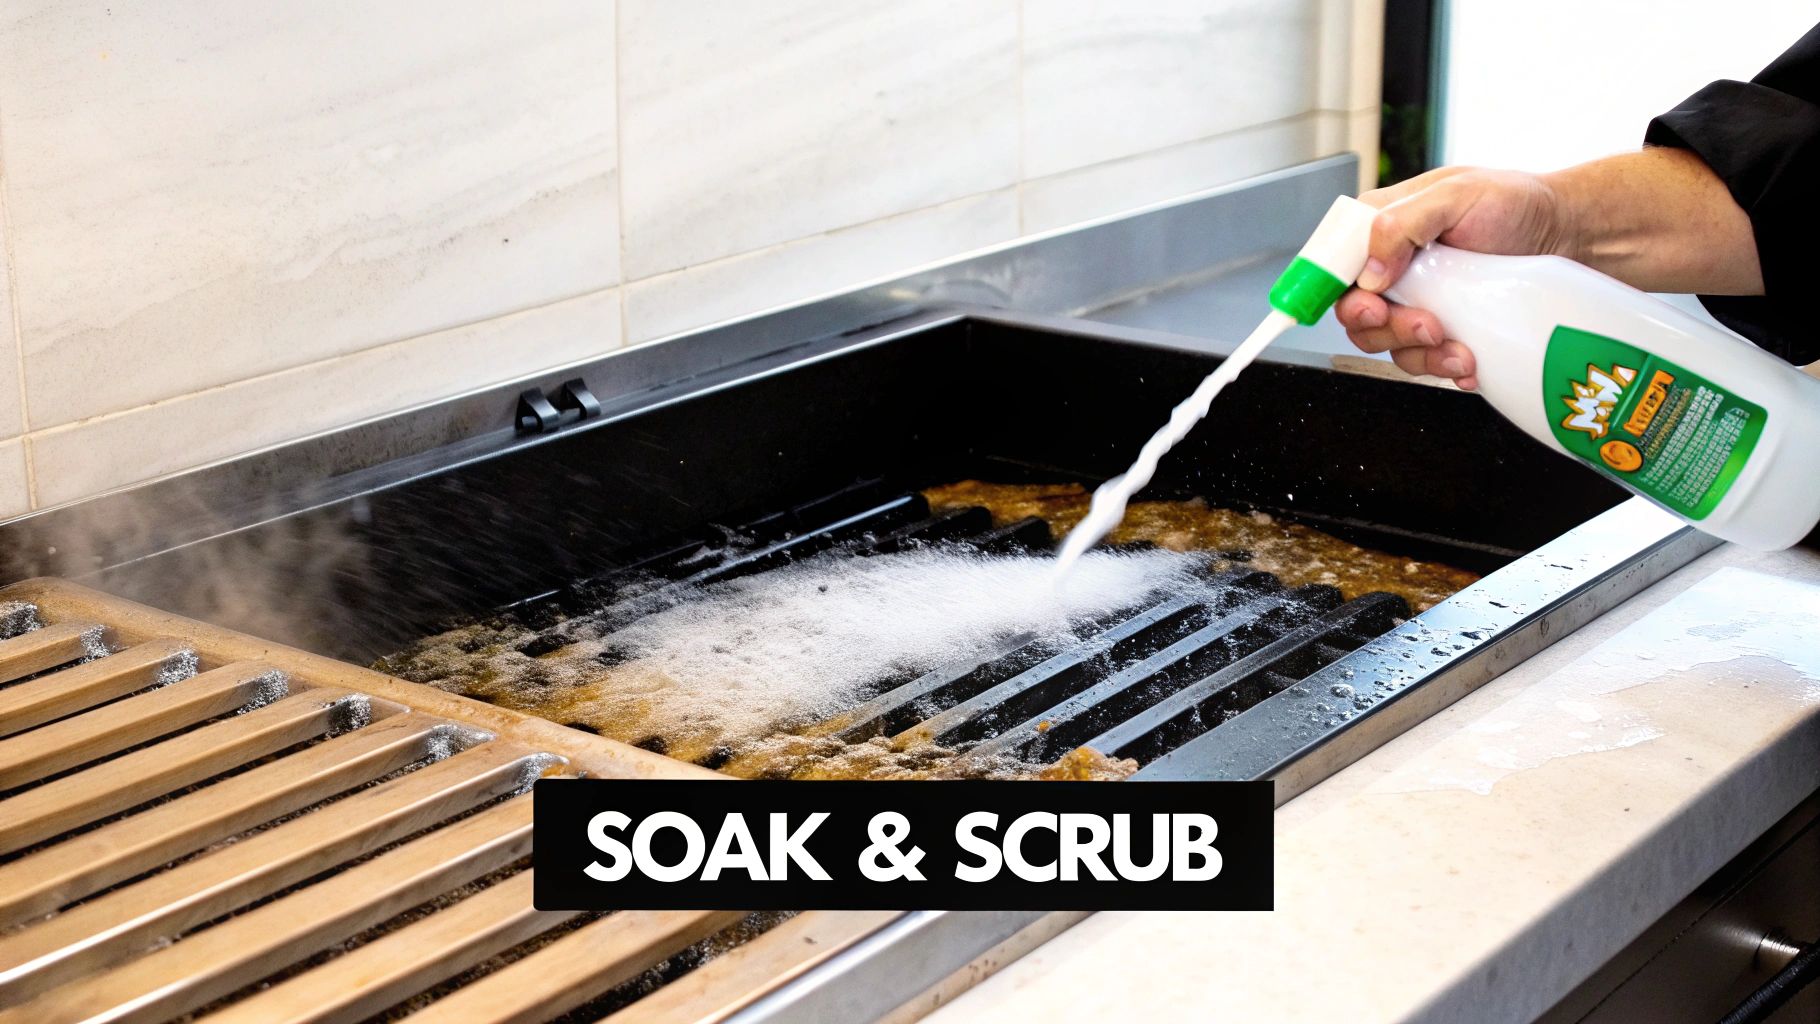
The Power of an Overnight Soak
For grime that's truly caked on, sometimes the simplest approach is the most effective: patience. Submerging your grates in hot, soapy water overnight works wonders. That prolonged soak allows the degreasing solution to soften and swell even the most hardened carbon deposits, making them a breeze to remove the next day.
This method is incredibly effective. In fact, professional tests on commercial grills show that an overnight soak can boost cleanliness by up to 95% for tough buildup. The process makes burnt-on food 80% easier to scrub off, which saves an incredible amount of time and elbow grease in a busy kitchen.
The real secret here is letting time do the heavy lifting for you. A simple soak can turn a frustrating, time-consuming scrubbing session into a quick, satisfying task.
The Baking Soda and Vinegar Method
If you're looking for a more active approach, a simple paste made from baking soda and water is a powerful, non-toxic alternative. This method uses a classic chemical reaction to lift grime without the kind of abrasive scrubbing that could scratch up your stainless steel.
Here’s the game plan:
- Make a Paste: In a small bowl, mix baking soda with just enough water to form a thick paste. You're aiming for a consistency similar to toothpaste.
- Coat the Grates: Once the grates are completely cool, slather them with the paste. Don't be shy—pay extra attention to the areas with the heaviest buildup.
- Let It Work: Allow the paste to sit on the grates for at least 30 minutes. For really tough jobs, leaving it on for a few hours is even better.
- Add Vinegar: Fill a spray bottle with white vinegar and spray it all over the paste. You’ll see a satisfying fizzing reaction as the two ingredients get to work breaking down the grime.
- Scrub and Rinse: Once the fizzing dies down, grab a non-abrasive scrub pad or a stiff nylon brush and gently scrub the grates. Finish by rinsing them thoroughly with warm water and drying them completely.
What to Avoid During a Deep Clean
Knowing how to clean your grates properly also means knowing what not to do. Using the wrong tools or chemicals can cause damage that you just can't undo.
- Avoid Harsh Steel Wool: Standard steel wool is a huge no-no. It will scratch the surface and can leave behind tiny particles that will inevitably rust.
- Steer Clear of Caustic Cleaners: Stay away from oven cleaners and other harsh chemical agents. They can easily stain and pit the stainless steel, which compromises its integrity and food-safe surface.
If you happen to run into stubborn metallic residues or what looks like early rust spots, a professional guide to iron fallout removal can provide some specialized solutions that are designed for similar issues. By sticking to safer, proven methods, you'll ensure your equipment stays in peak condition for years to come.
Tackling Common Grill Grate Problems
Even with the most disciplined cleaning routine, you'll eventually run into stubborn issues. I'm talking about those pesky rust spots or blackened, carbonized gunk that just refuses to quit. It happens in every high-volume kitchen, but the good news is, it's almost always fixable if you know what you're doing.
First things first: true rust on high-quality stainless steel is rare. What you're likely seeing is surface contamination. This happens when tiny iron particles—maybe from a carbon steel brush or other tools—latch onto the grate's surface and then oxidize. That's what creates those tell-tale orange spots.
Banishing Surface Rust
When you see those reddish-brown marks, don't grab the most aggressive scrubber you can find. The fix is usually much simpler and doesn't involve harsh chemicals.
- Make a Paste: Just mix some baking soda with a little bit of water until you have a thick paste.
- Apply Gently: Use a soft cloth or a non-abrasive sponge to gently rub the paste onto the rust spots. Here’s a pro tip: always work with the grain of the steel. This prevents you from accidentally scratching the surface.
- Rinse and Dry: Wash the area thoroughly with warm water and—this is critical—dry it completely with a clean cloth. Any leftover moisture is just an invitation for more problems down the line.
This simple trick is usually all it takes to lift the surface contaminants without damaging the steel itself. If you're dealing with something more stubborn, you might need to step up your game. Our guide on using acidic solutions for safe rust removal covers more advanced techniques for those tougher jobs.
Conquering Persistent Carbon Buildup
Then there's the other enemy: carbonized gunk that laughs in the face of a deep soak. This black, rock-hard residue is bad news—it messes with heat distribution and can even taint the flavor of your food. When you hit this wall, it's time to bring in a surprisingly effective tool: a grill stone.
A grill stone, which is usually made from pumice, is just abrasive enough to grind away that baked-on carbon without gouging the stainless steel underneath. Make sure the grates are completely cool, then apply gentle, even pressure and scrub the buildup away. Think of it like using a big eraser.
A word of caution: the goal is to remove the carbon, not the metal. Never use a steel scraper from a pizza prep table or a coarse wire brush from a sandwich station. These tools will permanently scratch the grates, creating new hiding spots for food to stick and potentially compromising your NSF hygiene standards. Always choose the right tool for the job.
Choosing Your Cleaning Arsenal: The Right Tools
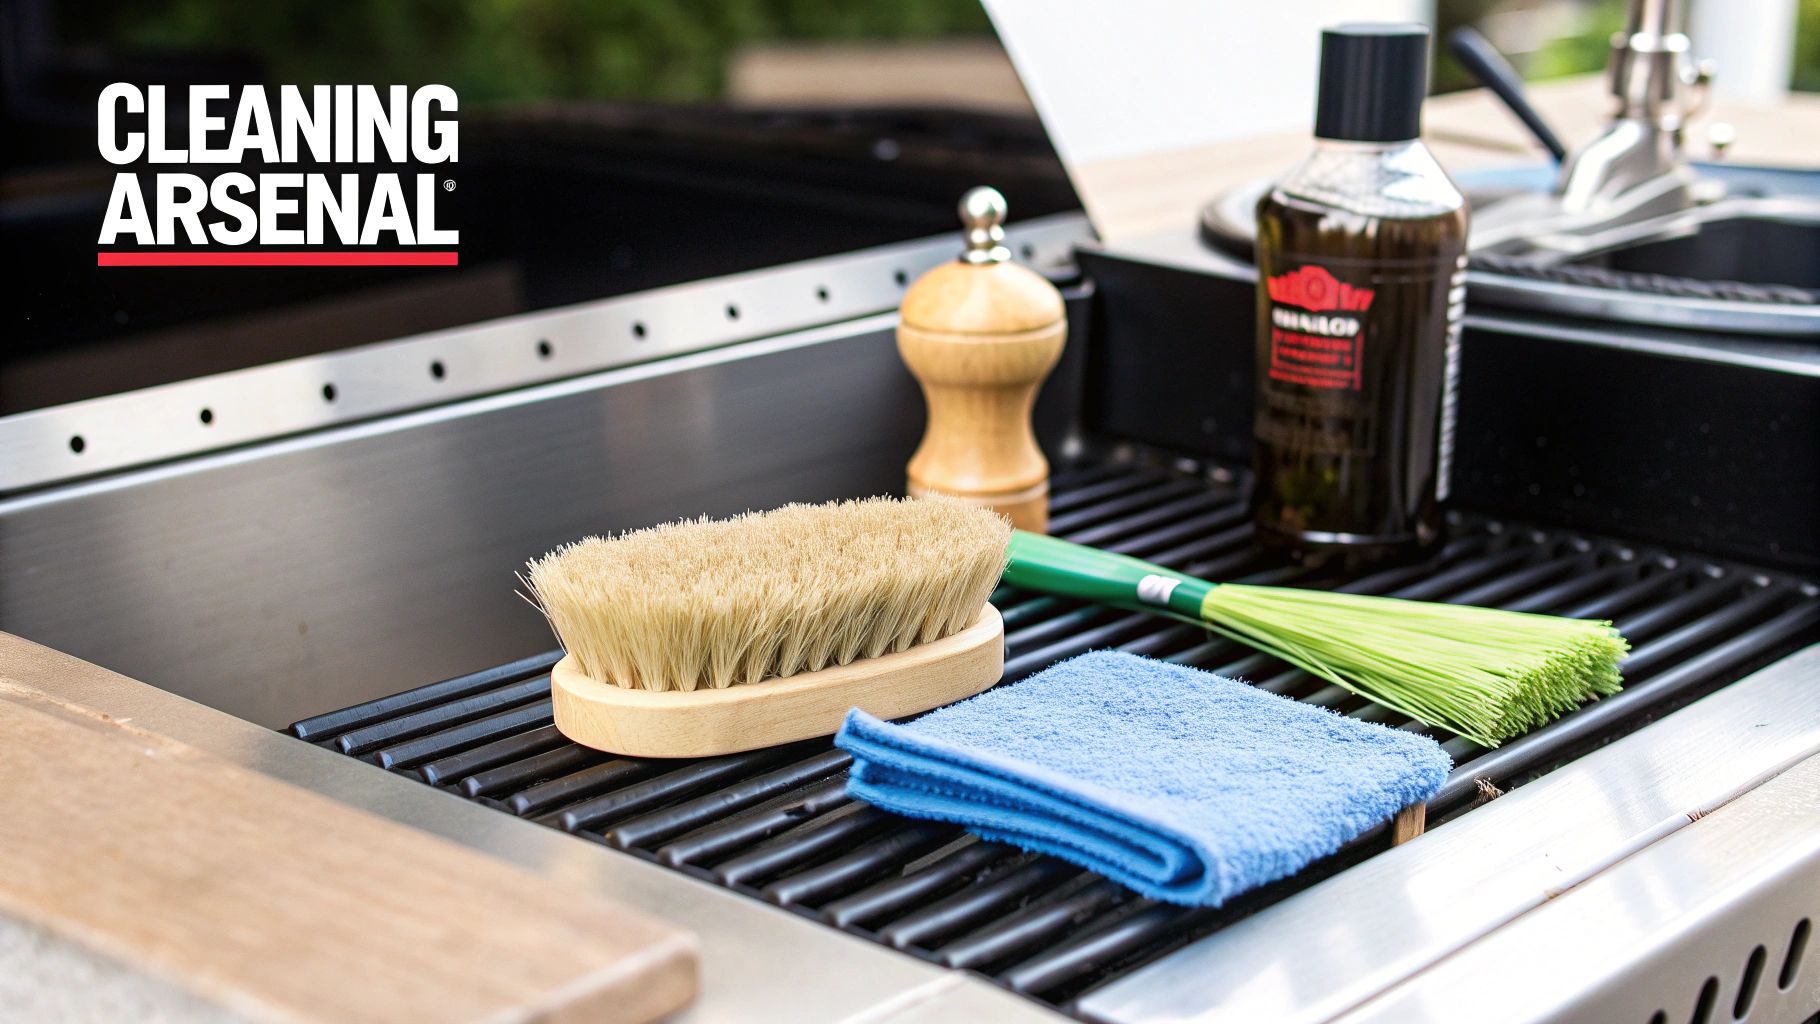
Knowing how to clean stainless steel grill grates is only half the battle. You absolutely have to arm your kitchen staff with the right tools for the job. Your cleaning arsenal has a direct impact on how clean your grates get and, just as importantly, how long they last. The whole point is to find gear that’s tough on grime but gentle on the steel itself.
The grill brush is the undeniable cornerstone of daily maintenance, but not all brushes are created equal. For stainless steel, your best bet is always a brush with either stainless steel or brass bristles. These are the only materials strong enough to scrape off fresh gunk without scratching the grate surface.
Whatever you do, stay far away from carbon steel brushes. They might look tough, but they're a fast track to rust. They leave behind microscopic iron particles that will oxidize and create surface rust, giving you a much bigger problem to deal with.
Safer Alternatives and Essential Agents
Lately, we’ve seen a big shift toward bristle-free scrapers, and for good reason. These tools, which often use coiled stainless steel or solid metal edges, get rid of the risk of a stray bristle breaking off and ending up in a customer's food—a massive food safety hazard. They might take a little more elbow grease on really stubborn spots, but the peace of mind is worth it.
When it comes to the actual cleaning solutions, simplicity is your friend. You don’t need a cabinet overflowing with harsh, expensive chemicals. In fact, most of them will do more harm than good to your equipment.
- Dish Soap: A quality degreasing dish soap is perfect for your weekly or monthly soaks.
- Baking Soda: This is your secret weapon. It creates a gentle, non-abrasive paste that lifts rust and tackles stubborn, caked-on messes.
- White Vinegar: Mix this with baking soda, and the resulting fizzing action does a lot of the heavy lifting for you, dissolving grime right off the grates.
These simple, food-safe items are all you need for 99% of your cleaning tasks. The same idea of using gentle but effective cleaners applies to all your kitchen equipment. For more on that, check out our guide on how to clean stainless steel, which covers everything from prep tables to larger appliances.
Choosing the right tool isn’t just about cleaning; it’s about preservation. A high-quality brass bristle brush or a bristle-free scraper protects your investment by preventing the micro-scratches and contamination that lead to premature wear and rust.
Comparison of Grill Grate Cleaning Tools
Picking the right tool is a balancing act between budget, effectiveness, and your kitchen’s hygiene standards. Here's a quick breakdown to help you decide what's best for your setup.
| Tool Type | Best For | Pros | Cons / NSF Considerations |
|---|---|---|---|
| Stainless Steel Brush | Daily hot cleaning and aggressive residue removal. | Highly effective, durable, won't cause rust on grates. | High-quality versions can be more expensive. |
| Brass Bristle Brush | Everyday cleaning on hot grates. | Softer than steel, reducing scratch risk; very effective. | Bristles wear down faster than stainless steel. |
| Bristle-Free Scraper | Daily cleaning and safety-focused kitchens. | Eliminates risk of loose bristles; durable and easy to clean. | May require more pressure for heavily carbonized areas. |
| Nylon Brush | Deep cleaning on cool grates with a soaking solution. | Gentle on surfaces, great for detailed work. | Will melt on a hot grill; not for daily burn-off cleaning. |
At the end of the day, the best approach is often a combination. Use a scraper or a sturdy bristle brush for the daily grind on a hot grill, and keep a gentle nylon brush on hand for those deep-soak cleaning sessions.
Grill Grate Care: Your Questions Answered
Even with the best routine, questions are bound to pop up. Let's tackle some of the most common things kitchen pros ask when they're getting the hang of keeping their stainless steel grates in prime condition.
How Often Should I Deep Clean My Commercial Grill Grates?
The real answer here boils down to volume. If you're running a high-traffic spot, grilling from the moment you open until you close, a monthly deep clean is a great rule of thumb to keep that heavy buildup from getting out of control.
On the flip side, a lower-volume kitchen, maybe a small deli or a café, could probably get away with a deep clean every two or three months. Your best clue is performance. When you notice food is starting to stick more, or you see gunk that your daily scrape-down can't touch, that’s your signal.
Can I Use a Pressure Washer on Stainless Steel Grates?
It’s tempting to blast away the grime, but using a pressure washer on your grates is a bad idea. We don't recommend it. That intense, high-pressure jet of water can easily warp the grates, especially if there's any residual heat left in them.
Even worse, it can force tiny water droplets deep into the microscopic pores of the steel. That trapped moisture is a recipe for accelerated corrosion and pitting down the road. Stick with the tried-and-true methods like soaking and scrubbing—it’s a safer, more controlled approach that actually protects your equipment.
The point of a deep clean is to get rid of grime, not to damage the steel itself. Gentle, consistent cleaning will always win out over brute force and will make your investment last much, much longer.
Is It Better to Clean Grates When They Are Hot or Cold?
This one depends entirely on what kind of cleaning you’re doing.
- For daily, end-of-service cleaning: You absolutely want the grates still hot. Heat is your best friend here, helping to incinerate and loosen up any fresh food bits. This makes them way easier to just brush right off.
- For a deep clean: You must let the grates cool down completely. Never submerge hot metal in cold water or apply a cleaning solution. You'll risk thermal shock, which can cause the steel to warp or even crack.
What Is the Best Way to Prevent Rust on Stainless Steel?
Your best defense against rust is just consistent, smart maintenance. The single most important thing you can do is create a protective barrier on the steel.
After you clean the grates each day, make sure they are bone dry, then wipe them down with a thin coat of a high-smoke-point oil. This quick seasoning step creates a shield that keeps moisture out. And one more pro tip: avoid using carbon steel brushes. They can shed tiny metal particles that will embed in your stainless steel and rust.
For commercial kitchens that need durable, NSF-certified equipment built for the daily grind, PrepTables.com has you covered. We offer a huge selection of stainless steel prep tables, refrigerated units, and other professional-grade cooking equipment. Our range includes standard work tables, as well as specialized models like refrigerated pizza prep tables and convenient sandwich prep tables that streamline your workflow. Check out our solutions at https://preptables.com.