

Convert Natural Gas Range to Propane Your Complete Guide
Converting your natural gas range to propane is a must for any kitchen that isn't hooked up to a municipal gas line. It's the only way to get that powerful, gas-fueled cooking performance anywhere you need it. But this isn't just a simple hose swap. To do it right—and safely—you need the right parts and a solid understanding of the process to make sure your appliance runs efficiently on its new fuel source.
Why You Might Convert Your Range to Propane
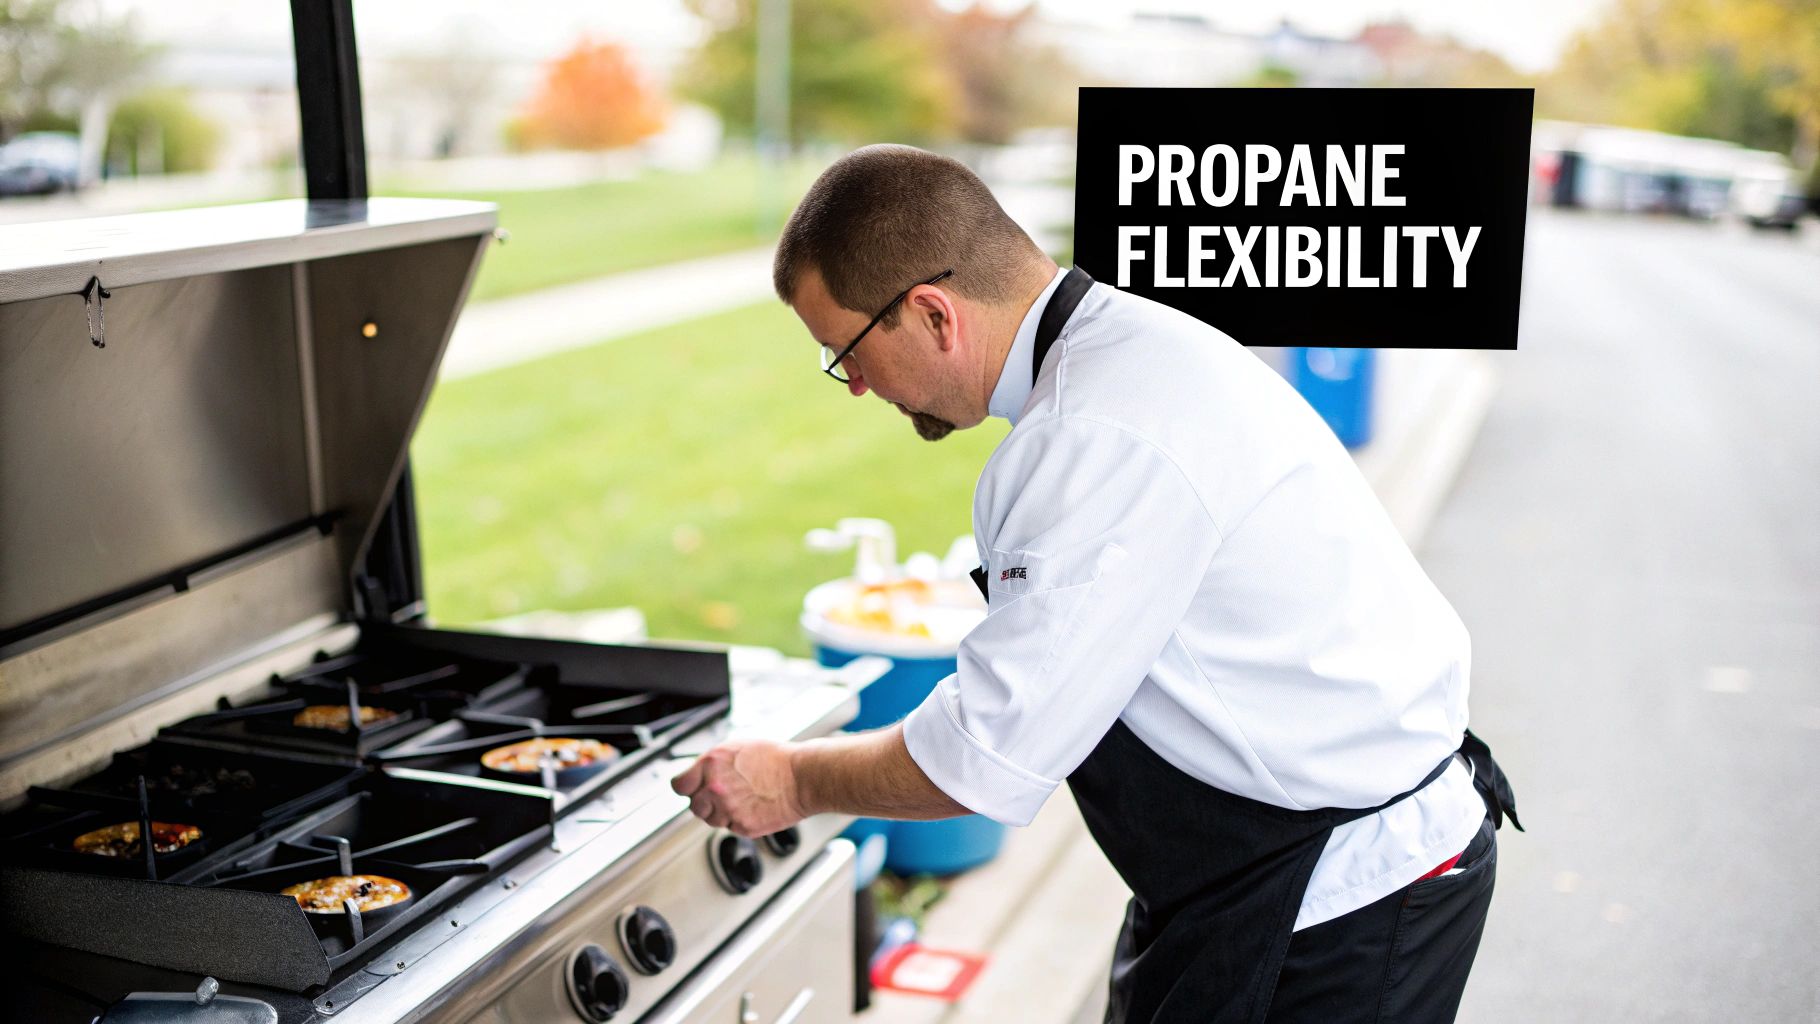
For many in the food business, switching a commercial range from natural gas to propane isn't just a technical task; it's a strategic move. It's all about gaining flexibility and breaking free from the constraints of fixed utility lines. For a lot of businesses, especially mobile ones, this isn't a "nice-to-have"—it's the heart of their entire operation.
Think about a food truck slammed with customers at a weekend festival, or a catering team setting up shop in a remote barn for a wedding. There are no natural gas pipelines out there. Propane is the workhorse in these situations, delivering a powerful, portable, and totally reliable source of energy that can travel wherever your business takes you.
The Power and Portability Advantage
The decision to convert a natural gas range to propane really comes down to a few key needs that a fixed natural gas connection just can't meet.
- Geographic Independence: Lots of rural restaurants, off-grid venues, and even suburban pop-ups are simply too far from municipal gas lines. Propane tanks offer a complete, self-contained fuel source, letting high-performance kitchens operate just about anywhere.
- Mobility for Food Trucks and Caterers: For any business on wheels, propane is the gold standard. It packs the high-heat punch needed for commercial cooking into a format you can take with you.
- Reliable Backup Fuel: If you're in an area where natural gas service can be spotty, having a propane-converted range and a full tank is your insurance policy. It means your kitchen stays open and making money, even during an outage.
Understanding Propane's Energy Edge
It’s not just about availability; propane packs a serious performance punch because of its higher energy density. A cubic foot of propane delivers a whopping 2,516 BTUs (British Thermal Units). That's more than double the 1,030 BTUs you get from the same amount of natural gas.
What does that mean for your kitchen? You get more raw cooking power from less fuel. For a high-volume commercial kitchen, that kind of efficiency makes a real difference to the bottom line. This energy concentration is exactly why a properly converted range can produce the intense, steady heat you need for a perfect sear or a rapid boil.
The whole point of the conversion is to correctly adapt your appliance for this denser, higher-pressure fuel. If you don't use the right parts, you're not just risking a weak flame—you're creating a serious safety hazard.
If you want to dig deeper into how these fuels stack up, check out our detailed article comparing gas vs propane. Getting this right is the first step to making sure your equipment is a perfect match for your kitchen's needs, location, and culinary goals.
Understanding the Science Behind the Swap
To safely convert a natural gas range to propane, you have to get your head around the 'why' behind the job. This isn't just about swapping a few parts; it's a full recalibration for two fuels that have totally different personalities. Once you grasp these differences, you're on the right track for a safe and successful conversion.
The whole procedure really comes down to one core concept: pressure.
Think of natural gas as a slow, lazy river. It's a low-pressure stream. Propane, on the other hand, is like a high-pressure jet. Your range, as it sits now, is built to work with that gentle natural gas stream and nothing else.
Pressure and Density: The Two Key Players
The biggest difference is how these gases get to your appliance. Natural gas flows through city pipelines at a very low, consistent pressure. Propane is a different beast entirely. It’s stored as a liquid under intense pressure in a tank, then vaporizes into a gas that hits your range with a lot more force.
This pressure difference isn't small. A natural gas range is set to run at a mild 3.5 inches of Water Column (W.C.), which is the standard unit for measuring low gas pressure. Propane needs a much higher pressure, typically around 9 to 11 inches W.C., to burn correctly. You can get into the technical specifics with resources from experts like Patriot Propane.
On top of the pressure, propane is also denser and packs a bigger punch. It has more than double the BTUs (British Thermal Units, a way to measure heat) in the same volume as natural gas. This combo of higher pressure and more energy is exactly why you can't just hook a propane tank up to a natural gas range and call it a day.
To give you a clearer picture, let's break down the essential properties side-by-side. Understanding these fundamentals is what makes the conversion process click.
Natural Gas vs. Propane: A Head-to-Head Comparison
| Property | Natural Gas | Propane (LPG) |
|---|---|---|
| Energy Content (BTU) | ~1,030 BTU per cubic foot | ~2,516 BTU per cubic foot |
| Delivery Pressure | ~3.5" W.C. (Water Column) | ~11" W.C. (Water Column) |
| Density | Lighter than air | Heavier than air |
| Orifice Size Needed | Larger diameter hole | Smaller diameter hole |
As you can see, we're dealing with two very different fuels. The higher energy content and delivery pressure of propane are precisely why the internal components of the range must be changed.
Orifice Sizing: Why It's Non-Negotiable
The hero of this whole operation is a tiny but absolutely critical part called an orifice. This is a small brass fitting with a very precisely drilled hole that controls how much fuel gets to the burner. Think of it like the nozzle on a garden hose.
- Natural Gas Orifices have a bigger hole. This is to let enough of the low-pressure fuel through to get a proper flame.
- Propane Orifices have a much smaller hole. This pinhole-sized opening restricts the flow of the high-pressure propane, making sure only the right amount of fuel makes it to the burner.
Using a large natural gas orifice with high-pressure propane would be like opening a fire hydrant in your kitchen. You'd get a massive, uncontrolled release of fuel, leading to dangerously large flames, black soot, and a buildup of deadly carbon monoxide.
This is the very reason your conversion kit comes with a brand-new set of smaller orifices. Each one is engineered for a specific burner's BTU rating to guarantee a safe, efficient flame.
The Role of the Regulator and Air Shutter
Two other parts are vital to getting this scientific balancing act right: the gas pressure regulator and the air shutters. The regulator is where the gas line enters your range, and it has to be adjusted for propane. Often, this is as simple as flipping a pin or a cap, which changes the tension on an internal spring to correctly lower the high pressure from the propane tank to a level the appliance can handle.
Finally, you'll need to adjust the air shutters. Because propane is a different molecule, it needs a different air-to-fuel ratio to burn cleanly. Adjusting the shutters ensures the right amount of oxygen mixes with the gas, which is how you get that perfect, clean, and efficient blue flame.
If you want to dig deeper into the science of these fuels, especially how propane stacks up against other options, our guide on the differences between propane and butane can be a big help. This kind of foundational knowledge makes the entire conversion process much clearer and, most importantly, safer.
Gathering Your Tools and Conversion Kit
Any successful project to convert a natural gas range to propane starts long before you ever touch the appliance. It all begins with good, old-fashioned preparation—making sure you have every single part and tool laid out and ready to go. Trying to rush this part is a surefire way to end up with stripped fittings, lost screws, and some serious safety risks. Think of this as your pre-flight checklist.
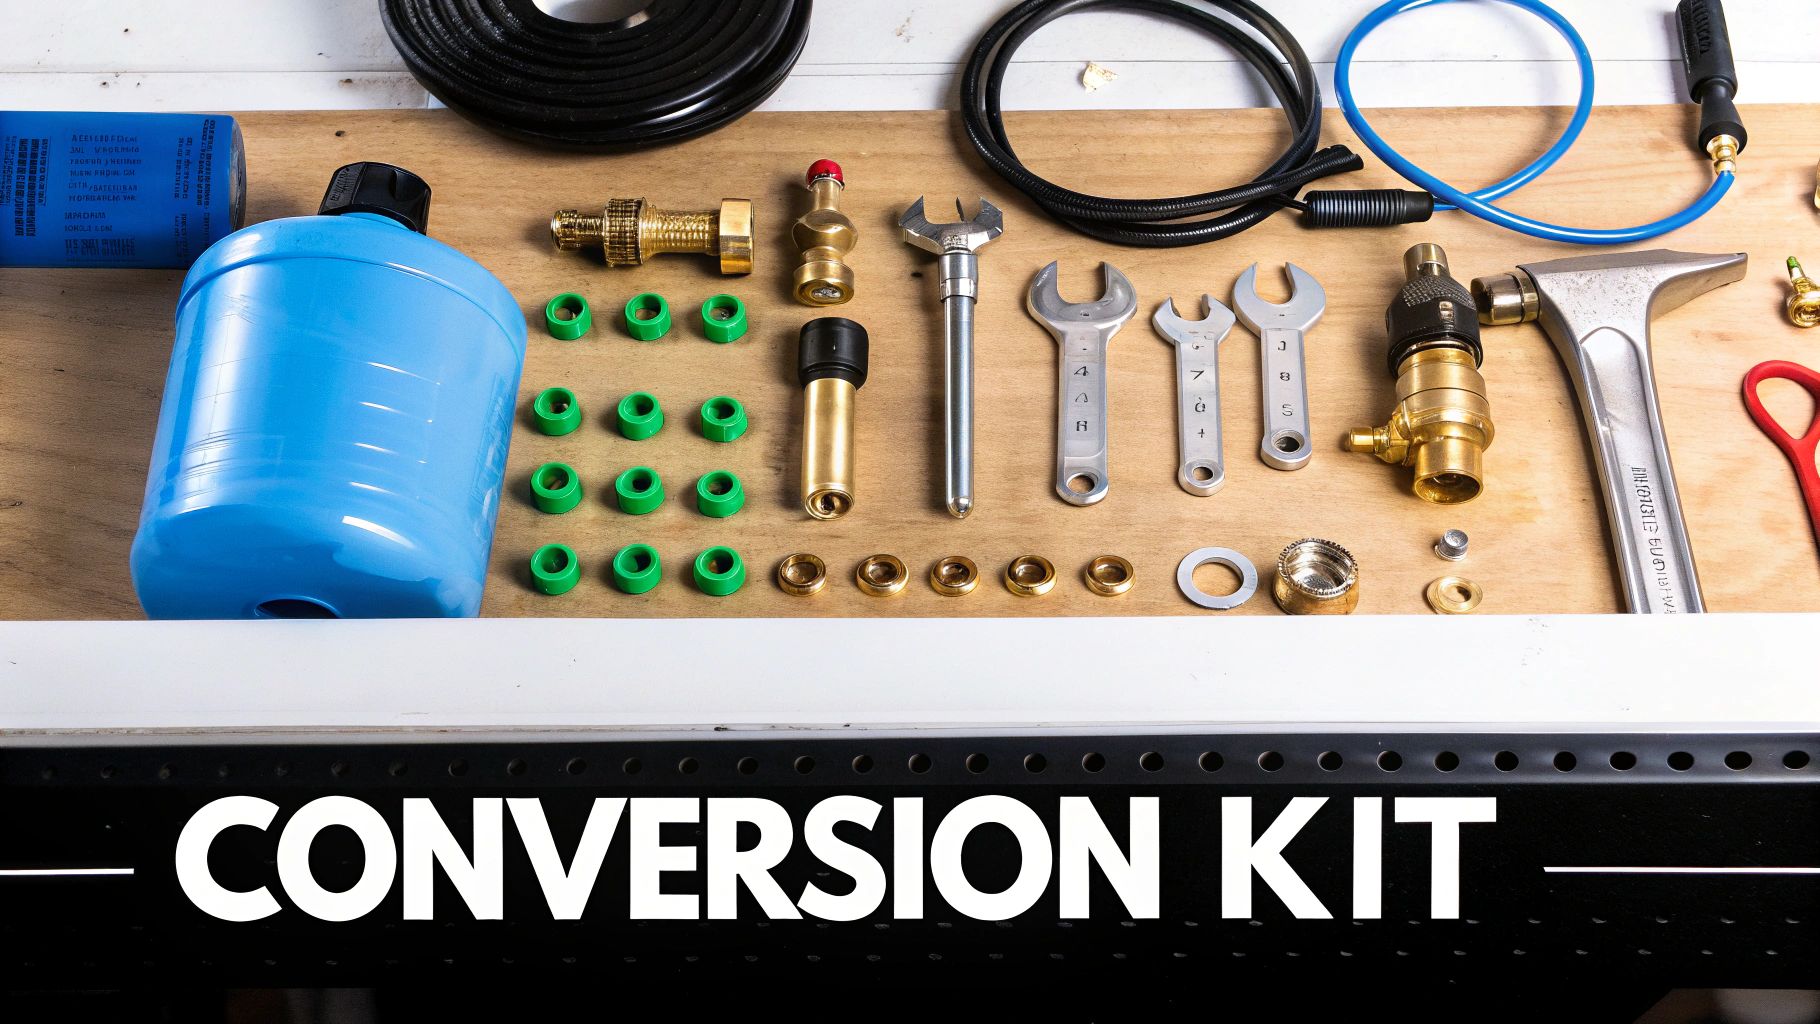
The most critical item you'll need is the conversion kit itself. Let me be clear: there is no such thing as a "universal" or "one-size-fits-all" kit that can be used safely. Each kit is engineered by the Original Equipment Manufacturer (OEM) for a specific range model, making sure every component is perfectly matched to your appliance's design and BTU ratings.
Finding the Right Conversion Kit
Using a generic kit is just a dangerous gamble. Those tiny brass orifices, sometimes called "spuds," are precision-drilled to control the flow of fuel. An orifice that's even slightly the wrong size can lead to dangerously large flames or, worse, the production of deadly carbon monoxide.
To get the right kit, you first need to find your range’s model and serial number. Look for a small metal plate or sticker in one of these common places:
- Inside the oven door frame.
- Behind the bottom storage or broiler drawer, on the frame itself.
- On the back of the range, usually near the gas connection.
Once you spot it, snap a clear picture with your phone. This simple step takes all the guesswork out of the equation and ensures you order the exact OEM kit for a safe conversion. That number is your golden ticket.
Assembling Your Essential Toolkit
With the right kit on its way, it’s time to gather your tools. Having the correct tool for the job prevents damage to the soft brass fittings and makes the whole process go a lot smoother. You’ll want everything within arm's reach before you start.
Here’s a rundown of what you'll absolutely need:
- Nut Driver Set: You'll mostly be using a 1/4-inch and a 9/32-inch driver for swapping the orifices and removing access panels. A socket wrench with deep sockets in the same sizes works just as well.
- Open-End Wrenches: A set that includes a 1/2-inch and 5/8-inch wrench is a must for adjusting the pressure regulator and oven orifices without stripping them.
- Pipe Thread Sealant: This is non-negotiable. You have to use a sealant specifically rated for propane and all other gas types. It’s usually yellow, not the standard white PTFE tape you’d use for water pipes.
- Screwdrivers: A basic Phillips head and a small flat-head screwdriver will be needed for various panel screws and for making fine adjustments to the simmer setting.
Non-Negotiable Safety Equipment
Beyond the wrenches and drivers, a couple of safety items are absolutely essential for any job involving gas lines. These aren't just suggestions; they are vital for protecting yourself and your home.
Never, ever attempt any gas appliance work without a way to verify your connections are leak-free. The consequences of a gas leak, especially with propane which is heavier than air, can be catastrophic.
Your safety gear should include these two things:
- Gas Leak Detector Solution: The classic, effective method is a simple spray bottle filled with a 50/50 mix of dish soap and water. When you spray it on a connection, any escaping gas will create very obvious bubbles.
- Work Gloves: The inside of a range is full of sharp metal edges. A good pair of gloves will save your hands from getting cut up while you're working in those tight spaces.
Having this complete arsenal—the right kit, the right tools, and the right safety gear—is the mark of a professional approach. It sets you up for a conversion that’s not just successful, but safe from start to finish.
Getting Your Hands Dirty: The Conversion Process
Alright, with your tools laid out and the right conversion kit in hand, it's time to get down to business. The secret to a successful and, more importantly, a safe natural gas to propane conversion is taking it one step at a time. Don't rush it. Think of it as a series of smaller jobs, and give each one your full attention before you move on.
First things first—and this is non-negotiable—let's talk safety. Before you touch a single screw, shut off the gas supply from the valve on the wall behind the stove. Done? Good. Now, unplug the range from the wall socket. This two-step shutdown prevents any chance of gas leaks or electrical sparks while you're working.
Critical Safety Warning: Never, ever start working on a gas appliance without cutting off both the gas and the power. Propane is heavier than air and will sink, creating a dangerous invisible pool if there's a leak. The smallest spark could ignite it.
Once you're certain the range is completely disconnected, you can get started on the actual hardware swap.
Swapping the Cooktop Orifices
This is the real core of the conversion. We need to change out the small brass orifices for each burner on your cooktop. These little guys control how much gas gets to the flame.
To get to them, you’ll first pull off the heavy cooking grates, lift off the burner caps, and then pull the burner heads straight up. You'll see the old natural gas orifices sitting there, threaded into the cooktop.
Grab the right size nut driver—it's usually a 9/32-inch—and turn each orifice counter-clockwise to loosen and remove it. Here's a pro tip I learned the hard way: stick a tiny piece of masking tape inside the socket of your nut driver. It gives it just enough grip to hold onto that tiny orifice so it doesn't fall down into the guts of the range. Trust me, fishing one of those out is a major headache.
With the old ones out, you can thread in the new propane orifices. You'll notice right away that the hole is much smaller; that's because propane is under higher pressure and needs to be restricted more. Start threading them by hand to make sure you don't cross-thread them, then give them a gentle snugging with the nut driver. No need to crank on it—just firm and tight is perfect.
Adjusting the Oven and Broiler
Now, let's move on to the oven and broiler. This part can seem a bit more intimidating since you have to get inside the oven, but it's just as straightforward.
Most oven doors lift right off their hinges, so take that off first. Then pull out the racks and remove the metal floor panel of the oven. It's typically held down by a couple of screws you can pop out with a 1/4-inch nut driver.
With that panel gone, you'll see the main oven burner tube. The orifice here looks different—it's usually a larger, bell-shaped fitting. On many ranges, you don't replace this one, you just adjust it. You’ll use a 1/2-inch open-end wrench to tighten the orifice clockwise all the way down until it stops. This is usually about one full turn. This closes a bypass that was needed for natural gas. If you have a separate broiler, you’ll do the exact same thing to its orifice.
A magnetic parts tray is your best friend during this step. It keeps all those little screws from rolling away and getting lost.
Flipping the Gas Pressure Regulator
The last piece of hardware to adjust is the gas pressure regulator. You'll find this on the back of the range, right where the gas line hooks up.
Look for a big metal cap on it. Using a 5/8-inch wrench, go ahead and unscrew that cap.
Underneath, there’s a little plastic or metal pin. For natural gas, it’s set one way. For propane, you need to flip it. Simply turn the cap over so the pin is pointing down into the regulator, then screw the cap back on tight. That simple flip changes the spring pressure inside, setting it for the higher pressure of propane.
Dialing in the Air Shutters for a Clean Flame
The very last tweak is to set the air shutters. Propane burns differently than natural gas and needs a different mix of air to get a clean, efficient flame. Every burner, including the ones in the oven and broiler, has an adjustable collar that controls oxygen flow.
- For the Cooktop: You'll likely see a small screw on the burner tube. Loosen it just enough so you can rotate the shutter to open or close the air gap.
- For the Oven: The shutter is usually right near the orifice at the front of the burner tube. Loosen its screw and adjust the opening.
What are you aiming for? A nice, steady, mostly blue flame with just a tiny bit of yellow at the tip. That's the sign of perfect combustion. This final fine-tuning is what makes for a professional-quality conversion, ensuring your range works perfectly and safely without creating soot.
Final Checks and Perfecting the Flame
So, you've got the new hardware installed and the main part of the conversion is done. But don't fire it up just yet. This next phase is all about verification and fine-tuning, and it's arguably the most critical part of the entire process.
Skipping these final checks is like building a car and never testing the brakes—it’s a risk you just can't afford to take. This is where you ensure every connection is rock-solid and your range is burning its new fuel safely and efficiently.
Performing a Meticulous Leak Test
Before you do anything else, you absolutely must perform a leak test. This is non-negotiable any time you mess with gas lines. The good news is you don't need any fancy equipment, just a simple solution you can whip up in your kitchen.
Grab a spray bottle and mix a 50/50 solution of dish soap and water. Shake it up well, turn the main gas supply valve back on, and then get to spraying. Coat every single connection you touched: the main fitting at the back of the range, both sides of the pressure regulator, and each new orifice at the base of the burners.
Now, watch closely. If you see any bubbles forming, even tiny ones, you have a gas leak. Shut the gas off immediately. Give the leaking connection a gentle tighten—usually no more than a quarter-turn does the trick—then turn the gas back on and spray it down again. Don't move on until every connection is completely bubble-free.
This chart gives you a quick visual rundown of the core steps you just completed.
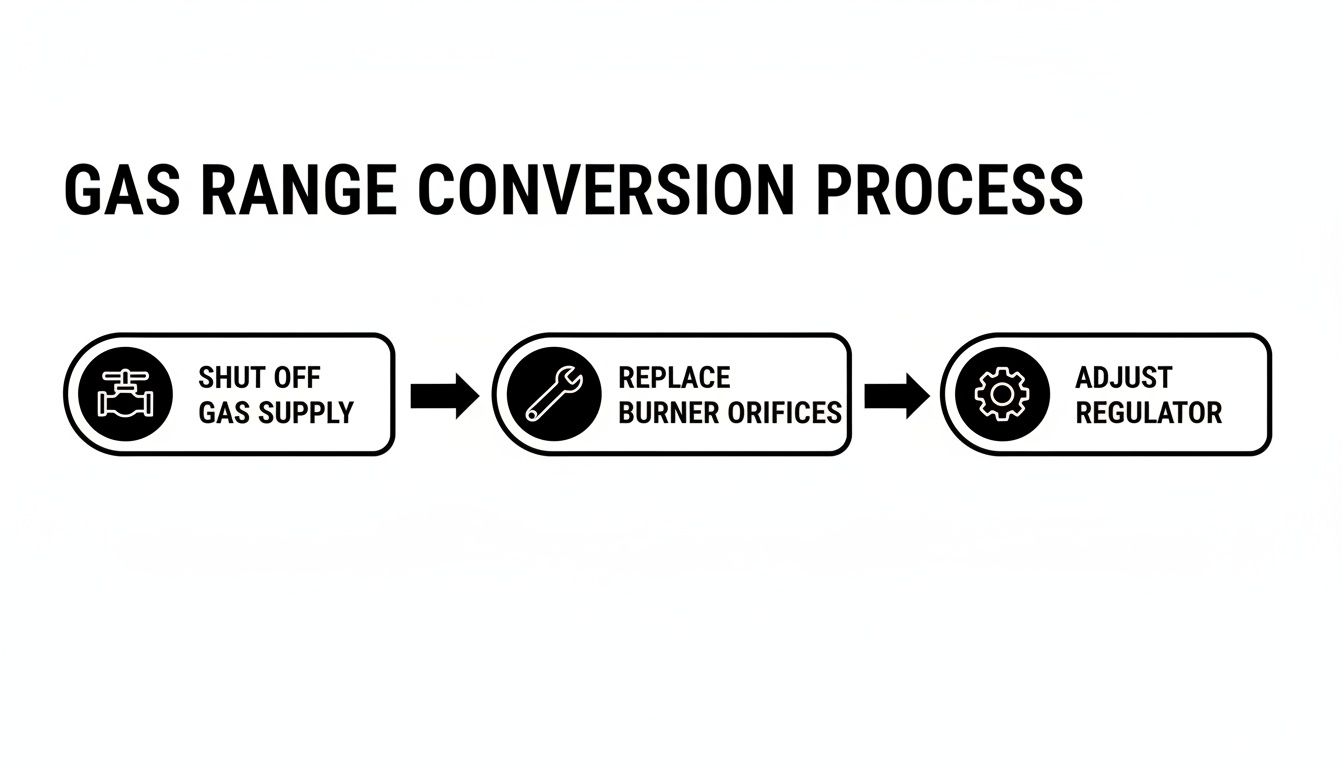
It highlights the key mechanical changes—shutting off the gas, swapping orifices, and adjusting the regulator—that make these final safety checks so important.
Verifying Gas Pressure with a Manometer
For those with the right tools, checking the gas pressure is the definitive way to know your setup is correct. You'll need a manometer, a device that measures gas pressure in inches of Water Column (W.C.). For propane, you’re shooting for a pressure between 10 and 11 inches W.C.
To test it, you’ll connect the manometer to the test port on your range's regulator. With the gas on, the reading will confirm if the pressure coming from your propane tank is right. If it's too high or low, you'll need to adjust the main regulator on your propane tank—and that's a job best left to a qualified gas technician.
A range running on improper pressure won't just cook poorly; it can be dangerous. Too much pressure creates dangerously large flames and a carbon monoxide risk. Too little, and the flame can extinguish itself, letting raw gas pour into your kitchen.
The Art of Adjusting the Flame
Alright, it's time to perfect the flame. Its color and behavior are the best visual cues for proper combustion. Light one of the cooktop burners and take a good look.
You're aiming for a steady, quiet, mostly blue flame with just the slightest yellow tips. If it doesn't look right, you'll need to adjust the air shutter on the burner tube.
- Lazy, Yellow/Orange Flame: This means the flame is "fuel-rich" and isn't getting enough oxygen. You need to open the air shutter a tiny bit to let more air in.
- Lifting, Noisy Flame: This is an "air-rich" flame, where too much oxygen is literally blowing it off the burner. You'll need to close the air shutter slightly to fix the mix.
Make small, careful adjustments until the flame looks perfect. You also need to dial in the simmer setting. Turn the knob to its lowest position and use a small screwdriver to adjust the tiny screw inside the valve stem. You want a small, stable flame that doesn't flicker out.
A clean-burning flame is everything. For more on keeping things running smoothly, check out our guide on properly cleaning gas burners. Repeat this whole process for every single burner, including the oven and broiler, and your conversion is officially complete.
How to Fix Common Post-Conversion Problems
Even with a careful conversion, you might run into a few hiccups. Use this quick guide to diagnose and solve issues you might encounter after converting your gas range to propane.
| Symptom | Potential Cause | Solution |
|---|---|---|
| Flames are too high/yellow | Incorrect orifice size or improper air shutter adjustment. | Double-check that you installed the correct LP orifices. Open the air shutter slightly to allow more oxygen. |
| Burner won't light/weak flame | Low gas pressure or a clogged orifice. | Verify your propane tank has fuel and the regulator is set correctly. Clean the orifice with a fine wire. |
| Smell of gas when off | A leak in a connection. | IMMEDIATELY turn off the gas supply. Perform the soap-and-water leak test again and tighten any leaking fittings. |
| Burner flame is noisy/lifts | Too much air in the fuel mixture. | Close the air shutter on the burner tube in small increments until the flame is stable and quiet. |
| Oven temperature is off | Incorrect oven orifice or thermostat needs calibration. | Confirm the correct LP orifice is in the oven. If so, you may need a technician to calibrate the thermostat. |
Troubleshooting is part of the process. By tackling these issues systematically, you can ensure your newly converted range operates just as it should.
When to Call a Licensed Gas Professional
Look, I'm all for a good DIY project, but there's a fine line between saving a few bucks and taking a massive risk. Knowing when to put the tools down and call a licensed gas professional is just as important as knowing how to tighten a fitting. This isn't about admitting defeat; it's about making a smart business decision to protect your people, your customers, and your investment.
There are some clear stop signs. If you smell gas after everything is shut off, that’s a hard stop. If a fitting is still leaking after a gentle tightening, don’t crank on it—call someone. Same goes for old, corroded equipment where the parts are practically seized with rust. Trying to force those pieces is a recipe for disaster. These are the moments when a pro's experience and specialized tools are non-negotiable.
Navigating Codes and Insurance Liabilities
Beyond the physical risks, you've got a mountain of red tape to consider. Most towns and cities have very strict codes for gas appliance work. In many places, any modification must be done and signed off on by a licensed technician. Your DIY conversion might be mechanically perfect, but if it doesn't have that official stamp of approval, you could be facing fines or even a shutdown order during your next inspection.
The insurance angle is even scarier. Imagine a fire or a carbon monoxide incident traced back to an uncertified gas conversion. That’s the kind of thing that gives insurance companies an easy out, and they will absolutely void your policy. Suddenly, all that liability—for property damage, for injuries—lands squarely on your shoulders.
A licensed professional isn't just swapping out orifices. They're providing certified work that keeps the fire marshal happy and your insurance agent on your side. It's a shield against catastrophic financial risk.
Finding and Vetting a Qualified Pro
When you do decide to hire out, don't just call the first number that pops up on Google. You need someone who knows their way around a commercial kitchen, not just residential furnaces. Look for techs with proven experience on commercial cooking equipment, specifically with propane conversions.
Before they touch anything, have a quick chat and ask some pointed questions:
- Are you licensed and insured for commercial gas work in this city/county?
- Have you worked on this specific brand or model of range before?
- Will you provide documentation showing the work was completed to code?
Properly handling gas lines is a serious business. For a deeper dive into safety protocols, this Emergency Gas Line Repair Safety Guide is a great resource. And don't forget, a safe conversion is pointless without proper airflow; make sure you're up to speed on our guide to commercial kitchen ventilation requirements. Bringing in a pro ensures every single box for safety and compliance gets checked.
Got Questions About Your Propane Conversion? We've Got Answers
Even with the most detailed guide, it's natural to have a few questions pop up when you're about to convert a natural gas range to propane. Let's tackle some of the most common ones I hear from folks in the field. Getting these right is key to a safe and successful job.
Can I Convert Any Old Natural Gas Range to Propane?
That's a hard no. Not every range is built to be converted. You absolutely have to check the appliance's user manual first. If that doesn't give you a clear answer, call the manufacturer directly to see if a certified conversion kit even exists for your specific model.
Trying to rig a conversion on a range not designed for it is a recipe for disaster. It's incredibly dangerous and can lead to catastrophic failure. Don't risk it.
What Happens If I Botch the Orifice Size?
Using the wrong orifice size is one of the most dangerous mistakes you can make. It creates an immediate safety hazard.
If the orifice is too large for propane, you’ll get massive, out-of-control flames that produce thick black soot and, worse, deadly carbon monoxide. On the flip side, an orifice that’s too small will give you a weak, sputtering flame that can barely heat a pan and might just extinguish itself, leaking raw gas.
You have to understand that the properly sized orifice is the single most critical safety component in this entire process. There is zero wiggle room here—the right part from the kit is the only part you should use.
Is It Safe to Run a Propane Range Inside a Commercial Kitchen?
Absolutely, as long as it's installed by the book and your kitchen's ventilation is up to code. Commercial kitchens are already required to have powerful hood and ventilation systems, which are more than capable of handling any gas appliance, including your newly converted propane range. Just make sure everything is installed correctly and passes inspection.
What Types of Stainless Steel Prep Tables Are Available?
While your range is the heart of the hot line, your prep tables are the backbone of your entire kitchen workflow. Choosing the right type of stainless steel prep table is crucial for efficiency and food safety. The main varieties include:
- Standard Prep Tables: These are the workhorses of the kitchen. They typically feature a flat top with an undershelf for storage and are perfect for general-purpose tasks like chopping, mixing, and plating.
- Tables with Backsplashes: An integrated backsplash is a must-have for any table placed against a wall. It prevents ingredients and liquids from falling behind the unit, making cleanup faster and maintaining a more sanitary environment.
- Pizza Prep Tables: Specifically designed for pizzerias, these units combine a refrigerated base with a wide top surface (often marble or granite for dough work) and a refrigerated rail for holding pans of toppings. They keep all your pizza ingredients chilled and within arm's reach.
- Sandwich/Salad Prep Tables: Similar to pizza tables, these feature a refrigerated rail on top for holding cold ingredients like meats, cheeses, and vegetables, with a cutting board workspace in front. The refrigerated base provides bulk cold storage, streamlining the sandwich and salad-making process.
For every other piece of your commercial kitchen, from specialized cooking equipment to the toughest stainless steel prep tables, PrepTables.com has the professional-grade gear you need to build a more efficient workflow. Check out our entire collection to find the perfect equipment for a safer, smarter kitchen.