

A Practical Guide to Gas Burner Cleaning
Regular gas burner cleaning isn't just about making your cooktop look good—it's the single most important thing you can do to keep it running efficiently and safely. A clean burner means a better flame, less wasted fuel, and a safer kitchen. It's that simple.
Why A Clean Gas Burner Is Your Kitchen's Secret Weapon
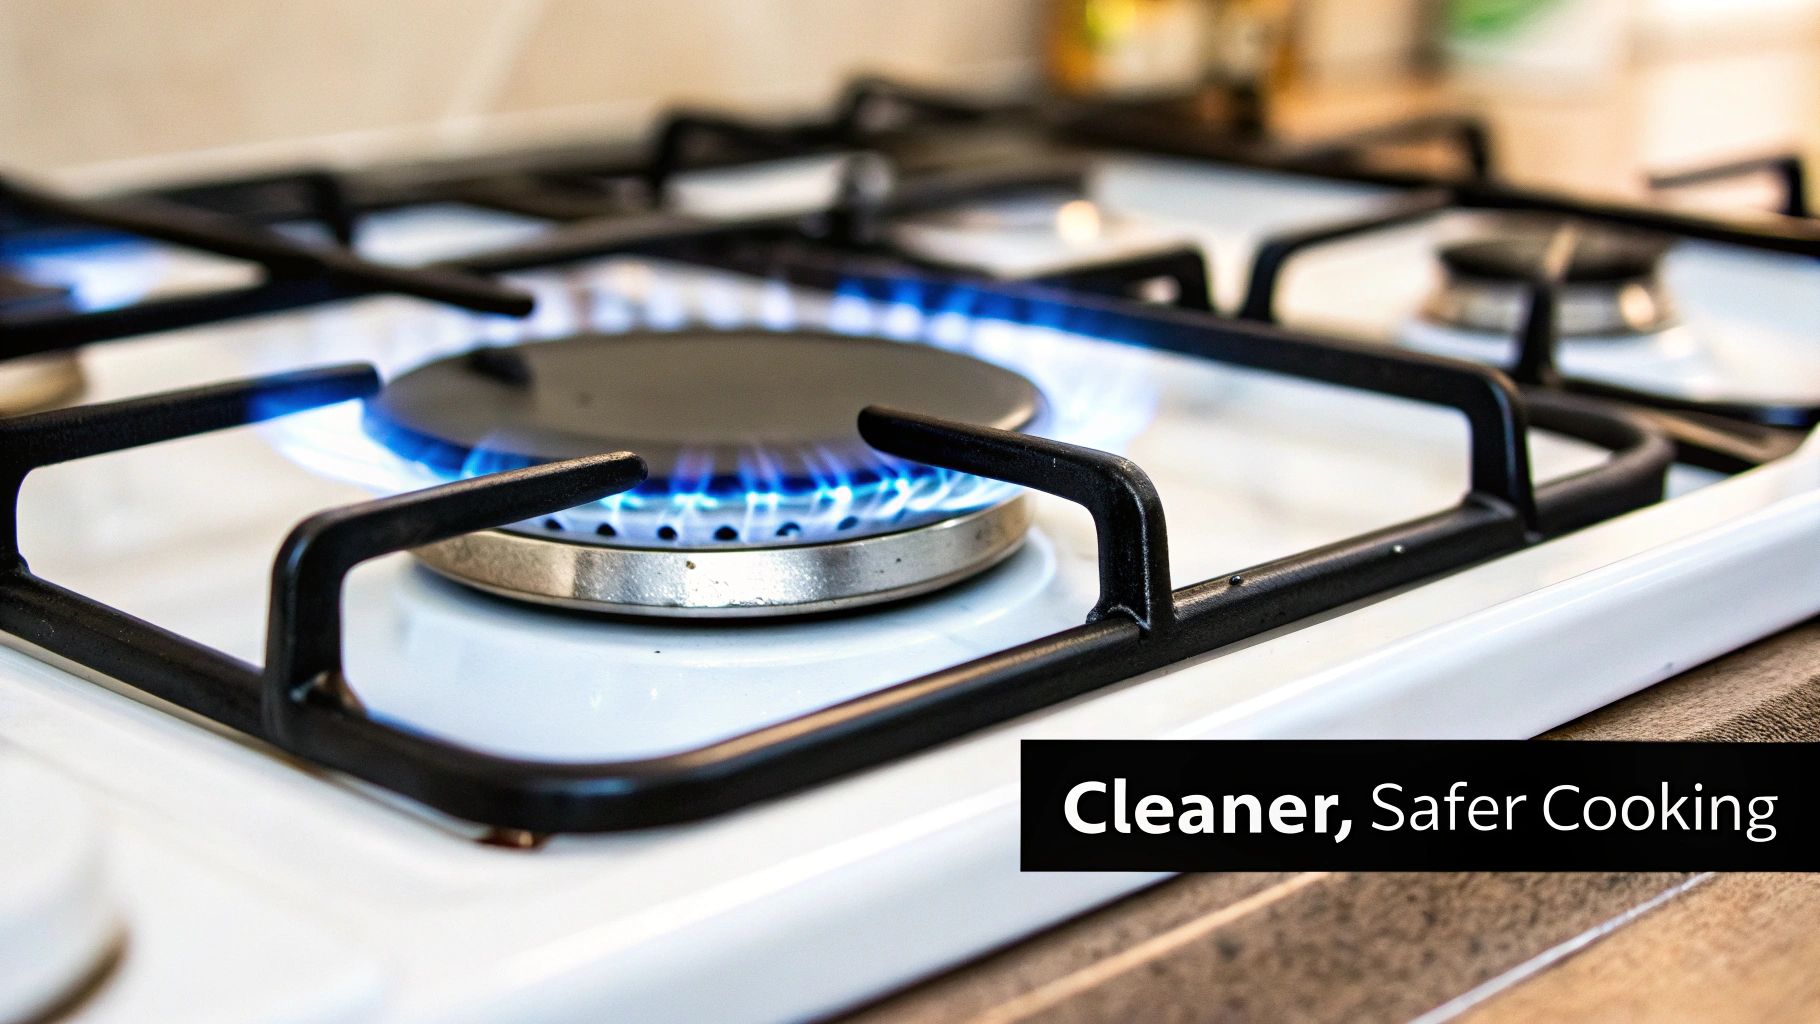
Think of a clean gas burner as a high-performance tool, whether it’s in your home or a busy restaurant kitchen. When the burner ports are clear, you get that perfect, crisp blue flame that heats every pan evenly and quickly. That's the foundation of great cooking, right there.
But when you let grease, carbon, and food scraps build up, that high-performance tool becomes a major liability. The tiny ports that release gas get clogged, which leads to a weak, uneven, and often yellow flame. Not only does this mess with your cooking times, but it also wastes gas and drives up your utility bills.
Efficiency And Safety Go Hand-In-Hand
Beyond just poor performance, there's a serious safety issue to consider. That caked-on grease is flammable, and an inconsistent flame can create dangerous hot spots or fail to ignite properly, which is a real fire risk. In a professional kitchen, this is more than just a hazard—it's a direct violation of health and safety codes.
Regular gas burner maintenance isn't just another cleaning chore. It's a proactive strategy to prevent costly equipment failures, guarantee food is cooked consistently, and maintain a safe environment for everyone in the kitchen.
Understanding the whole appliance is also key, especially for unique setups. If you want to dive deeper into the equipment that houses these burners, this guide on LPG gas cookers for narrowboats is a great resource, covering everything from installation to safety.
Clean Burners: The Real-World Impact
It’s easy to talk about the benefits, but what does keeping your burners clean actually look like in practice? Here’s a quick breakdown of the impact in different settings.
| Benefit Category | Impact in a Commercial Kitchen | Impact in a Home Kitchen |
|---|---|---|
| Performance & Consistency | Ensures every dish is cooked evenly, maintaining food quality and ticket times. A wobbly flame can ruin a delicate sauce in seconds. | Food heats up faster and more predictably. No more shuffling pans around to find the "hot spot." |
| Safety | Drastically reduces fire risk from grease buildup. Helps maintain compliance with health and safety regulations, avoiding fines. | Minimizes the risk of grease fires and ensures gas ignites properly, preventing dangerous flare-ups. |
| Cost Savings | Improves fuel efficiency, leading to lower monthly gas bills. Prevents costly emergency repairs and premature equipment replacement. | You'll use less gas to cook your meals, which adds up over time. Extends the lifespan of your appliance. |
| Hygiene | Prevents carbon and old food particles from flaking into fresh food. Supports overall kitchen sanitation and NSF standards. | Keeps your cooking surface clean and free from old, burnt-on food debris, making for a healthier cooking space. |
As you can see, the payoff for a few minutes of cleaning is huge, no matter where you're cooking.
It's Bigger Than Just Your Kitchen
This focus on clean burners isn't just a niche topic for chefs and homeowners. It’s part of a much larger global push toward efficiency and compliance in all industries. The demand for gas cleaning technologies shows just how seriously professionals are taking this.
In fact, the global market for these technologies was valued at around USD 31.83 billion in 2022 and is expected to keep growing. This trend highlights that keeping burners clean isn't just good practice—it’s an essential part of modern operational standards, making sure everything from a home stove to industrial machinery runs at its peak.
Choosing Your Gas Burner Cleaning Toolkit
Having the right supplies on hand before you start cleaning your gas burners can turn a dreaded chore into a surprisingly quick job. A well-stocked kit means you can handle anything from a minor spill to that stubborn, baked-on gunk without accidentally damaging your cooktop. It’s all about working smarter, and a clean, organized workspace like a stainless steel prep table is the perfect place to start.
The Foundation of a Clean Workspace: Prep Tables
Before you even gather your cleaning tools, consider your workspace. A durable, easy-to-clean surface is essential. Stainless steel prep tables are the industry standard for a reason—they are non-porous, resist corrosion, and can handle harsh cleaning chemicals. They come in various types to suit any kitchen's needs:
- Standard Prep Tables: These offer a simple, flat work surface and are available with or without a backsplash. They're perfect for general prep work and organizing cleaning supplies.
- Tables with Undershelves: For added storage, many tables feature a lower shelf (or two) to keep bulk ingredients, equipment, or cleaning solutions neatly organized and off the floor.
- Specialty Prep Tables: For high-volume operations, specialized tables are a game-changer. Pizza prep tables combine refrigerated compartments for toppings with a durable cutting board surface, streamlining the entire assembly process. Similarly, sandwich prep tables offer refrigerated wells for cold cuts, cheeses, and veggies, keeping everything fresh and within arm's reach.
Essential Tools for the Job
Once you're geared up, it's time to gather the tools that will do the actual grunt work. You'll want to steer clear of anything super abrasive like steel wool. It might seem tough on grime, but it will leave permanent scratches on burner caps and grates, particularly those with a special finish.
Instead, go for scrubbing tools that are firm but won't cause damage. A good stiff-bristled nylon brush or even an old toothbrush is perfect for getting into all the little nooks and crannies. For clearing out those tiny gas ports on the burner head, something simple like an unfolded paper clip or a sewing needle works great. You can also find specialized port cleaning tools if you want to get professional about it.
Remember, the goal is to clear blockages, not to widen the ports. Gentle precision is key to maintaining that perfect blue flame and ensuring efficient gas flow.
Selecting the Right Cleaning Solutions
The cleaner you reach for really depends on the mess you're facing. For daily wipe-downs and minor spills, a simple mix of warm water and dish soap is usually all you need.
When you’re up against more serious buildup, you’ve got a few powerhouse options. A paste made from baking soda and water is a fantastic non-toxic abrasive that works wonders at lifting tough stains. For greasy or mineral-caked components, letting them soak in white vinegar for about 30 minutes can dissolve a lot of the mess.
If you're tackling heavily soiled commercial equipment, a professional-grade degreaser is your best friend. For a complete rundown of what the pros keep in their arsenal, take a look at this guide on essential cleaning supplies for restaurants.
One critical safety note here: never, ever mix ammonia with bleach or other cleaning products. Doing so creates toxic chloramine gas, which is extremely dangerous. If you do use an ammonia soak for a heavy-duty clean, make sure the area is incredibly well-ventilated and you are only using ammonia and water—nothing else.
The Definitive Process for Deep Cleaning Gas Burners
When the daily wipe-down just isn't cutting it anymore, it's time for a deep clean. This is how you restore your gas burners to their original, high-performance glory, tackling that baked-on grime that leads to weak flames and wasted energy. The good news is this process works for both common sealed burners at home and the professional-grade open designs in a commercial kitchen.
First things first: safety. Before you touch a single component, shut off the gas supply to the stove. You’ll usually find the valve behind the appliance or tucked away in a nearby cabinet. With the gas off, get some air moving. Open a window or flip on the exhaust fan to keep the area ventilated, which is especially important if you're using any heavy-duty cleaning solutions.
Here’s a look at the essential gear you’ll want to have ready to go.

Having your gloves, tools, and cleaners organized from the start makes the whole job feel less like a chore and more like a pro-level tune-up.
Disassembly and Soaking Strategy
With the area prepped, start by carefully lifting off the heavy cooking grates. Next come the burner caps (the flat, circular discs) and then the burner heads themselves (the parts the caps sit on). Lay everything out on an old towel or some newspaper to protect your countertops and keep track of all the pieces.
Now, it's time for a good soak. This is where the magic happens, letting your cleaning solution do the heavy lifting by dissolving layers of cooked-on grease. A simple, effective solution is a mix of equal parts white vinegar and hot water. Submerge the burner caps and heads in a basin and let them soak for at least 30-60 minutes.
For the really stubborn, carbonized gunk you see in busy kitchens, you might need to bring in the big guns. Specialized products are made for exactly this kind of mess. If that sounds like your situation, check out our guide on the benefits of using a carbon off cleaner for the toughest jobs: https://preptables.com/blogs/prep-tables/carbon-off-cleaner.
Scrubbing and Clearing the Burner Ports
After a good soak, most of the grime should be loose and ready to come off. Grab a non-abrasive scrub brush or an old toothbrush and give every surface of the burner caps and heads a thorough scrubbing. Really get into all the nooks and crannies where grease loves to hide.
This is also the most critical part of the whole process: clearing the ports. Those tiny holes are where the gas comes out, and even a small clog can cause an uneven, sputtering flame. Use a thin, stiff tool—an unfolded paper clip or a sewing needle works great—to gently poke into each hole and dislodge any debris. Whatever you do, don't use a toothpick. They can easily snap off inside the port and create an even bigger problem.
Rinsing, Drying, and Reassembly
Once you’ve scrubbed everything and the ports are clear, rinse each component under cool water. You want to remove every last bit of cleaning solution. It’s a more important step than you might think—any leftover soap or vinegar will burn off with a pretty nasty smell the next time you cook.
And now for the final, non-negotiable step: drying. Moisture is your enemy here. It can lead to rust and interfere with the ignition. Dry every single piece completely with a clean cloth, and then let them air-dry for at least another hour just to be safe. You want them bone-dry.
When you are 100% certain everything is dry, you can put it all back together. Place the burner heads back on their bases, making sure they sit perfectly flat. Set the caps on top, ensuring they're aligned correctly. Finally, put the grates back in place, turn the gas supply back on, and test each burner. You're looking for a strong, even, blue flame.
If you want to take your kitchen's sparkle to the next level, don't stop at the burners. For a complete guide, this post on how to clean a hob and make it shine has some fantastic tips.
Troubleshooting Common Gas Burner Issues
So, you've gone through a full cleaning, but your gas burners are still acting up. Don't worry, it happens to everyone. A sputtering flame or one that just won't light is frustrating, but the fix is almost always simpler than you’d think. Most of these headaches trace back to a few usual suspects that are easy to spot and fix.
If a burner refuses to light, your first stop should always be the igniter—that little ceramic prong that creates the spark. Sometimes, a tiny bit of food debris or a film of cleaning residue is all it takes to block the connection. A gentle wipe with a soft, dry brush or cloth is usually enough to clear it.
Decoding Your Flame Color
The color of your flame tells you everything you need to know about your burner's health. You're looking for a crisp, blue flame, maybe with the slightest yellow tip. If you're seeing a lot of yellow or orange, that's a red flag. It means the gas-to-air ratio is off, and the fuel isn't burning completely.
After a cleaning, this almost always comes down to one of two things:
- Misaligned Burner Caps: The cap has to sit perfectly flat and centered on the burner head. If it’s even a little bit crooked, it messes with the airflow and gives you that weak, yellow flame.
- Clogged Ports: Go back and double-check every single port. You might think they're clear, but even a few partially blocked holes can throw the whole system out of whack, affecting the flame's color and shape.
A persistent yellow flame isn't just inefficient; it's also a sign that it’s producing more carbon monoxide. Getting the alignment right and ensuring the ports are totally clear is a non-negotiable final step.
Pro Tip: One of the most common mistakes I see is people reassembling burners while they're still a little damp. Trapped moisture will absolutely interfere with ignition and cause a sputtering, uneven flame. Make sure every single piece is 100% bone-dry before you put it all back together.
Tackling Weak Flames and Sputtering
What about a flame that's just weak or sputtering? You’ve cleaned the ports, dried everything, but the heat output is still pathetic. What gives?
Nine times out of ten, this points back to a blockage, but it might not be where you're looking. Check the burner head's central opening or the venturi tube for any hidden gunk that could be restricting gas flow before it even gets to the ports. A misaligned burner head that isn’t sitting flush on its base can also cause gas to escape unevenly, creating that annoying sputtering sound.
Properly cleaning your gas burners is about more than just performance—it has a real impact on emissions and energy use. Poorly maintained burners can actually increase nitrogen oxide (NOx) emissions by up to 30% and carbon monoxide (CO) by as much as 50%. This is why regulatory bodies, like those in the European Union, have strict cleaning standards for thousands of industrial plants. You can discover more about these emission standards and see why this isn't just about keeping a tidy kitchen.
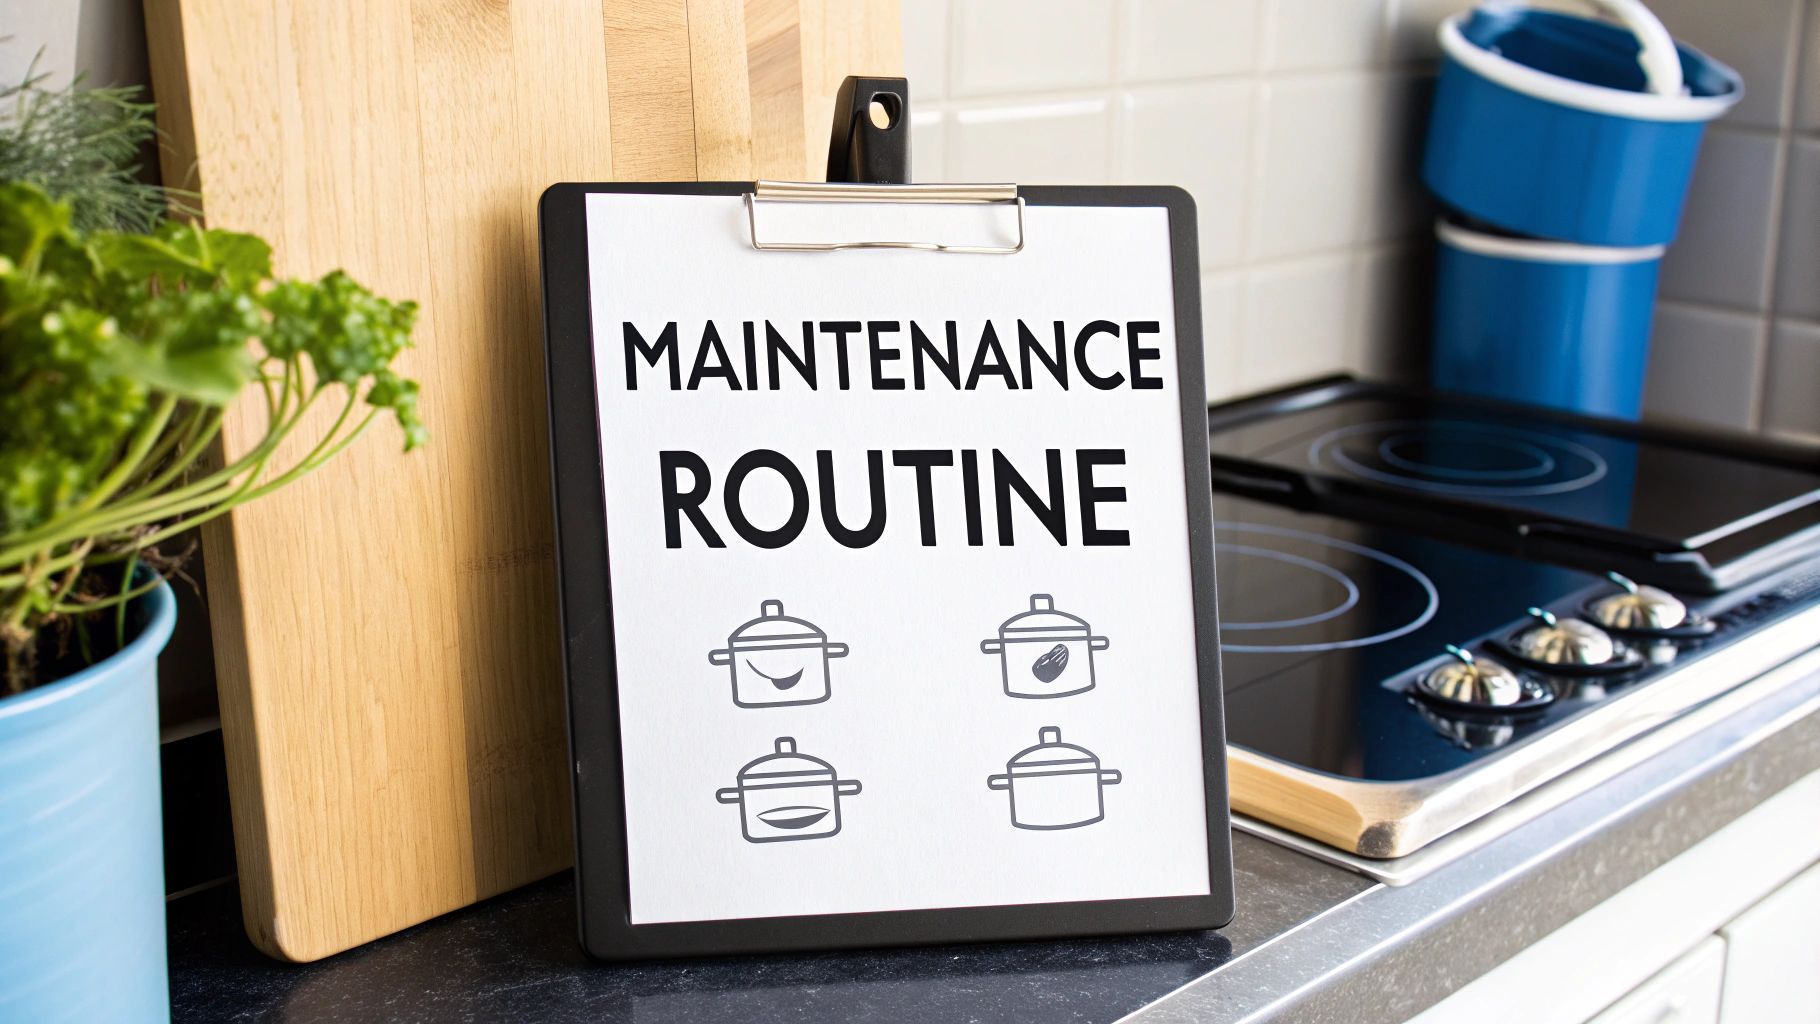
Building a Smart Kitchen Maintenance Routine
A proactive maintenance schedule is the difference between a kitchen that runs like a well-oiled machine and one that’s constantly putting out fires—literally and figuratively. Don't wait for a weak flame or a surprise health inspection. A structured gas burner cleaning routine keeps your equipment in peak condition, saving you a ton of time, money, and stress down the line. It’s all about turning a reactive chore into a strategic advantage.
This kind of consistency stops today's minor issues from snowballing into tomorrow's costly repairs. When everyone on the team knows their role, hygiene and safety become a shared responsibility, not just an afterthought.
Creating Your Cleaning Cadence
The secret to a maintenance plan that actually works is breaking it down into manageable tasks based on frequency. Not every job needs to be done daily. A balanced schedule ensures essential upkeep happens without burying your staff during a busy service.
Here’s a simple, flexible framework you can tweak for your own kitchen:
- Daily Tasks (End of Shift): These are the quick habits that prevent major buildup. Think wiping down the cooktop to catch fresh spills and food bits, plus giving the burner grates a quick wipe to get rid of any immediate grease.
- Weekly Tasks (During a Quieter Period): This is where you get a little more thorough. Pull the grates and burner caps, then scrub them with hot, soapy water and a non-abrasive brush to cut through the week's grease and grime.
- Monthly or Quarterly Tasks (Scheduled Downtime): Time for the deep clean. This means a full disassembly, a good soak for all the components, and a meticulous port cleaning like we covered earlier. This is absolutely critical for keeping your flame efficient and safe.
A well-documented maintenance routine isn't just for your staff—it's your proof of due diligence during a health inspection. A clear, posted schedule shows inspectors that you prioritize safety and hygiene, which can make all the difference.
The Evolution of Cleaning Standards
This systematic approach to maintenance is a relatively modern standard. Back in the early 20th century, gas burners were cleaned by hand with pretty inconsistent results, often leading to higher emissions. The game really changed in the 1980s with the arrival of automated cleaning systems, which massively improved efficiency. Today, the global market for gas cleaning technologies reflects this priority, incorporating methods like scrubbers and particulate collection. You can learn more about the industry's US $40 billion revolution in gas cleaning and see how it impacts modern kitchens.
This bit of history just goes to show how important the scheduled routines we use today really are.
A Template for Success
To make this super easy to implement, just create a simple checklist. A laminated sheet posted near the cooking line works perfectly. It should clearly spell out the daily, weekly, and monthly tasks, with a little space for staff to initial when the job is done.
This not only builds accountability but also serves as a fantastic training tool for new hires, getting them up to speed on your kitchen’s standards from day one. This process is a core part of a much larger strategy for equipment care. For a broader look, our guide on commercial kitchen equipment maintenance offers a more extensive view of how to protect all your valuable assets. By building this smart routine, you ensure your gas burners—and your entire kitchen—operate at their absolute best.
Common Questions About Gas Burner Cleaning
Even with the best cleaning routine, you're bound to have a few questions pop up about keeping your gas burners in top shape. Let's tackle some of the most common ones I hear, so you can handle the job like a pro.
How Often Should I Deep Clean My Home Gas Burners?
For the average home cook, a solid deep clean every 3-6 months is a good benchmark. But that’s not set in stone.
If you’re the type who loves a good sear with lots of oil, if you’re constantly dealing with pots boiling over, or if you spot those flames burning a lazy yellow instead of a crisp blue, you’ll want to clean them more often. A quick wipe-down after you cook each day goes a long way in stretching the time between those deeper cleaning sessions.
Is It Safe to Use Oven Cleaner on Gas Burners?
My advice? Steer clear of oven cleaner for your gas burners. That stuff is seriously potent and can cause more harm than good. The harsh chemicals are designed for baked-on enamel, not the metals used in burner components.
Using it can strip the finish right off your burners or, even worse, corrode the metal itself, especially if any parts are aluminum.
Stick with what works and what's safe. A simple paste made from baking soda and water, a good soak in white vinegar, or just some mild dish soap will get the job done without risking your appliance.
Reaching for the wrong cleaner can turn a simple cleaning task into an expensive replacement job. It’s just not worth the risk.
Why Is My Burner Flame Yellow After Cleaning?
It can be a little jarring to see a yellow flame right after you've spent all that time cleaning, but don't worry—it’s almost always a simple fix. A yellow flame means the gas isn't burning completely, and it usually comes down to one of three things:
- Lingering Moisture: This is the number one culprit. You have to make sure every single piece—the cap, the head, the grate—is 100% bone dry before reassembling. Even a tiny bit of water can throw off the flame.
- A Wobbly Burner Cap: That cap needs to sit perfectly flat and centered on the burner head. If it’s even a little crooked, it messes with the air-to-gas ratio and you'll get a yellow flame.
- Clogged Burner Ports: Take one last look. It's easy for a tiny bit of food debris or cleaning gunk to get stuck in those little holes. A quick pass with a paperclip should clear it right out.
Check these three things, and you'll almost certainly get that perfect, efficient blue flame back in no time.
At PrepTables.com, we provide the durable, NSF-certified stainless steel prep tables and commercial equipment that form the foundation of any clean and efficient kitchen. Explore our selection to find the perfect fit for your workspace.