

Using Carbon Off Cleaner Like a Pro
A carbon off cleaner is the heavy-hitter you call in when standard degreasers just won't cut it. It’s a seriously powerful, industrial-strength chemical solution engineered for one tough job: breaking down and dissolving the stubborn, baked-on carbon and grease plaguing your commercial kitchen equipment.
Unlike your everyday cleaner that handles fresh spills, a carbon off product is formulated to chemically dismantle those rock-hard, polymerized layers that build up over time from intense, high-heat cooking. Think of it as a restoration tool, not just a cleaning product.
Why Carbon Off Cleaner Is a Kitchen Essential
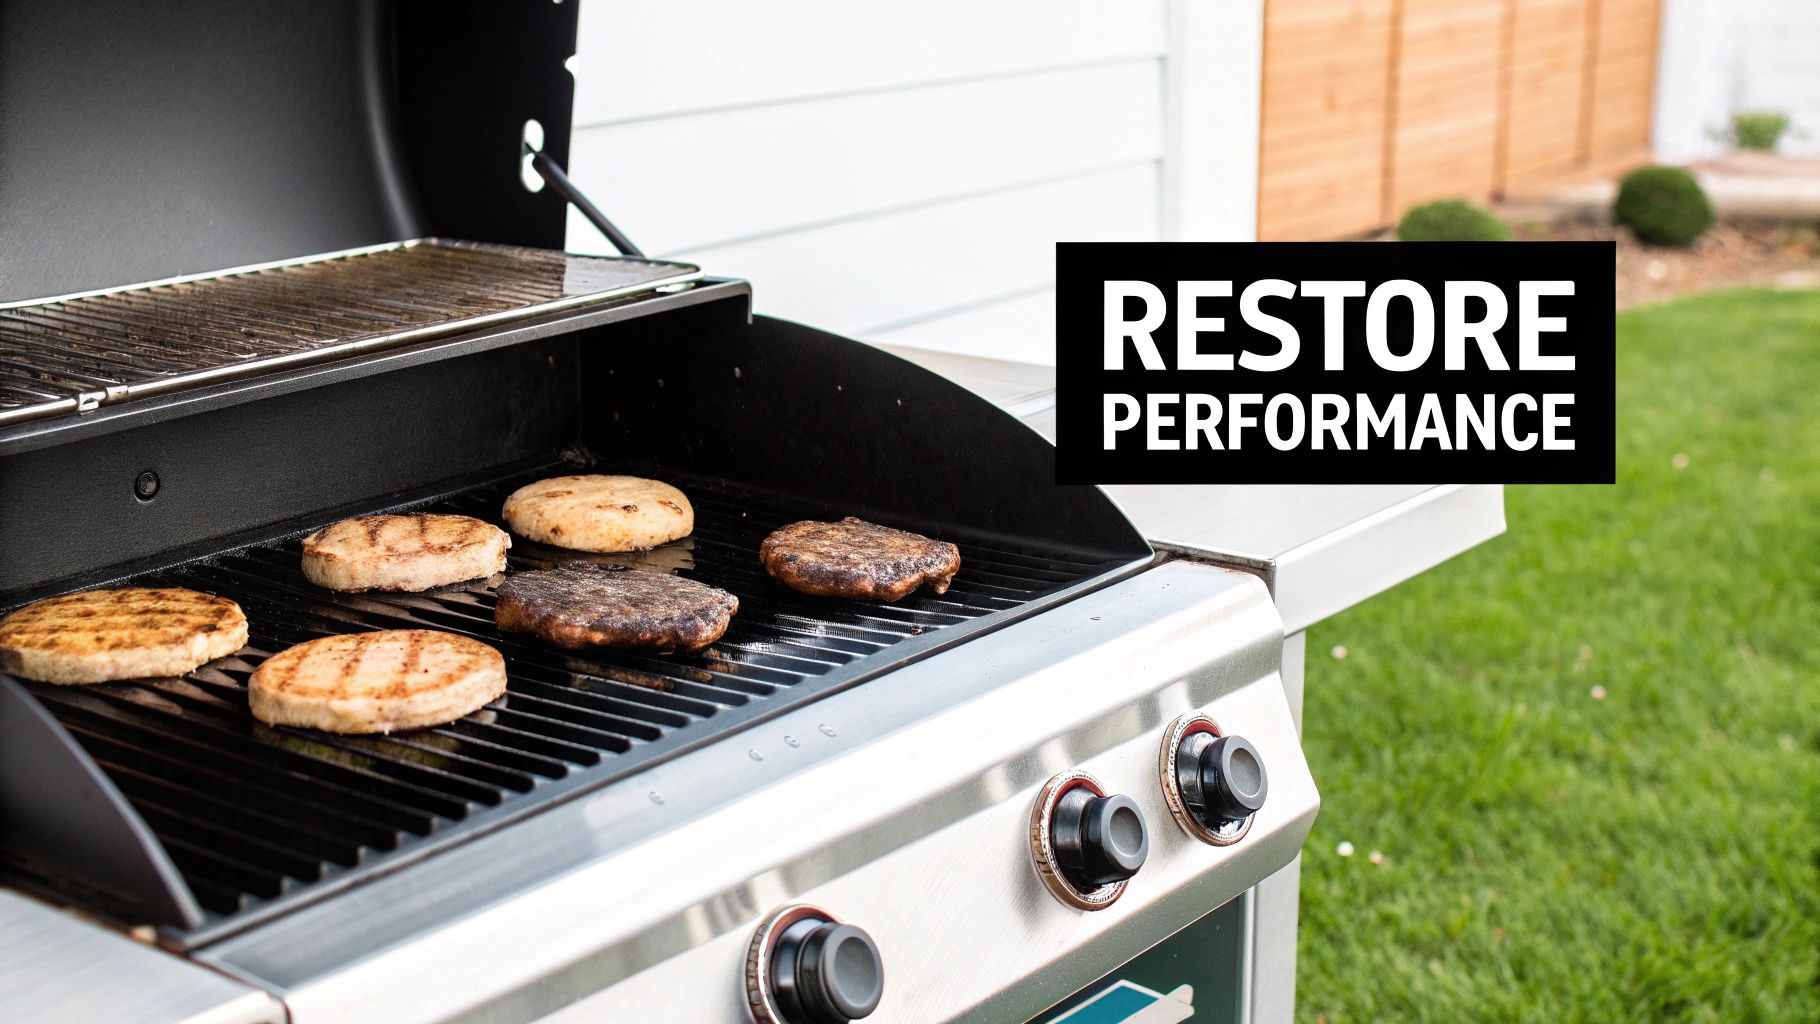
That stubborn, black crust on your grills, fryers, and ovens isn't just ugly—it's a quiet saboteur draining your kitchen's performance. This carbonized grease acts like an insulator, forcing your equipment to burn more energy and work much harder to hit the right temperature. A proper carbon off cleaner, also known as a decarbonizer, is the only real answer for this kind of extreme buildup.
Your regular degreasers are completely outmatched here. They might wipe away the surface-level grime, but they simply lack the chemical muscle needed to penetrate and break the tough molecular bonds of deep-set carbon deposits.
Restoring Equipment Performance and Efficiency
When carbon accumulates, it creates an uneven cooking surface. This leads to frustrating hotspots that scorch food in one area while leaving other spots undercooked. By getting rid of this insulating layer entirely, a carbon off cleaner brings back direct, efficient heat transfer from the equipment to the food.
The benefits are immediate and tangible:
- Improved Heat Distribution: You get even cooking temperatures across the entire surface of a griddle or throughout an oven. No more guesswork.
- Reduced Energy Consumption: Clean equipment heats up faster and holds its temperature with less power, which you'll notice on your utility bills.
- Extended Equipment Lifespan: That corrosive carbon buildup does more than just look bad; it can cause pitting and long-term damage to your expensive stainless steel and cast-iron gear. Removing it protects your investment.
A clean appliance is an efficient appliance. Studies have shown that removing even a thin layer of carbon buildup can boost heat transfer efficiency by over 10%. That saves you real time and money during a hectic service.
Elevating Hygiene and Food Quality
Beyond the mechanics, using a carbon off cleaner is a non-negotiable part of maintaining top-tier kitchen hygiene. Those baked-on layers are a magnet for old food particles and bacteria, which can easily transfer gross, burnt flavors to your fresh dishes.
Wiping out that carbon buildup ensures the only flavors in your food are the ones you put there. It also slashes the risk of cross-contamination. This is especially critical for multi-use surfaces like stainless steel prep tables, where any residual grime is completely unacceptable.
Of course, with great power comes great responsibility. These cleaners are potent, and you have to use them correctly to avoid damaging the very surfaces you're trying to save. We'll get into the specifics of that next.
Setting Up for a Safe and Effective Deep Clean
Before you even think about cracking open a bottle of industrial-strength carbon off cleaner, let's get one thing straight: preparation is everything. These are seriously powerful chemicals that demand respect. Winging it isn't an option unless you're aiming for chemical burns, respiratory problems, or a hefty bill for damaged equipment.
Your first move is always to prep the gear you're cleaning. Disconnect all power sources—and I mean completely unplug them from the wall. If it’s a gas appliance, make sure that gas line is shut off tight. The most critical part? Let every surface cool down to room temperature. Slapping a caustic cleaner onto a hot surface is a recipe for disaster, potentially releasing a cloud of hazardous fumes and causing dangerous splash-back.
Assembling Your Personal Protective Gear
Going into a decarbonizing job without the right Personal Protective Equipment (PPE) is a non-starter. This isn't your average dish soap. We're talking about potent chemicals that can cause real harm on contact. Your safety kit is absolutely non-negotiable.
Here’s what you absolutely must have:
- Chemical-Resistant Gloves: Forget standard latex gloves; they won't cut it. You need heavy-duty, long-cuffed gloves made from something like neoprene or butyl rubber that can stand up to the harsh stuff.
- Splash-Proof Goggles: Your eyes are incredibly vulnerable. Get goggles that create a solid seal around your eyes. They're mandatory for protecting against an accidental splash from any direction.
- Respirator or Mask: Carbon off cleaners can kick up some strong, irritating fumes. Use a respirator equipped with cartridges rated for organic vapors and acid gases, especially if you're working in a spot with less-than-ideal airflow.
- Protective Apron or Clothing: A chemical-resistant apron worn over your regular clothes is a smart move. It protects your skin and stops the chemical from soaking through the fabric.
A mistake I see all the time is people underestimating these cleaners. A single drop splashing into an unprotected eye can cause permanent damage. Always, always treat these chemicals with the caution they deserve.
Creating a Safe and Ventilated Workspace
Once you're geared up, it's time to deal with the environment. Proper ventilation is your best friend for getting rid of the potent fumes that come with the job. Open up every window and door you can. I like to use a couple of fans to create a cross-breeze that actively pulls fumes away from me and pushes them outside.
Before you start, make sure you know exactly where your safety equipment is and how to use it. That includes locating the emergency shower and eyewash station. This isn't just a suggestion; it's a fundamental part of keeping your kitchen safe. If you want to dive deeper, reviewing our food safety and sanitation guidelines is a great way to ensure all your procedures are on the right track.
Finally, get everything else out of the way. Clear the area of any food, utensils, or anything else that could get contaminated. Your deep-clean zone needs to be completely isolated and secure before you begin.
The Right Way to Apply Carbon Off Cleaner
With your safety gear on and the workspace prepped, it's finally time to tackle that baked-on carbon. Applying a carbon off cleaner is more of an art than a science; it’s not just about spraying and wiping. This is a methodical process that demands a bit of precision, especially when you're dealing with different pieces of equipment and layers of grime. The whole point is to let the cleaner do the heavy lifting for you, without causing any damage.
First thing's first: dilution. Seriously, don't just eyeball it. It’s tempting to think a stronger mix will work faster, but with professional decarbonizers, that’s a recipe for disaster. These cleaners are incredibly potent, and using them straight from the bottle can easily etch or dull your stainless steel finishes.
Always check the manufacturer's instructions for the right ratio of cleaner to water. You’ll want to adjust it based on how bad the carbon buildup is. A light, greasy film might only need a weaker solution, but those thick, black, ancient-looking layers are going to require a much stronger mix.
This visual guide breaks down the critical first steps you need to take before you even unscrew the cap.
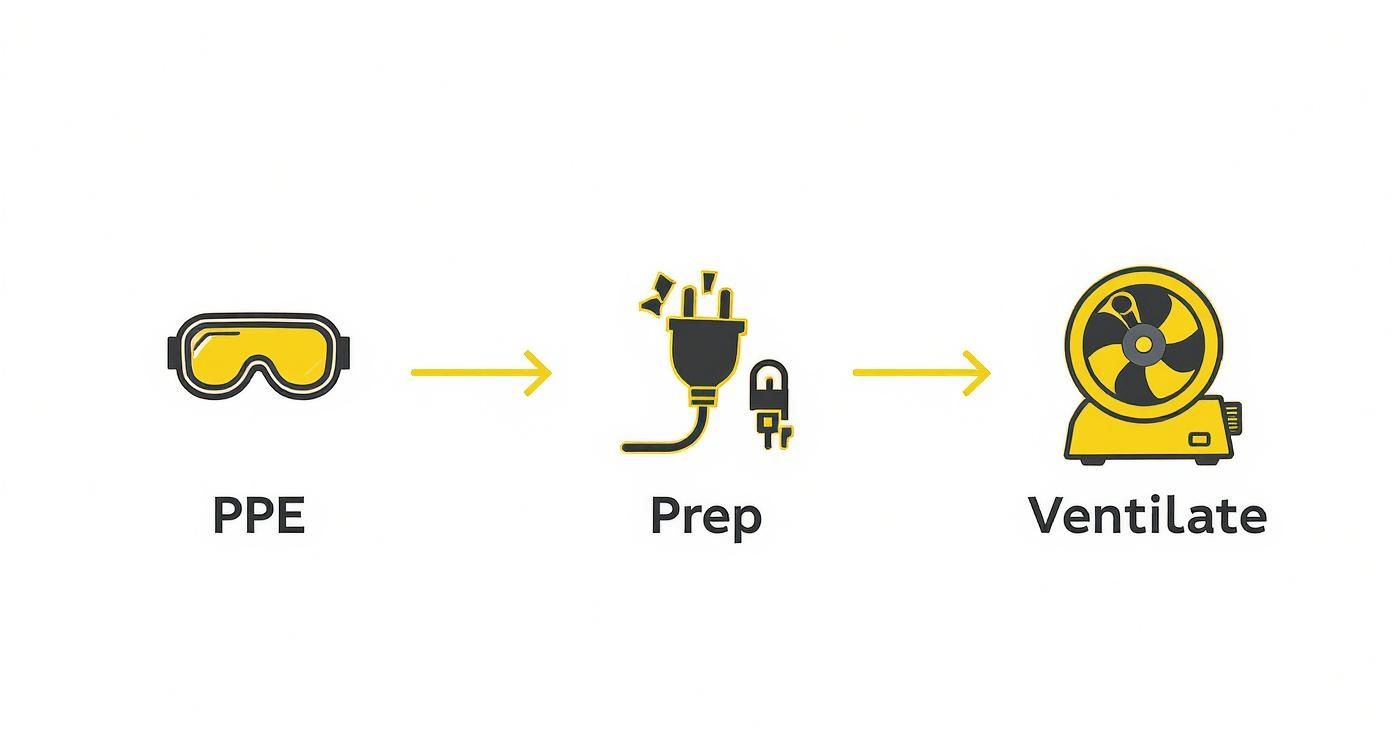
As the infographic makes clear, there's a non-negotiable sequence here: gear up, power everything down, and get some air moving. This simple flow keeps you and your equipment safe before any chemicals even enter the picture.
Application Techniques For Different Equipment
The best way to apply the cleaner really depends on what you're cleaning. You wouldn't treat a fryer basket the same way you’d handle the surface of a refrigerated prep table.
- Soaking: This is, hands down, the most effective method for removable parts. Think fryer baskets, grill grates, and burner heads. Just submerge them completely in your diluted solution—use a stainless steel or a chemical-resistant plastic tub for this. This lets the cleaner work its way into every single nook and cranny without you having to scrub endlessly.
- Brushing or Wiping: For big flat surfaces like griddles, oven interiors, and standard worktables, applying the cleaner with a brush or a heavy-duty, non-abrasive pad is the way to go. It gives you total control over where the chemical goes, preventing drips onto motors or electrical components.
- Spraying: A spray bottle might seem like the easiest option, but you need to be extremely careful. It's really only for large, simple surfaces where you don't have to worry about overspray. When you atomize a powerful chemical, it's very easy to inhale, so proper ventilation and a respirator are an absolute must if you go this route.
Safely Cleaning Stainless Steel Prep Tables
Stainless steel prep tables are a cornerstone of any commercial kitchen, and their cleaning needs vary based on their design. Understanding the different types is key to applying cleaners safely and effectively.
Standard worktables are straightforward. You can apply your solution directly to the top and backsplash, let it sit, and then scrub. However, specialized tables require more care.
- Standard Work Tables: These are the simplest, featuring a flat top and undershelf. They are durable and easy to clean with a direct application of the cleaner.
- Sandwich Prep Tables: These units combine a work surface with refrigerated wells for ingredients and a refrigerated cabinet below. This design is highly efficient but demands careful cleaning to protect electrical and cooling components.
- Pizza Prep Tables: Similar to sandwich tables, these often feature a wider, refrigerated rail to accommodate large pizza pans and a marble or stone surface ideal for dough. The combination of stainless steel, stone, and refrigeration makes precise cleaning essential.
Pro Tip: Never spray carbon off cleaner directly onto a refrigerated prep table like a sandwich or pizza prep table. The mist can easily find its way into cooling vents, where it can corrode electrical wiring or damage the rubber gaskets that seal the refrigerated compartments. That’s a fast track to a very expensive repair bill.
To clean these specialized units correctly, apply the diluted cleaner to a cloth or brush first. Then, carefully work it onto the stainless steel surfaces. Go in small, manageable sections to maintain complete control over the liquid. This stops any drips from reaching the sensitive refrigerated base below. It’s also a smart move to shield the gaskets and control panels with plastic sheeting as an extra precaution.
Recommended Dwell Times for Carbon Off Cleaner
Use this guide to determine the right dwell time for different equipment to maximize cleaning power without risking surface damage.
"Dwell time" is the all-important waiting period. It's the time you let the cleaner sit and do its job—chemically dissolving the carbon bonds—before you even think about scrubbing. Rushing this step is one of the most common mistakes people make, and it just creates a lot more work for you.
| Equipment or Surface | Carbon Buildup Level | Suggested Dwell Time |
|---|---|---|
| Stainless Steel Worktable | Light to Moderate | 15-20 minutes |
| Pizza/Sandwich Prep Table Top | Moderate | 10-15 minutes |
| Cast Iron Grill Grates | Heavy | 30-60 minutes (or soak) |
| Deep Fryer Baskets | Heavy | 1-2 hours (soak) |
| Oven Interior Walls | Moderate to Heavy | 20-30 minutes |
Stick to these specific dwell times. They ensure the carbon off cleaner works as efficiently as possible, breaking down all that gunk for easy removal without harming the surface underneath. Once the dwell time is up, a gentle scrub with a non-abrasive pad should be all you need to lift the loosened carbon right off.
Finishing the Job Safely: Rinsing and Neutralizing
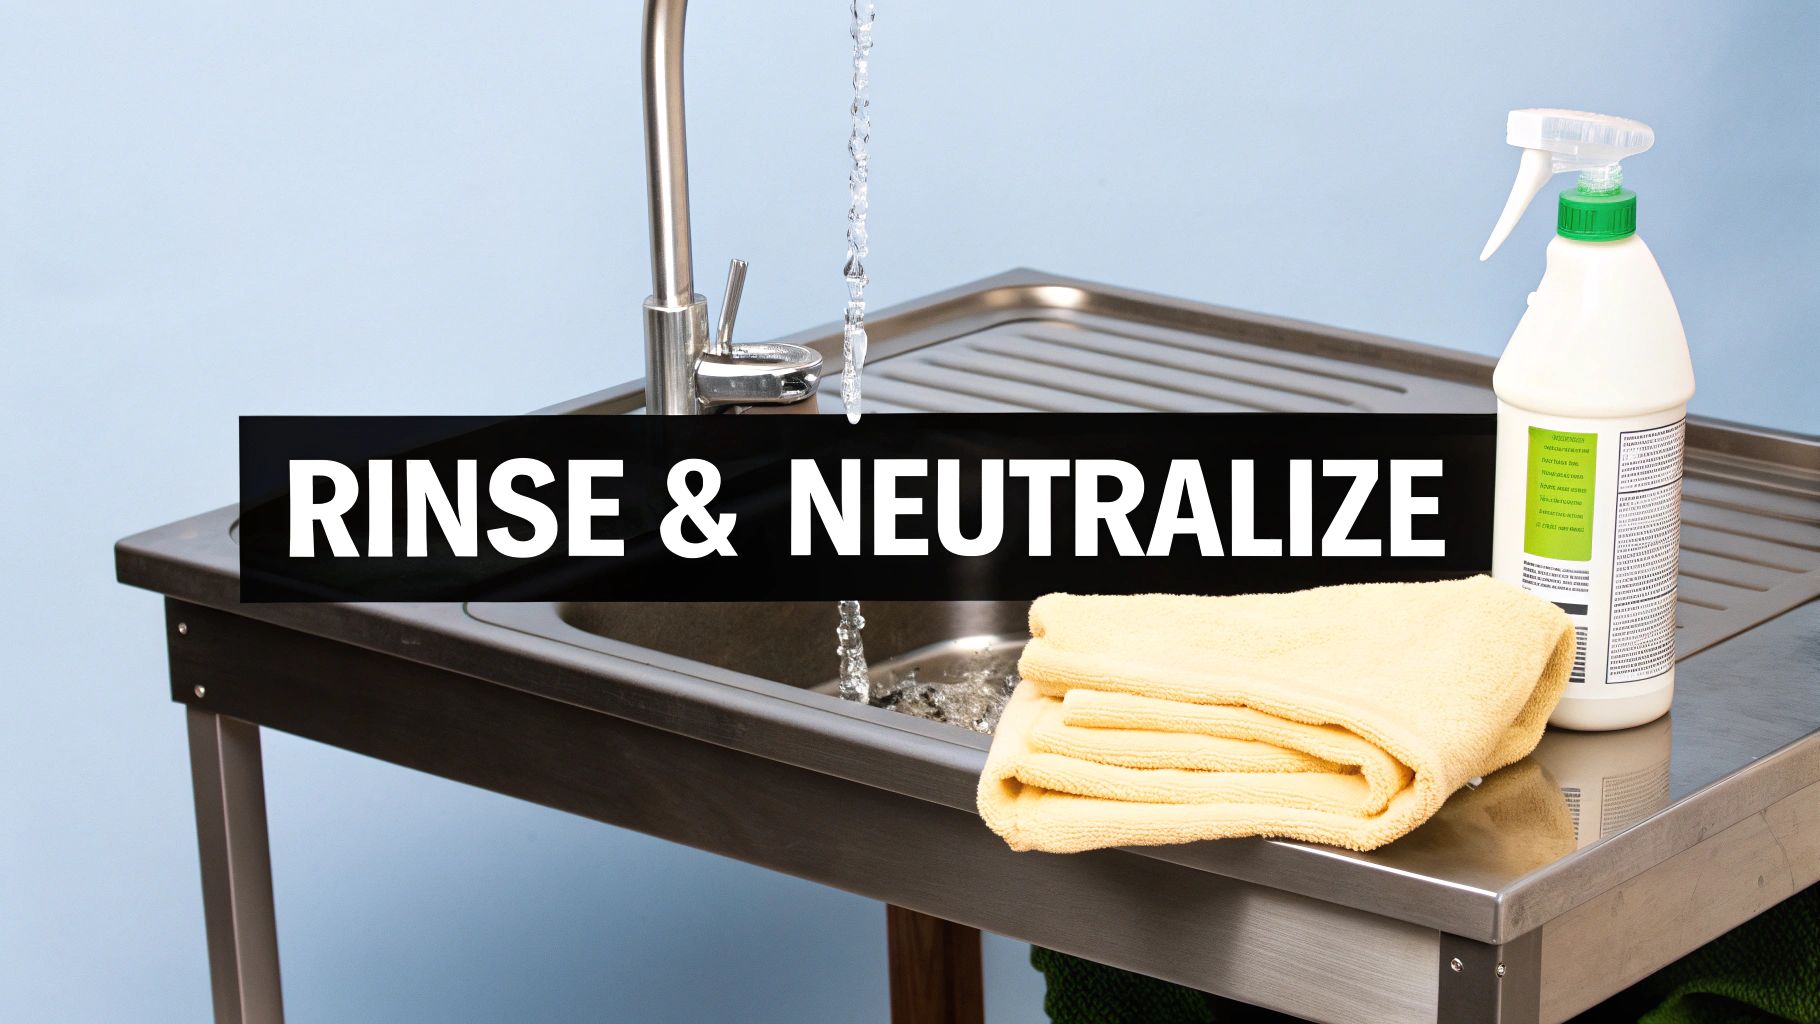
Letting the carbon off cleaner do its work is only half the battle. Once that dwell time is up, getting the chemical solution off is every bit as important as putting it on. If you skip or rush these final steps, you risk food contamination, corrosion on your equipment, and safety hazards that completely undermine all your hard work.
The first move is a thorough rinse with clean, cool water. Your goal is to flush away every single trace of the cleaner and all that loosened carbon gunk. Use a steady stream of water and be meticulous about hitting every corner, seam, and crevice where the chemical could hide. For big pieces of equipment, a low-pressure hose is perfect. For smaller parts, a good rinse under a faucet will do the job.
Neutralizing the Surface for Ultimate Safety
Even after a good rinse, microscopic chemical residue can hang around. Since most carbon off cleaners are highly alkaline (caustic), you have to neutralize the surface to get its pH level back to a safe, neutral state. This is an absolutely non-negotiable part of the process, especially for any surface that will ever touch food.
Luckily, you don’t need another specialty chemical for this. A simple mix from your pantry works perfectly.
- Create a Mild Acidic Solution: Just mix one part white vinegar with two parts water in a clean spray bottle.
- Apply and Wait: Lightly spray this solution over the entire surface you just cleaned. Let it sit for about five minutes.
- Final Rinse: Give the equipment one last, complete rinse with clean water to wash away the vinegar solution.
This quick process ensures your equipment isn't just visually clean but is also chemically safe for the next service. It also helps protect the passive layer on your stainless steel, stopping potential long-term damage from any leftover alkalinity.
After neutralizing, always dry your stainless steel surfaces completely with a clean, soft cloth. Letting water air-dry is a surefire way to get water spots and streaks, which can easily be mistaken for leftover chemical residue.
Responsible Disposal of the Cleaning Solution
That used carbon off cleaner solution, now loaded with dissolved grease and carbon, is considered chemical waste. You absolutely cannot just pour it down the drain. This can wreak havoc on the local water system and might violate local environmental regulations, which can lead to some hefty fines for your business.
Always check with your local municipality or waste management authority. They will have specific guidelines for how to handle and dispose of this type of waste responsibly in your area. Proper disposal is a critical final step to keeping your commercial kitchen safe and compliant.
For more tips on keeping your equipment in top shape, our guide on how to clean stainless steel has some great insights for everyday care.
Building a Proactive Kitchen Maintenance Routine
There's a deep satisfaction in seeing equipment sparkle after a tough carbon off cleaner session, but the real win is preventing that rock-hard carbon from building up in the first place. If you can shift your team from a reactive "clean it when it's awful" approach to a proactive maintenance strategy, you'll save an incredible amount of time, labor, and money. The goal is to make those heavy decarbonizing jobs less frequent and way less of a chore.
This isn't about one giant cleaning day. It's about weaving smaller, targeted cleaning tasks into your daily and weekly flow. This consistent upkeep is what stops a little grease from turning into a nightmare.
Creating a Realistic Cleaning Schedule
Every kitchen moves to its own beat, so a cookie-cutter schedule just won’t cut it. How often you need to break out the heavy-duty carbon off cleaner really depends on how much you use a piece of equipment and your overall kitchen volume.
Here’s a general framework you can tweak for your own operation:
- High-Volume Fryers & Griddles: These are the usual suspects. They'll probably need a full decarbonizing treatment monthly to keep them running safely and efficiently.
- Convection & Combi Ovens: For ovens getting a regular workout, a deep clean every quarter is a good target to tackle all that baked-on gunk and residue.
- Charbroilers & Grills: The direct flame contact means carbon builds up fast. Pencil in a deep clean for these every 6-8 weeks.
A smart maintenance plan is the key to keeping everything in top shape for the long haul. For more ideas on building these kinds of routines, you can find great info on establishing proactive cleaning schedules that cover other high-maintenance areas.
Your Customizable Maintenance Checklist
To put this into action, create a simple checklist that breaks down tasks by day, week, and period. This keeps things from falling through the cracks and spreads the work out so no one person gets slammed.
Key Insight: Proactive maintenance isn’t about adding more work—it’s about working smarter. A 10-minute wipe-down at the end of a shift can easily prevent a future 2-hour scrubbing marathon.
Use this as a starting point for your own list:
Daily Tasks (End of Shift)
- Wipe down all stainless steel prep tables with a good degreaser.
- Scrape and give griddle tops a solid clean.
- Empty fryer wells and wipe them down.
Weekly Tasks (Pick a Slower Day)
- Do a full boil-out on all fryers.
- Get in there and thoroughly degrease oven interiors and racks.
- Sanitize all food contact surfaces and keep an eye out for any early signs of buildup.
Periodic Tasks (Monthly/Quarterly)
- Time for the deep clean. Use your carbon off cleaner on the equipment you’ve scheduled.
- Take apart what you can—grill grates, fryer baskets—and let them soak.
- After cleaning, give all the equipment a good inspection for any wear and tear.
To make sure your supply closet is stocked for all these tasks, take a look at our complete guide on essential cleaning supplies for restaurants. Following a framework like this won't just make your equipment last longer; it'll keep your kitchen humming at the highest standards of hygiene.
Got Questions About Carbon Off Cleaners? We've Got Answers.
Even with a solid plan, it's natural for questions to pop up when you're using a heavy-duty carbon off cleaner. Getting the right answers is crucial for protecting your equipment, keeping your staff safe, and getting the job done right. Let's dig into some of the most common questions we hear from folks working in professional kitchens.
"Can I Use This on My Aluminum Pans?"
This is probably the number one mistake we see. Someone grabs the decarbonizer, sees a dirty aluminum pan, and thinks it's a good idea.
It’s not. In fact, it’s a hard no. Most carbon off cleaners are highly caustic, and they will absolutely destroy soft metals like aluminum, copper, or brass. You'll end up with severe pitting, ugly chemical burns, and permanent stains. Stick to using these powerful cleaners on the tough stuff—stainless steel and cast iron. For your softer metals, you need a dedicated, aluminum-safe degreaser.
"This Stuff Isn't Coming Off! What Now?"
Sometimes you run into carbon buildup that's been baked on for years, layer after stubborn layer. One round with the cleaner might not be enough to get through it all.
If you hit a wall, the temptation is to just let the cleaner sit longer than the instructions say. Don't do it. A much safer and more effective approach is to run a full cycle—application, dwell time, and a thorough rinse. Then, grab a non-abrasive scraper and gently lift off the softened gunk. Dry the area completely and go for a second, full application. It’s a methodical process, but it works way better than just extending the dwell time and risking damage.
"How Do I Clean a Pizza Prep Table Without Ruining the Fridge Base?"
This is a great question. Cleaning specialized equipment like a refrigerated prep table requires a bit of finesse, especially when you need to protect the sensitive parts.
Precision is everything here. Your main goal is to prevent any cleaner from dripping onto the refrigerated base, its vents, or any electrical components. Instead of spraying, apply the cleaner directly to a cloth or brush and tackle small, manageable sections at a time. It’s also a smart move to shield any gaskets and seals, as the potent chemicals can make them brittle over time.
"Isn't a Decarbonizer Just a Strong Degreaser?"
There’s often confusion here, but these two products are not interchangeable. Think of them as two different tools for two different jobs.
A degreaser is your daily driver for wiping out fresh grease and oil. A carbon off cleaner, on the other hand, is the specialist you call in periodically to demolish carbon that has been hardened by intense heat. It's the difference between routine maintenance and a deep, restorative clean.
Ready to equip your kitchen with durable, easy-to-clean surfaces? Explore the full range of professional-grade stainless steel tables and commercial equipment at PrepTables.com. Visit https://preptables.com to find the perfect solutions for your culinary workspace.