

Pro Guide: best way to clean griddle for a spotless cooktop
Keeping your griddle in top shape isn't about one magic cleaning trick. It’s all about a consistent routine. You need a quick scrape-down while it’s still hot after a rush, a solid daily wipe with a non-abrasive pad and the right cleaner, and a deep clean every so often to knock down that stubborn carbon buildup. In a commercial kitchen, this combo of daily upkeep and the occasional full reset is what separates a reliable workhorse from a cleaning nightmare.
Understanding Your Griddle and Prep Area
Before diving into the griddle itself, it's essential to consider the entire workstation. A pristine griddle is only as effective as the prep area that supports it. A clean, organized prep space is fundamental to an efficient kitchen, reducing cross-contamination and making every task, including equipment maintenance, much smoother.
The cornerstone of any professional kitchen is the stainless steel prep table. Renowned for their durability, non-porous surface, and resistance to rust and corrosion, these tables provide the ideal foundation for food safety and preparation. However, "stainless steel table" is a broad category, with various types designed to meet specific kitchen needs.
Types of Stainless Steel Prep Tables
Choosing the right table can significantly impact your kitchen's workflow. The most common variations include:
- Standard Work Tables: These are the versatile, flat-top workhorses of the kitchen. They provide a simple, durable surface for all-purpose tasks like chopping, mixing, and assembling ingredients.
- Tables with Undershelves: For kitchens tight on space, an undershelf offers invaluable storage for bulk items, small appliances, or ingredient bins, keeping the main work surface clear and organized.
- Tables with Backsplashes: When a table is placed against a wall, an integrated backsplash is crucial. It prevents food and liquids from splashing onto the wall, simplifying cleanup and enhancing overall sanitation.
Specialized Prep Tables for High-Volume Kitchens
For operations that assemble complex dishes quickly, specialized prep tables with integrated refrigeration are indispensable. These units keep ingredients chilled and within arm's reach, dramatically boosting efficiency.
- Sandwich and Salad Prep Tables: Essential for delis, cafes, and quick-service restaurants, these tables feature a refrigerated top rail with compartments for cold cuts, cheeses, vegetables, and condiments. Additional refrigerated storage is typically located in the cabinet below.
- Pizza Prep Tables: Built on a similar concept, pizza prep tables are designed with wider and deeper refrigerated rails to accommodate large pans of sauce, cheese, and various toppings. The work surface is often made of marble or another material that stays cool, which is ideal for handling pizza dough.
Getting your prep station right is fundamental to kitchen efficiency. When your prep area is organized, service is faster, and it makes every cleaning routine—including griddle maintenance—so much easier by cutting down on cross-contamination and clutter.
Ultimately, the path to a perfectly clean griddle is paved by a well-organized and sanitary environment. Whether you're using a simple stainless steel table for its clean slate or a specialized refrigerated unit for speed, keeping that entire zone in order makes every single job, from dicing onions to scrubbing the flat-top, flow a whole lot better.
Mastering the Daily Griddle Cleaning Ritual
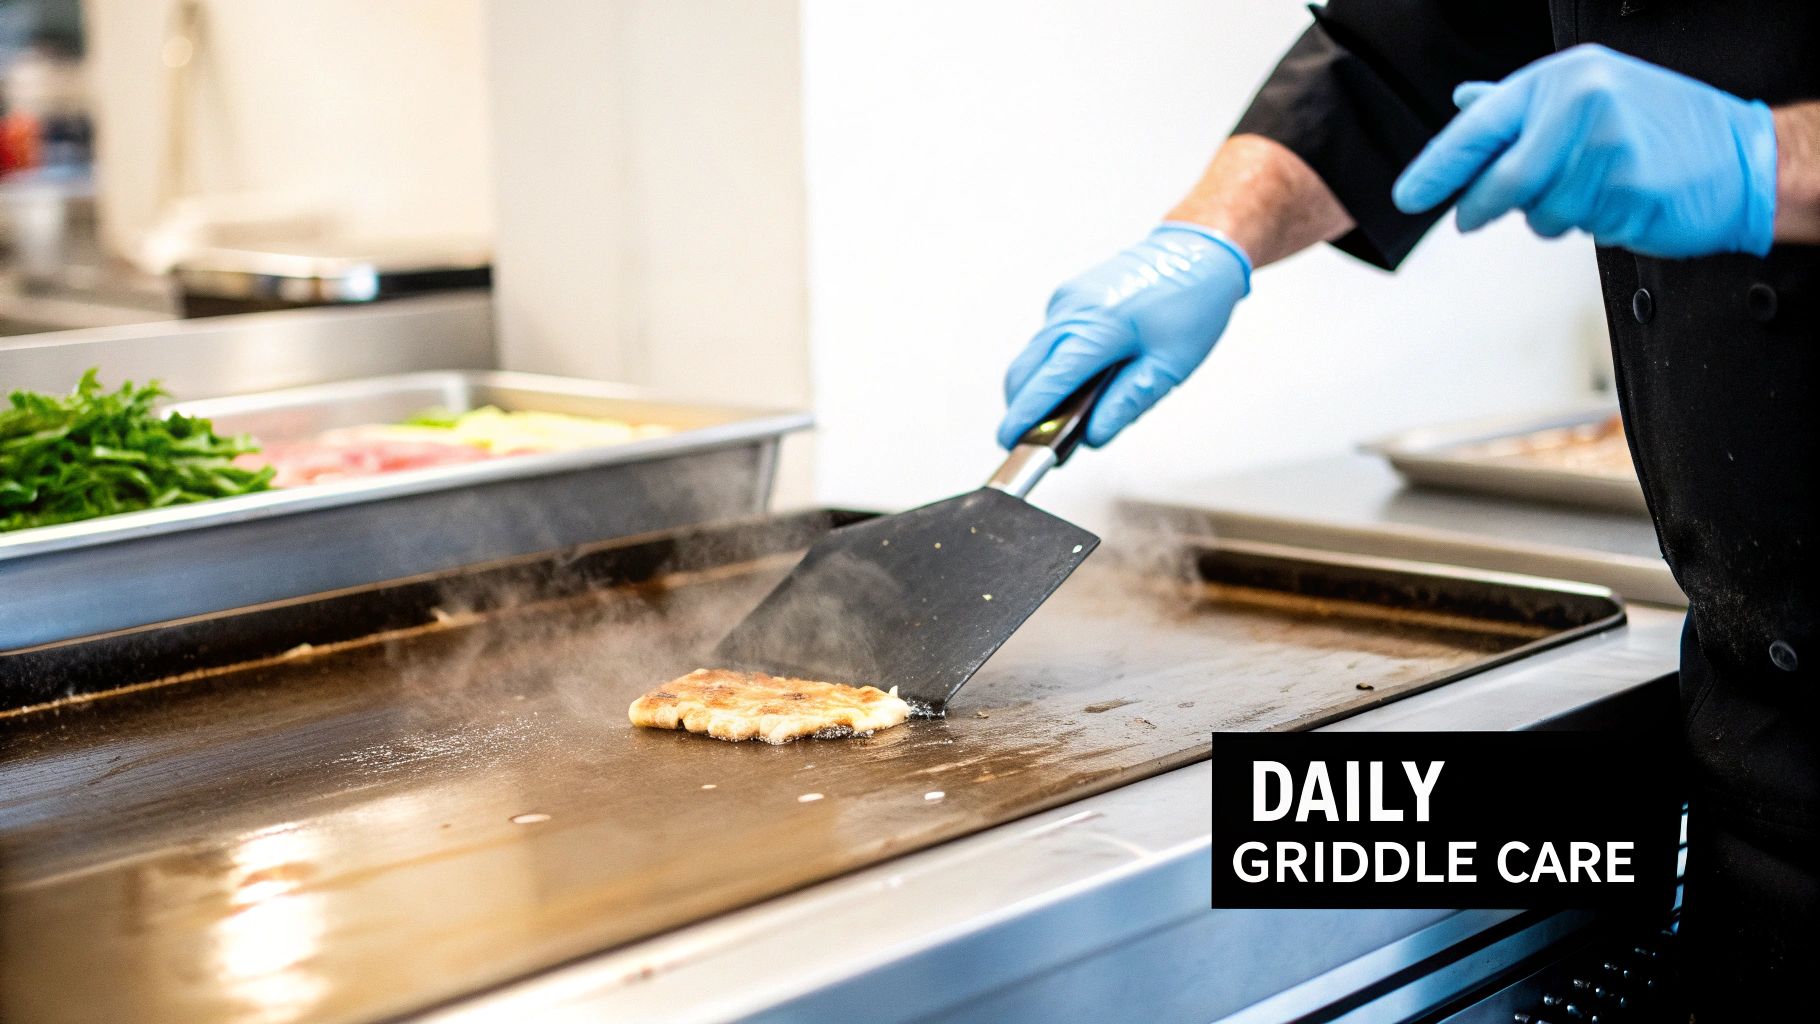
Keeping your griddle in top shape isn't about some massive weekly scrub-down. The real secret is consistent daily care. It's your number one defense against that stubborn, baked-on carbon that can ruin the taste of your food.
Think of it as a non-negotiable ritual at the end of every service. Skipping it is like letting cement set on your cooktop. A few minutes of cleaning after the last ticket will save you hours of chipping away at a mess later and keep your griddle surface pristine.
The Initial Scrape While It's Still Warm
The golden rule here is to clean the griddle while it's still warm, but not screaming hot. You're aiming for that sweet spot, around 300-350°F, where the grease is still liquid but water won't flash-boil on contact.
Grab a good bench scraper or griddle scraper and start pushing all the leftover food bits and grease pools directly into the grease trap. Use firm, confident strokes to clear the whole surface. This first pass gets rid of the big stuff and preps the griddle for a proper clean.
Scrubbing Without Damaging the Surface
With the heavy debris gone, it's time to deal with that residual film of grease. This is where a lot of kitchens go wrong—they reach for heavy-duty abrasives that scratch and gouge the griddle's finish. A much better approach is to use a non-abrasive scouring pad on a griddle pad holder, which also keeps your hands safe from the heat.
For a food-safe and surprisingly effective cleaning solution, a simple 50/50 mix of white vinegar and water is your best friend. Just pour a little onto the warm surface and get scrubbing in circular motions. The vinegar cuts right through the grease without any harsh chemicals, lifting it off the metal.
Making sure you have the right restaurant cleaning supplies is a game-changer for this process.
For stainless steel griddles, the process is similar. After that initial scrape, a little warm water and mild soap on a non-abrasive pad does the trick. Always rinse it thoroughly and, most importantly, dry it completely to stop rust in its tracks. Sticking to this routine daily drastically cuts down on carbon buildup and protects a piece of equipment that costs thousands and serves hundreds every day.
Key Takeaway: The point of a daily clean is maintenance, not a full-blown restoration. A gentle but consistent routine protects your investment and makes sure your griddle is always ready for service.
Finally, use a squeegee to guide all the dirty liquid into the grease trap. Wipe the surface with a clean, damp cloth to remove any last traces of vinegar or grime, then immediately dry it with another clean, dry cloth. This last step is critical. Any moisture left behind is just asking for rust to form. For extra protection, you can wipe on a very thin layer of cooking oil before calling it a night.
When your daily wipe-down just can't handle the gunk left over from a busy service, you need to bring out the heavy hitters. The secret to tackling that stubborn, baked-on grease is to clean the griddle while it's still hot. This approach uses heat to your advantage, breaking down carbonized food without the need for hours of elbow grease.
For these tough jobs, you've got two main weapons in your arsenal: specialized liquid cleaners or the old-school thermal shock trick using ice. Both get the job done, but they work in completely different ways. Your choice will likely come down to your kitchen's workflow and what you're comfortable with.
Using Specialized Hot Griddle Cleaners
Modern food-safe chemistry has given us some fantastic, fast-acting solutions. There are specially formulated, non-caustic liquids designed to go right onto a hot surface—ideally somewhere between 300-350°F. This is the sweet spot where the cleaner can chemically dissolve grease on contact without creating a cloud of harsh fumes or just boiling off instantly.
You just pour the liquid on, and you'll see it start to bubble and lift the grime right away. Let it sit for a minute or two, then scrape the mess into the grease trap with a good griddle scraper. It's an incredibly fast method that takes a lot of the physical work out of the equation. If you're dealing with some serious carbon buildup, our guide on using a powerful carbon-off cleaner can give you more specific tips.
The Classic Ice Cube Method
Here's a trick you'll see in kitchens all over the world: throwing ice directly onto the hot griddle. The sudden, extreme temperature change creates a thermal shock. This makes the metal contract quickly, which literally breaks the bond between the steel and all that caked-on food.
As the ice melts, it mixes with the loosened residue, creating a sludge that's easy to scrape away. A lot of chefs swear by this method because it's non-chemical and protects the griddle's surface from overly aggressive scrapers. Some of the newer, more advanced techniques, especially in European kitchens, actually combine this idea with specially formulated chemicals that work in under three minutes without creating corrosive vapors.
Pro Tip: No matter which method you use, always finish the job by wiping the surface with a clean, damp cloth and then drying it completely. This gets rid of any leftover cleaning residue and is crucial for preventing rust on your freshly cleaned surface.
So, which method is the best fit for your kitchen? Let's break it down.
Hot Griddle Cleaning Method Comparison
This table compares the specialized liquid method against the ice cube method, helping you decide which is best for your kitchen based on speed, safety, and effectiveness.
| Feature | Specialized Griddle Liquid | Ice Cube (Thermal Shock) |
|---|---|---|
| Speed | Very fast; typically works in 1-3 minutes. | Fast, but might need a second go on really heavy buildup. |
| Safety | Requires PPE like heat-resistant gloves and eye protection. | Less chemical exposure, but creates a lot of steam and splatter. |
| Effectiveness | Highly effective at dissolving thick, baked-on grease and carbon. | Excellent for loosening stuck-on food and moderate grease. |
| Cost | You'll have to buy a specialized cleaning product. | Extremely low cost; all you need is ice and water. |
Ultimately, the liquid cleaner is a powerhouse for speed and tough jobs, while the ice method is a fantastic, low-cost option for more routine deep cleans.
Performing a Full Deep Clean and Re-Seasoning
Your daily wipe-downs and hot-scrapes are great for keeping the griddle in fighting shape, but eventually, you'll need to hit the reset button. Think of this as a complete overhaul for your cooktop, designed to obliterate the stubborn, layered carbon that even the most disciplined daily cleaning can't touch.
This is the kind of job you'll tackle weekly or maybe monthly, depending on just how hard you push your equipment. It brings the surface back to its original, pristine state, ready for a fresh start.
Stripping It Down to Bare Metal
This isn't just a heavy-duty scrape; we're talking about a full restoration. The best way to get a griddle back down to the bare metal is with the right tools. Grab a griddle stone (which is just a pumice stone) or a griddle screen. These are abrasive enough to chew through that baked-on gunk but are designed not to gouge or scratch the steel surface itself.
Work in small sections. Apply firm, even pressure and methodically grind away at that black carbon buildup. You'll know you're done when you see the original silver metal start to shine through.
This visual guide gives you a quick rundown of the basic flow for cleaning a hot griddle.
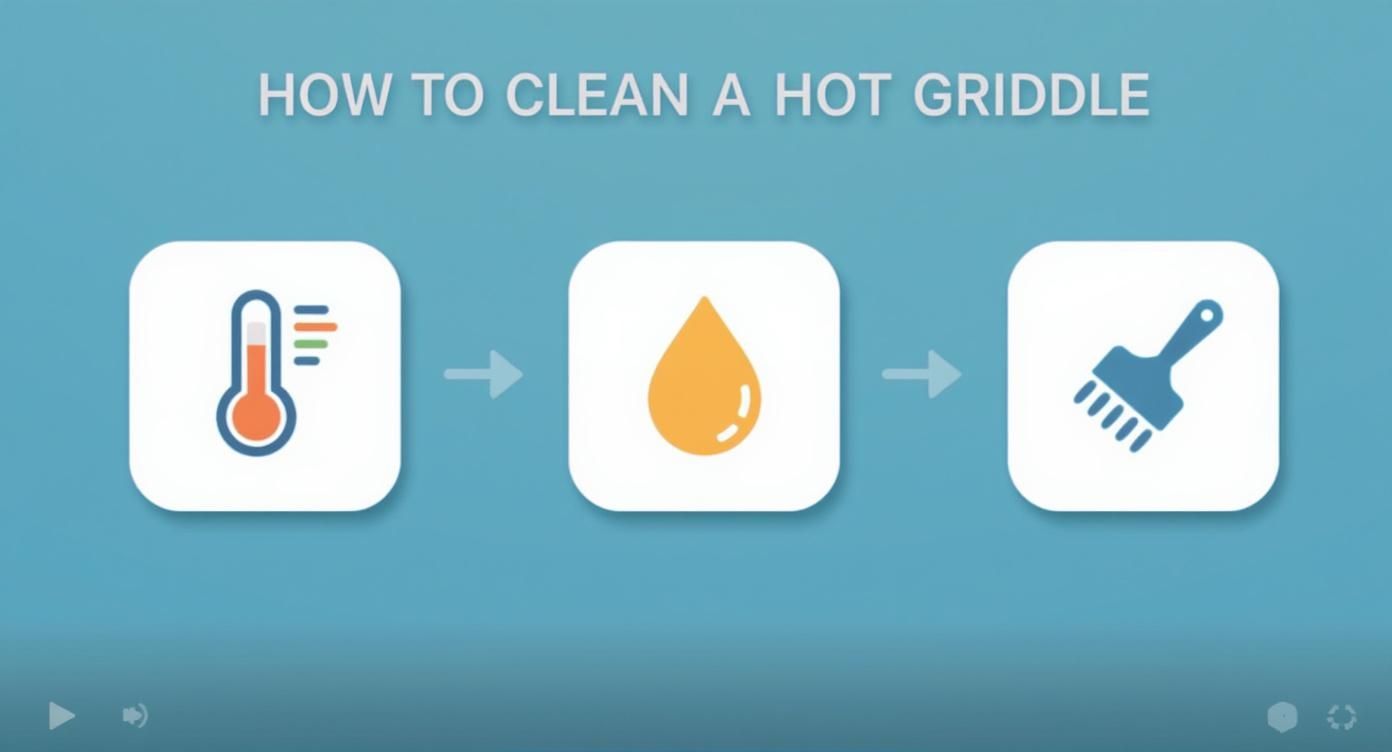
As you can see, heat is your best friend here. It works with your cleaning agent and your tools to lift off all that stubborn residue much more efficiently.
The Art of Re-Seasoning Your Griddle
Once your griddle is stripped clean, rinsed, and completely bone-dry, it's vulnerable. The raw, exposed metal is a magnet for rust and will make food stick like crazy. This is where re-seasoning comes in—it's the critical final step that builds a brand new, tough, non-stick cooking surface from scratch.
Seasoning is simply the process of polymerization. You're heating oil past its smoke point, which triggers a chemical reaction that bonds it to the metal as a hard, protective layer. But not just any oil will do. You need one with a high smoke point that can handle the heat without just burning away.
- Flaxseed Oil: A lot of pros consider this the gold standard. It forms an incredibly hard, durable finish that lasts.
- Canola or Vegetable Oil: These are the workhorses. They're affordable, easy to find, and get the job done reliably.
- Specialty Griddle Conditioners: You can also find products formulated specifically for seasoning. They often contain a blend of oils designed for optimal performance.
Key Insight: The goal of seasoning isn't to leave a greasy film behind. You're trying to bake on multiple, paper-thin layers of polymerized oil until the surface turns a slick, uniform, dark black. A perfectly seasoned griddle is naturally non-stick and completely protected from moisture.
To get started, heat your clean, dry griddle to somewhere between 350-400°F. Pour on a very thin layer of your chosen oil. Use a wad of paper towels held with tongs to spread it evenly across every inch of the surface. You want it to gleam, not pool.
Let the griddle keep heating until the oil starts to smoke. Hold it there and let it smoke for about 10-15 minutes. Then, kill the heat and let it cool down completely. You'll need to repeat this entire process three to five times to build up a strong, slick, and protective new cooking surface. It takes patience, but the result is worth it.
Using the Right Tools for Safe Griddle Cleaning
Your cleaning process is only as good as the tools you use. Grabbing a scraper that's too harsh or a pad that can't handle the heat will do more than just a bad cleaning job—it can permanently damage your griddle. That leads to uneven cooking, food that sticks, and a lot of headaches during a busy service.
Putting together the right kit is fundamental to cleaning your griddle safely and effectively. It’s not about having a mountain of supplies, but having the correct ones on hand. This way, your team can work efficiently without putting themselves or your expensive equipment at risk.
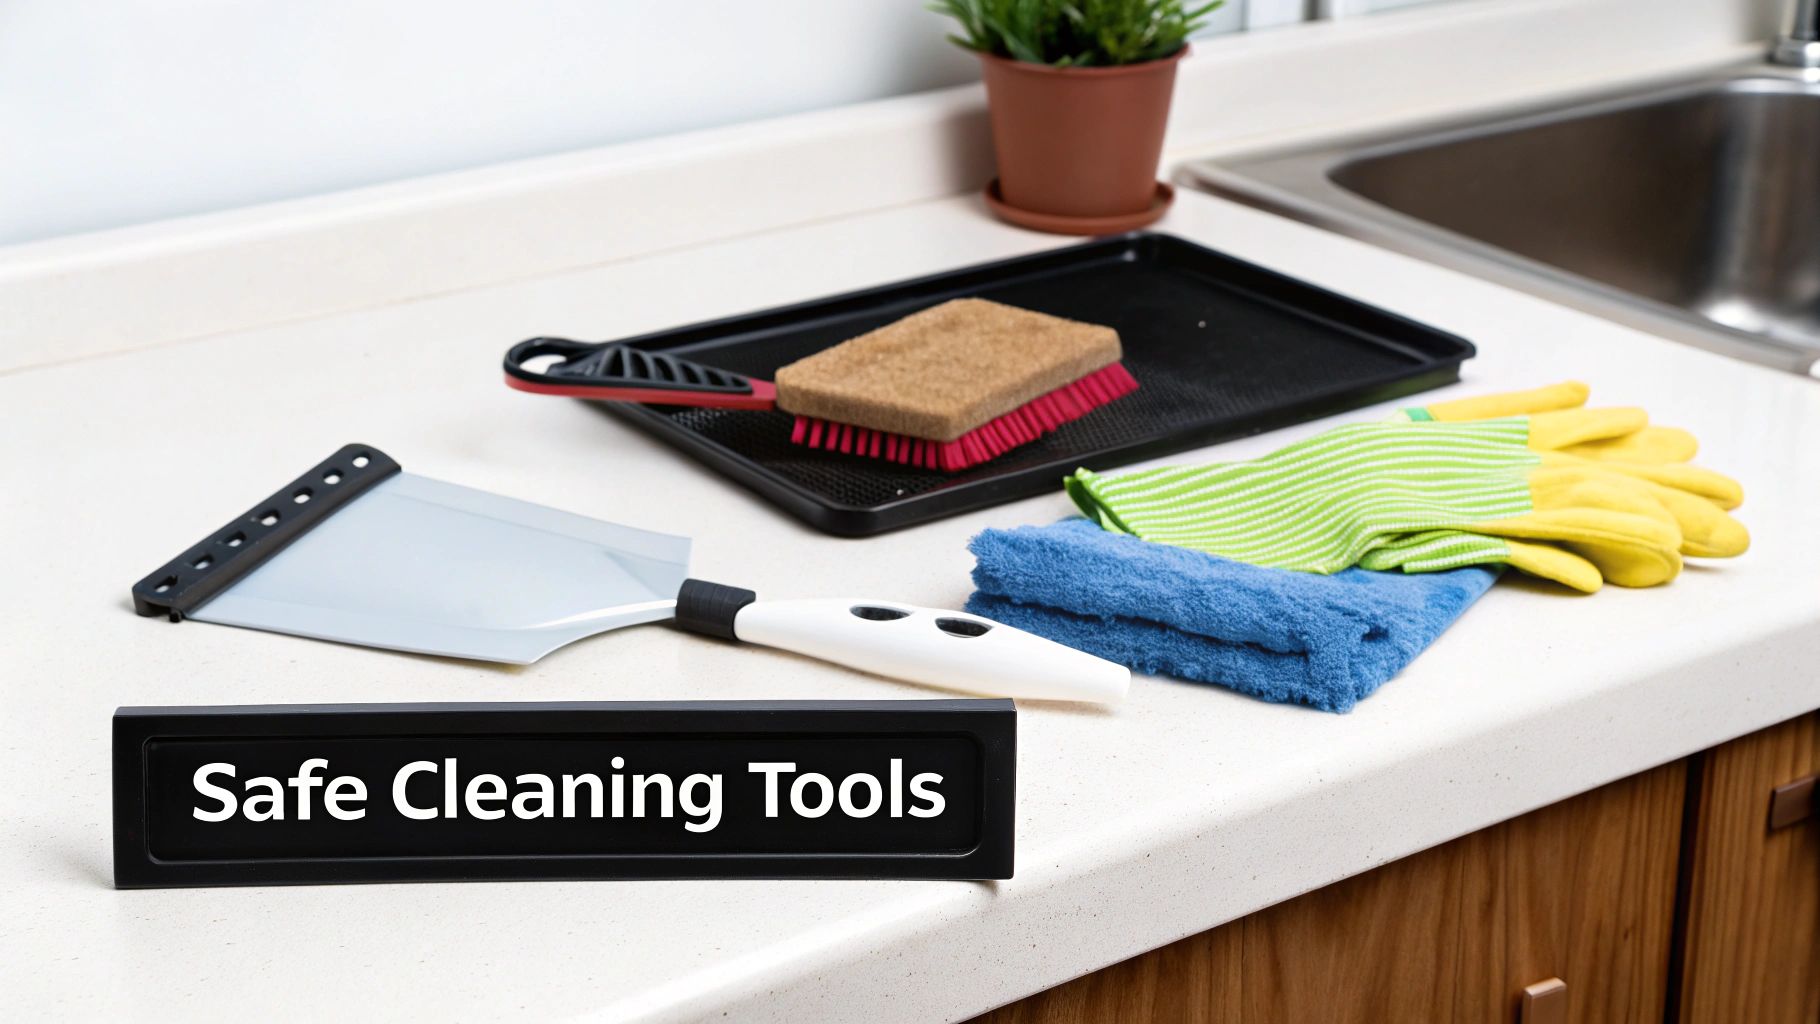
Assembling Your Essential Griddle Toolkit
A well-stocked, dedicated cleaning station is your best defense against a staff member grabbing the wrong tool in a rush. Your go-to kit should have everything needed to protect both the griddle surface and the person doing the cleaning.
These are the non-negotiables:
- Griddle Scraper: Look for a heavy-duty model with a long handle. This keeps hands a safe distance from the hot surface. A sharp, straight edge is what you need to lift tough, baked-on debris without gouging the steel.
- Heavy-Duty Scouring Pads: These are your workhorses for scrubbing away stubborn grease without scratching the cooktop. Always, always use them with a pad holder to provide a secure grip and protect hands from the heat.
- Griddle Squeegee: This simple tool is a game-changer. It’s perfect for pulling all the dirty water and cleaning solution straight into the grease trap, leaving you with a clean, streak-free finish.
One of the most effective methods we see in commercial kitchens involves using a specialized product like Scotch-Brite™ Quick Clean Griddle Liquid. You apply it directly to a hot griddle (300-350°F), and it lifts carbonized grease on contact without the harsh fumes you get from other chemicals.
When you combine that with a heavy-duty pad and holder, the entire process takes just 3 to 5 minutes, which is a huge reduction in downtime. Once you're done scrubbing, a quick pass with the squeegee removes the mess, and the griddle is ready for action.
Prioritizing Personal Protective Equipment
When you're working with hot equipment, safety has to be the top priority. Personal Protective Equipment (PPE) isn't optional—it's essential for preventing serious burns and other injuries.
Make sure your safety checklist includes:
- Heat-Resistant Gloves: Get the long ones. They should cover the wrists and forearms to protect from steam and any accidental contact with that hot surface.
- Safety Goggles or Glasses: This is crucial. Eye protection shields against splashes from hot water, sizzling oil, and any cleaning chemicals you're using.
- Apron: A heavy-duty apron adds an important extra layer of protection against hot splashes and spills.
By equipping your team with the right tools and making PPE a mandatory part of the process, you build a culture of safety. This not only protects your staff but also ensures your cleaning protocols are followed correctly, which extends the life of your valuable equipment. And just as you maintain your griddle, don't forget the surfaces around it; our guide on how to clean stainless steel has great tips for keeping the whole kitchen spotless.
Got Questions About Griddle Cleaning? We've Got Answers.
Every seasoned kitchen pro knows that running a smooth service isn't just about the big picture—it's about mastering the little details of your equipment. Daily wipe-downs are great, but what do you do when rust spots appear, or the surface gets annoyingly sticky? Let's tackle some of those persistent griddle issues.
But before we get into the nitty-gritty of griddle care, let's take a step back. A griddle doesn't exist in a vacuum. It’s part of a workstation, and the surface where you prep your ingredients—your prep table—is just as vital for keeping things clean and efficient. A well-organized prep area has a massive impact on your entire workflow, making every job, including equipment maintenance, a whole lot easier.
Stainless Steel Prep Tables: The Kitchen Workhorse
You'd be hard-pressed to find a commercial kitchen without a stainless steel prep table, and for good reason. They're tough, non-porous, and the undisputed champ for food safety. But not all tables are created equal, and the right one depends entirely on your kitchen's flow.
-
Standard Work Tables: These are your all-purpose, flat-top staples. Simple, clean surfaces perfect for chopping, mixing, and general prep work. They come in different sizes and steel gauges to handle whatever you throw at them.
-
Tables with Undershelves: If you're squeezed for space, a table with an adjustable undershelf is a lifesaver. It’s the perfect spot to stash bulk ingredients, smaller appliances, or food pans, freeing up that valuable top surface.
-
Tables with Backsplashes: Got your table pushed against a wall? An integrated backsplash is a must. It keeps food and liquids from hitting the wall, which simplifies cleanup and boosts overall sanitation.
Taking Prep to the Next Level with Refrigeration
For high-volume spots that need to assemble cold ingredients on the fly, specialized prep tables with built-in refrigeration are a total game-changer.
Think of it this way: a clean, organized prep station is your foundation. When ingredients are properly stored and right where you need them, you cut down on cross-contamination risks and make every task—including griddle cleaning—far more manageable.
Two of the most common refrigerated units you'll see are sandwich prep tables and pizza prep tables.
-
Sandwich and Salad Prep Tables: A must-have for delis, cafes, and QSRs. These units have a refrigerated rail on top that holds food pans, keeping your meats, cheeses, and veggies chilled and right at your fingertips. Underneath, a refrigerated cabinet gives you even more cold storage.
-
Pizza Prep Tables: These work on the same principle but are built for pizza making. The refrigerated rails are wider and deeper to hold all your sauce, cheese, and toppings. The work surface itself is often made from marble or another material that stays cool—perfect for handling dough.
Choosing the right prep table is a fundamental step. A smart, well-equipped prep area doesn't just speed up service; it helps you build a cleaner, safer kitchen from the ground up.
At PrepTables.com, we know that a great kitchen is built on a solid foundation. Take a look at our huge collection of professional-grade stainless steel work tables, refrigerated prep stations, and commercial cooking equipment to build a workspace that’s as tough as it is efficient. Visit us at https://preptables.com to find exactly what your kitchen needs.