

A Practical Guide to Scotsman Ice Machine Cleaning
Keeping your Scotsman ice machine clean is the single best thing you can do to guarantee food safety, prevent expensive breakdowns, and ensure you're getting a consistent supply of quality ice. When you let this slide, you're opening the door for mineral scale, slime, and biofilm to build up. That stuff doesn't just contaminate your ice; it actively damages your machine’s internal parts.
Why Consistent Ice Machine Cleaning Is Non-Negotiable
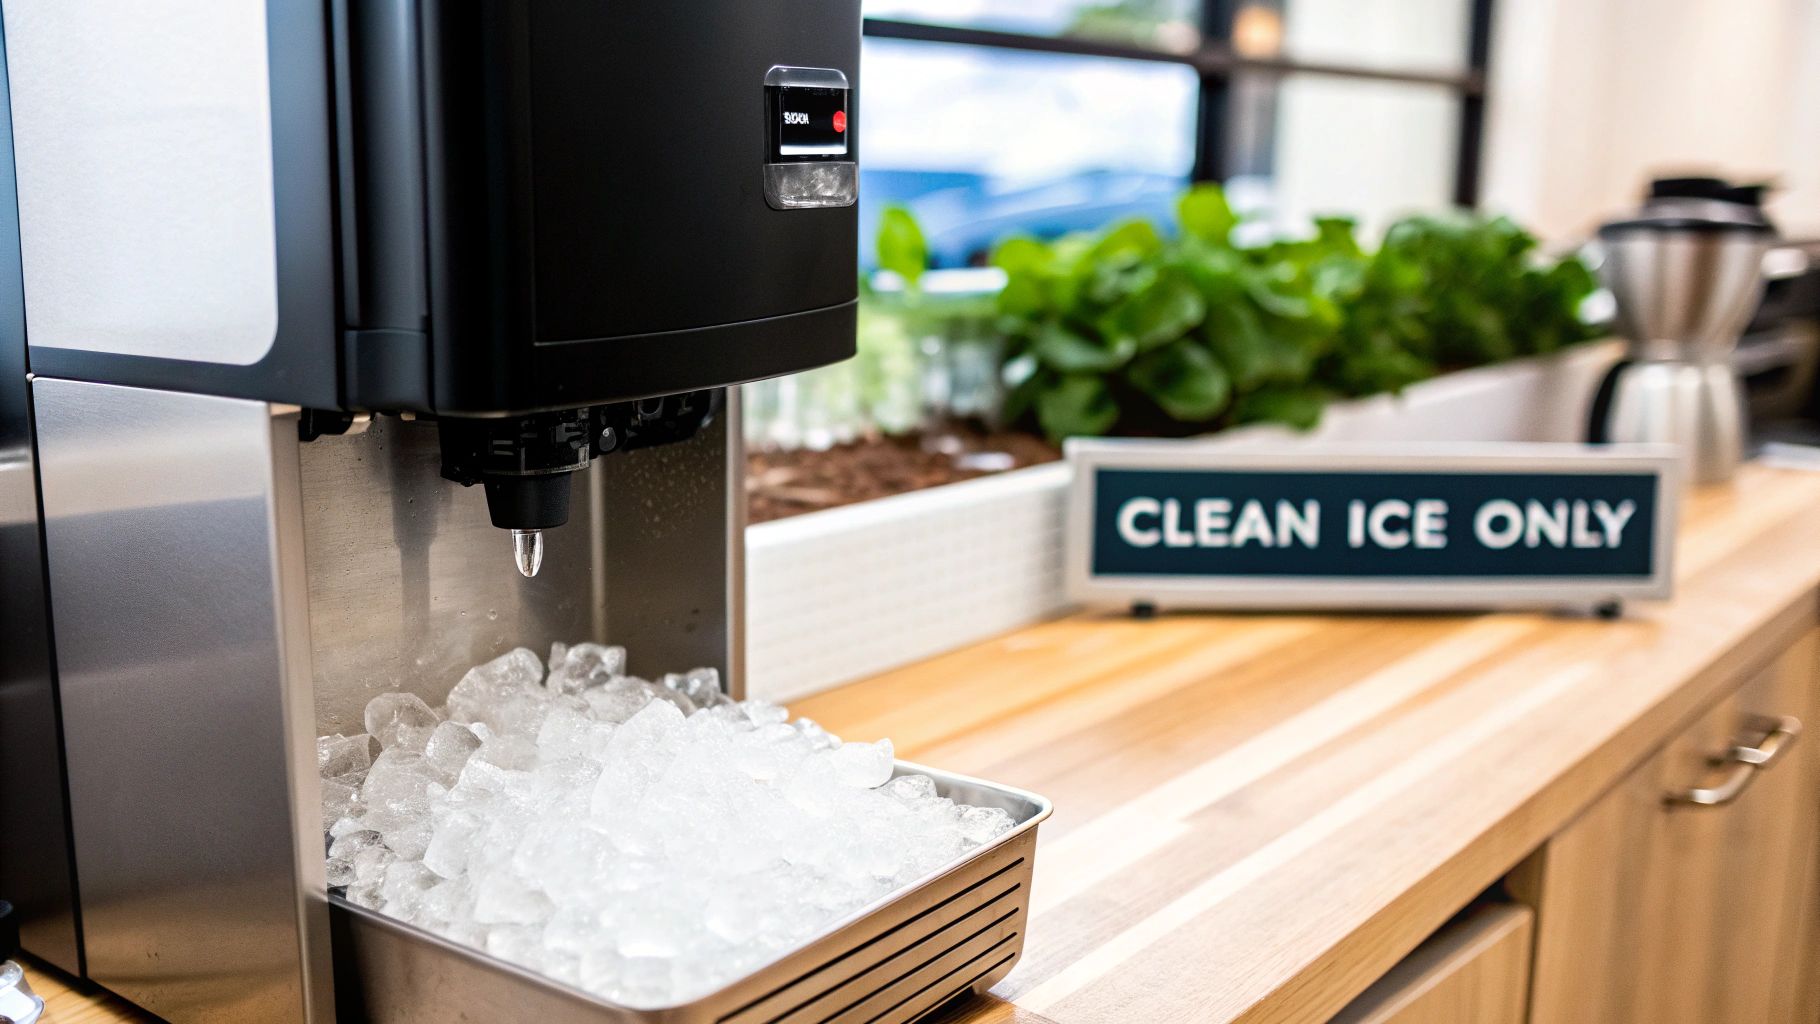
You have to think of your Scotsman ice machine as a key part of your kitchen's entire hygiene system, not just some appliance in the corner. You wouldn't skip sanitizing your prep surfaces to avoid cross-contamination, right? Well, maintaining your ice machine is just as crucial for keeping the whole cold chain up to the highest safety standards. Seeing it this way turns cleaning from a chore into a critical business practice.
This idea of an interconnected system is fundamental to any professional kitchen. Every piece of equipment supports the others. For instance, stainless steel prep tables are chosen for their non-porous surfaces, which are easy to sanitize and essential for safe food handling.
The Role of Specialized Prep Surfaces
Different jobs in the kitchen demand different setups to keep things running safely and smoothly. That’s why you’ll see various types of stainless steel prep tables in any commercial operation. A simple flat-top table is a versatile workhorse for general tasks like chopping vegetables. For more specific needs, you might find tables with integrated backsplashes to protect walls or undershelves for convenient storage. Some models even come with built-in sinks, streamlining the process of washing produce and cleaning utensils in one dedicated station.
Then you have the more specialized, refrigerated units built for specific workflows:
- Sandwich Prep Tables: These are refrigerated powerhouses, combining a cutting board surface with cold wells (known as "pans") to hold ingredients like lettuce, tomatoes, and deli meats. Everything is kept at safe temperatures and within arm's reach, dramatically speeding up assembly.
- Pizza Prep Tables: These function on a similar principle but are adapted for pizza making. They often feature a wider, refrigerated marble or stainless steel surface ideal for stretching dough. They also include refrigerated rails for toppings, keeping cheese, sauce, and pepperoni fresh, organized, and ready for use.
Unifying Hygiene Across Your Kitchen
The core principle is the same whether you're sanitizing a pizza prep table or cleaning an ice machine: stop the spread of harmful germs. If you neglect your ice machine, it quickly becomes a breeding ground for bacteria and mould. To get a better handle on this, it's worth understanding the risks and management of mould in workplaces.
A neglected ice machine can quickly become a business liability, leading to inconsistent ice production, equipment breakdowns, and unsanitary conditions that put your customers and reputation at risk.
At the end of the day, a commitment to cleanliness is non-negotiable—from the surface of a sandwich prep table to the evaporator plate inside your Scotsman. In fact, Scotsman's own service bulletins confirm that neglect is the number one cause of poor performance. It can slash ice output by 20–40% before you even notice something is wrong.
For a business owner who just dropped $3,000–$6,000 on a high-capacity machine, skipping the minimum cleaning schedule can easily shorten its lifespan by years. That makes routine maintenance one of the smartest investments you can make. You can discover more insights about commercial ice machine care on Burkett.
Gathering Your Essential Cleaning and Safety Gear
Kicking off a proper Scotsman ice machine cleaning is a lot like a chef setting up their mise en place. You get everything organized upfront, and the whole process runs smoother, safer, and just plain better. Before you even dream of starting a cleaning cycle, you need to pull together the right toolkit. Diving in unprepared is a surefire way to get a mediocre clean or, even worse, damage your expensive machine.
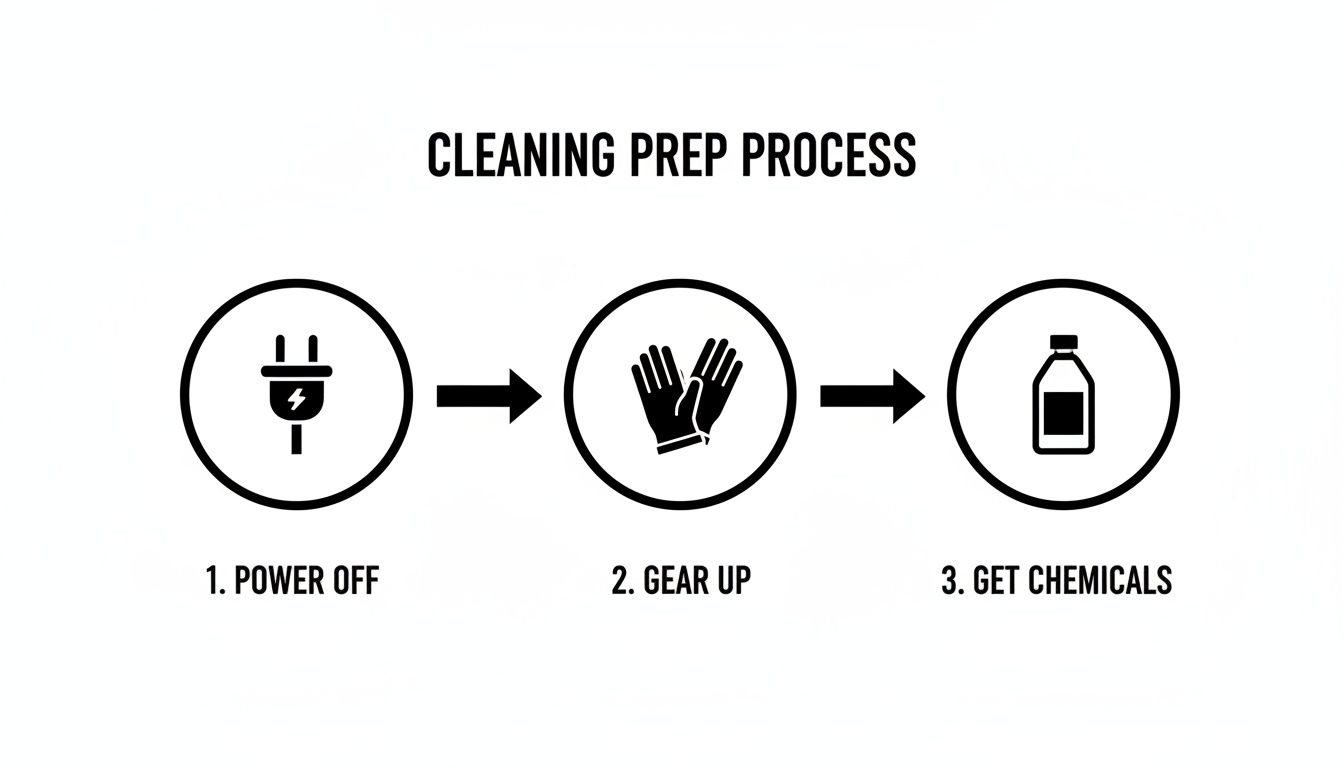
Your first thought should always be safety. That means getting your personal protective equipment (PPE) ready before you touch a single chemical. The descaling and sanitizing solutions for these machines are no joke—they can be pretty harsh, so protecting yourself isn't optional.
Essential Safety Equipment
Always grab your safety gear first. It takes two seconds and saves you from a world of hurt.
- Safety Goggles: You absolutely want these to shield your eyes from any accidental splashes.
- Waterproof Gloves: Keep your hands protected from direct contact with the descaler and sanitizer.
Once your PPE is sorted, it's time to gather the right cleaning agents and tools. It's critical to use manufacturer-approved chemicals. Trying to save a buck with generic solutions can backfire badly, leading to corroded parts, a voided warranty, and nasty chemical residues left behind.
Your Cleaning and Tool Checklist
Having everything you need in one spot prevents that frustrating mid-clean scramble for a tool you forgot. Here’s a quick rundown of what to have on hand.
Your Essential Scotsman Cleaning Arsenal
This is your go-to checklist for a successful and safe cleaning cycle. Don't skip a single item.
| Item | Purpose | Why It Matters |
|---|---|---|
| Scotsman-Approved Descaler | To dissolve mineral scale buildup on the evaporator and other water system parts. | Prevents restricted water flow and ensures full, clear ice cubes are produced. |
| Scotsman-Approved Sanitizer | To eliminate bacteria, slime, and biofilm from all food-contact surfaces. | Guarantees the ice you serve is safe and free from contaminants. |
| Soft-Bristle Brush & Sponges | For manually scrubbing the ice bin, scoop, and other accessible components. | Abrasive pads can scratch surfaces, creating tiny hiding spots for bacteria. |
| Clean Cloths or Towels | For wiping down the exterior and drying components after cleaning. | Prevents reintroducing contaminants and gives you a professional finish. |
| Screwdriver (If needed) | For removing panels to access components like the air filter or condenser. | Lets you get a much deeper clean on parts the automated cycle just can't reach. |
With your toolkit assembled, you're almost ready to go.
Before you do anything else, disconnect the ice machine from its power source and shut off the main water supply line. This is the single most important safety step you can take to prevent electrical shock or a surprise flood.
Getting these items together is the foundation of good equipment maintenance. For a wider look at what it takes to keep a commercial kitchen in top shape, check out our guide on essential cleaning supplies for restaurants. Now that your gear is ready, you can move forward with confidence, knowing you have what it takes for a safe and thorough cleaning.
Navigating the Full Descaling and Sanitizing Cycle
Alright, with your gear on and the right chemicals ready, it's time to dive into the main event: the automated descaling and sanitizing cycle. This is where your Scotsman machine does most of the work, but don't tune out just yet. Your job is to guide it through the process correctly.
Getting this right is the secret to knocking out the two biggest enemies of good ice: stubborn mineral scale and that nasty biofilm that can build up over time. If your ice quality has been suffering or the machine isn't as efficient as it used to be, this process is the fix.
Lots of people get a little nervous looking at the control panel, but it's simpler than it looks. Once you know what the lights and buttons mean, it becomes second nature. The key is just following the sequence and using the right solutions at the right time.
Kicking Off the Automated Clean Cycle
First things first, you have to tell the machine it's cleaning time. On most modern Scotsman units, especially the Prodigy series, this is just a single button press.
- Always start by turning the machine OFF. You can't start a clean cycle while it's in the middle of making ice.
- Find the "Clean" or "Time to Clean" button and press and hold it for a couple of seconds. You should see a yellow or amber light begin to flash. That's the signal that it's ready for the descaling phase.
- The machine will then drain all the water from its reservoir. This is a crucial step because it ensures you're not just pouring expensive descaler into old, mineral-filled water.
A quick tip: a flashing light usually means the machine is waiting for you to do something, like add the cleaner. A solid light means it's actively running the cycle.
Adding the Descaling Solution Correctly
Once the machine has drained and that clean light is flashing, it's go-time. You'll add the descaler now, and this is probably the most important part of the whole process. This solution is what's going to dissolve all that rock-hard scale that builds up on the internal parts.
Never just pour the descaler directly onto the evaporator plates. Instead, pour the Scotsman-approved cleaning solution right into the water reservoir (or trough). The machine is built to circulate it perfectly from there. Using the right amount matters, too—too little won't get the job done, and too much is a waste and can be a pain to rinse out completely.
Pro Tip: Don't guess the amount. Your machine's manual will tell you exactly how much descaler to use. A standard 30-inch cuber might need about 8 ounces, but it really varies by model. Guessing can lead to a half-done job or even damage your machine.
After you've added the solution, the machine takes over. That flashing light will turn solid, and the descaling cycle will kick in. This usually takes anywhere from 20 to 45 minutes. You’ll hear the pump kicking on and off as it circulates the descaler through the entire water system—that's totally normal.
Understanding Your Cleaning Solutions
Using the right chemicals is not optional. Scotsman creates its own cleaners that are specifically designed to be tough on scale and slime but gentle on the machine's sensitive components, like the nickel-plated evaporator. If you use generic cleaners, you could cause permanent damage and will almost definitely void your warranty. To make sure you're using the best stuff, check out our guide to ice machine cleaners and sanitizers.
The Final Step: Sanitizing for Food Safety
After the descaling cycle finishes, the machine will run a few rinse cycles to flush everything out. When it's done, that "Clean" light will probably start flashing again. This is your cue for the final, equally important step: sanitizing.
This part is all about food safety. Descaling gets rid of mineral gunk, but sanitizing is what kills the bacteria, mold, and slime that could contaminate your ice.
- Mix the Scotsman-approved sanitizer exactly as the package tells you to.
- Pour the sanitizer into the same water reservoir you used for the descaler.
- The machine will then circulate the sanitizer through the system, just like it did before.
The sanitizing cycle is usually a bit shorter, often around 15 to 20 minutes. The machine will then do one last series of rinses to make sure no chemical residue is left.
Once it's all done, the clean light will shut off, and your ice machine will automatically go back to making ice. As a final safety measure, it’s always a good idea to dump the first full batch of ice it makes after cleaning. That's it—you're back in business with a clean, efficient machine.
Manual Cleaning Tasks for a Truly Spotless Machine
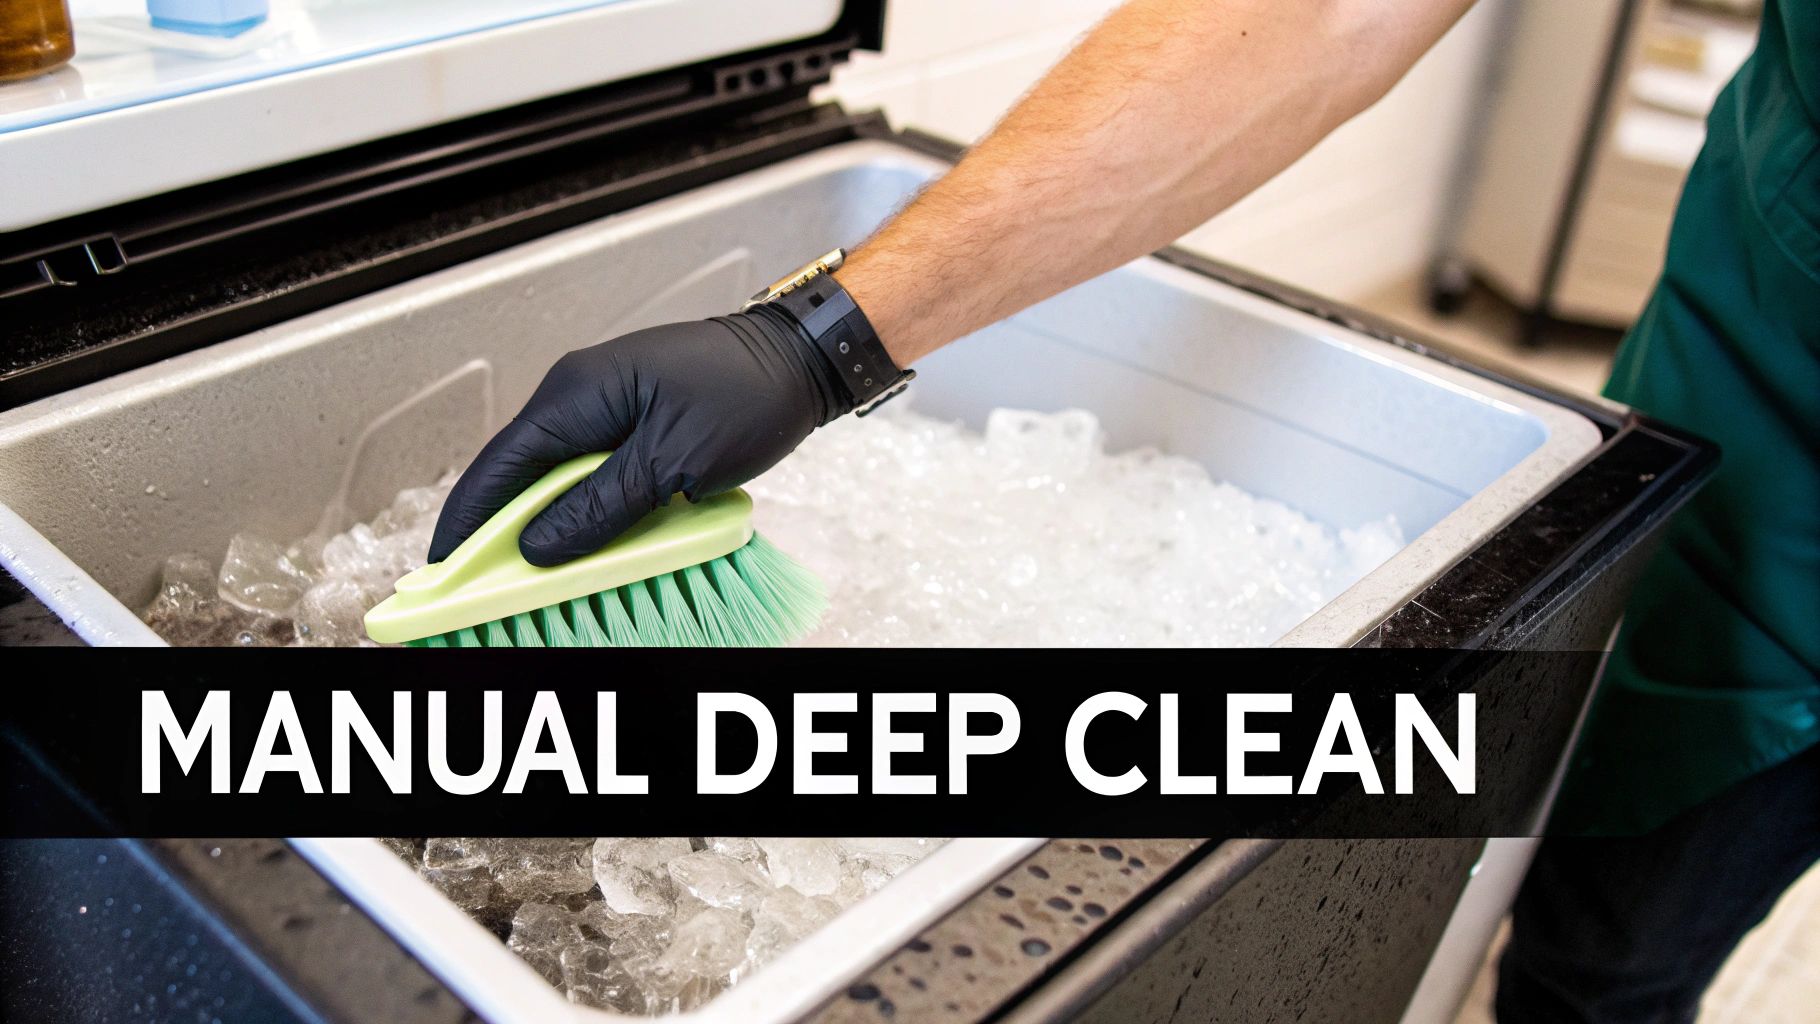
While the automated cycle is a powerful ally against scale and biofilm, it just can't do everything. Think of it like this: your dishwasher is great, but you still need to wipe down your kitchen counters. Several high-touch areas of your Scotsman ice machine demand regular, hands-on attention to guarantee total cleanliness.
These manual tasks are non-negotiable for any serious kitchen hygiene plan. They target the exact spots where contaminants get introduced and where operational problems quietly start. Skipping them is like meticulously cleaning a prep table but then using a dirty cutter—it undermines all your other hard work.
Tackling High-Touch Food Contact Surfaces
The ice storage bin, scoop, and internal baffle are the most frequently handled parts of your machine. Every time a hand or scoop enters the bin, there's a real risk of introducing bacteria. This makes regular, manual scrubbing an absolute must for food safety.
Here’s how to get a thorough clean:
- Empty All Ice: First things first, turn the machine off and get all the ice out of the storage bin. You just can’t clean around it.
- Scrub the Bin: Using a solution of warm water and a mild, food-safe detergent, scrub every interior surface of the bin with a soft-bristle brush or sponge. Get into those corners and seams where grime loves to hide.
- Sanitize and Rinse: After scrubbing, give the bin a thorough rinse with clean water. Next, apply a Scotsman-approved sanitizer according to the label's directions, making sure you cover all surfaces. Let it sit for the required contact time before doing a final rinse.
- Clean the Scoop and Baffle: Don't forget the ice scoop and the baffle (that plastic or metal plate that guides the ice). These need to be washed, rinsed, and sanitized with the same care you gave the bin.
Your ice bin is a food-contact surface, plain and simple. Treat its cleaning regimen with the same seriousness you give your primary food prep tables. It's a critical control point for preventing cross-contamination.
This disciplined approach is essential. From a hygiene and food-safety perspective, Scotsman’s own manuals are explicit that sanitizing the ice storage bin and water system is a core regulatory expectation, not an optional extra. A great tip for busy operators is to tie Scotsman bin sanitizing to the same weekly or monthly cycle as your other NSF prep-table and refrigerated-unit cleaning. This simple habit can dramatically reduce health-inspection violations. You can learn more about Scotsman's official maintenance requirements and why they treat ice as food.
Cleaning for Performance and Longevity
Beyond the food-contact zones, two other components are vital for your machine’s health: the air filter and the condenser coils. When these get clogged with dust, grease, and other kitchen debris, airflow gets choked off. It’s like forcing your machine to breathe through a straw.
What’s the result? The refrigeration system has to work much harder to cool down, leading to less ice production, higher energy bills, and eventually, the premature failure of expensive parts like the compressor.
How to Clean Your Air Filter and Condenser
Regularly cleaning these parts is one of the easiest ways to get more life out of your machine.
- The Air Filter: On most Scotsman models, the air filter is right at the front or side and is designed to be removed easily. Just slide it out, wash it with warm, soapy water, rinse it well, and let it dry completely before sliding it back in. A clean filter every month makes a huge difference.
- The Condenser Coils: With the machine unplugged, use a soft-bristle brush or a vacuum with a brush attachment to gently clear dust from the condenser fins. Always brush in the direction of the fins to avoid bending them. This task, done every few months, is crucial for keeping your machine’s cooling power at its peak.
These manual steps in your Scotsman ice machine cleaning routine are what separate a decent maintenance plan from a great one. They ensure every batch of ice is pristine and that your investment keeps running efficiently for years.
Building Your Maintenance Schedule and Solving Common Problems
Consistent Scotsman ice machine cleaning isn’t a once-a-year deep dive. It’s about getting into a regular rhythm that catches problems before they even have a chance to start. A solid schedule turns cleaning from a reactive headache into a proactive strategy, making sure your machine stays a workhorse, not a liability.
How often you need to perform these tasks really depends on your unique setup. A machine in a high-traffic kitchen battling hard water will naturally need more love than one in a quiet office with pristine filtered water. The trick is to set a baseline schedule and then tweak it based on how your machine performs and what the ice looks like.
Crafting a Practical Cleaning Timeline
The best way to tackle this is to break down your maintenance jobs into smaller, manageable chunks. This approach keeps things from feeling overwhelming and ensures those critical checks don't get pushed to the back burner. Trust me, sticking to a schedule is the single best way to get more life out of your machine and dodge those expensive emergency service calls.
To keep everything on track and consistent, you might find it helpful to use a structured weekly cleaning schedule template that you can customize for your machine.
Here’s a sample schedule to get you started:
Recommended Scotsman Maintenance Schedule
This timeline lays out the daily, weekly, and semi-annual tasks that will keep your ice machine running flawlessly.
| Frequency | Task | Impact If Neglected |
|---|---|---|
| Daily | Wipe down all exterior surfaces. Check the ice scoop, making sure it's stored properly outside the bin. Give the ice a quick visual inspection for clarity and shape. | Prevents grime from building up on the outside and cuts down the immediate risk of cross-contamination from a dirty scoop. |
| Weekly | Sanitize the ice bin, scoop, and baffle. Empty all the ice, scrub the inside with a food-safe sanitizer, rinse thoroughly, and let it air dry. | This is huge for food safety. It stops biofilm and bacteria from grabbing a foothold in the areas that touch your ice. |
| Monthly | Clean the air filter. Just pop it out, wash it with warm, soapy water, rinse it clean, and let it dry completely before putting it back in. | A clogged filter chokes off airflow. This makes the compressor work way harder, driving up your energy bill and risking an overheat. |
| Semi-Annually | Run a full descaling and sanitizing cycle and clean the condenser coils. Descale and sanitize every component in the water system. | This is the big one. It prevents the severe mineral scale that absolutely kills efficiency and can lead to major parts failing. It's critical for the machine's longevity. |
Troubleshooting Common Post-Cleaning Issues
Even with the most diligent cleaning routine, you can still hit a snag now and then. Knowing how to spot and fix common issues yourself can save you a ton of time, money, and the stress of a dead machine during a rush.
The number one panic moment for owners is when their machine won't start making ice right after a cleaning cycle. Before you even think about calling a technician, run through a quick mental checklist—it's almost always a simple fix.
Here are a few of the most frequent problems and their likely solutions:
-
Problem: The machine isn't making ice after cleaning.
- Solution: This is usually an "oops" moment. First, double-check that the water supply line was turned all the way back on. Second, make sure the machine's control is set to "Ice" and isn't still stuck in a "Clean" or "Off" mode. Lastly, be patient—it can take a good 15-30 minutes for the machine to cool down and drop that first batch of ice.
-
Problem: The indicator lights are blinking.
- Solution: Those blinking lights are trying to tell you something. They're error codes. Grab your Scotsman manual to figure out what they mean. More often than not, it's a simple alert you can fix yourself, like a clogged water filter or a blocked drain line.
-
Problem: The ice is cloudy or has a funny taste.
- Solution: This almost always points back to one of two things: an incomplete rinse cycle or poor water quality. Run an extra rinse cycle to flush out any leftover cleaning solution. If that doesn't fix it, it’s a huge red flag that your water filter needs an upgrade. You can learn more about why a good filter is so essential in this guide on the importance of a water filtration system for restaurants.
By pairing a consistent maintenance schedule with a little bit of troubleshooting know-how, you can keep your Scotsman ice machine in prime condition, churning out clean, safe ice day in and day out.
A Few Common Questions About Scotsman Ice Machine Cleaning
Even with a good guide, a few questions always seem to come up when you're elbows-deep in cleaning your Scotsman ice machine. Getting these sorted out can make the difference between a smooth maintenance routine and a frustrating call to a service tech. Let's tackle some of the most common things people ask.
We’ll clear up everything from what chemicals to use to how to handle those stubborn indicator lights.
Can I Use Vinegar Instead of a Commercial Descaler?
This is probably the number one question we get, and the answer is a hard no. It's tempting to reach for a common household cleaner like vinegar, but it’s just not up to the task for a commercial machine. In fact, it can do more harm than good.
Vinegar is a very mild acid that simply isn’t strong enough to break down the heavy mineral scale that builds up in a hard-working ice maker. Even worse, it can be corrosive to the nickel plating on the evaporator and other critical metal parts inside your Scotsman.
Using unapproved chemicals like vinegar often leads to:
- A Job Half-Done: It won't get all the scale, leaving your machine to work harder and produce poor-quality ice.
- Expensive Damage: You run a serious risk of permanently damaging internal components, which means a big repair bill.
- A Voided Warranty: Scotsman is crystal clear about this—using cleaners they haven't approved will void your warranty coverage.
Just stick to the descaler recommended by the manufacturer. It’s specifically made to be tough on scale buildup while being completely safe for your machine.
How Often Should I Really Be Cleaning My Machine?
Scotsman's official line is to perform a full descaling and sanitizing cycle at least twice a year. Think of this as the bare minimum. The right cleaning schedule for your machine really depends on your specific kitchen environment.
You’ll want to adjust your schedule based on a few things:
- Water Hardness: If your local water is high in minerals (hard water), you'll see scale build up much faster. In this case, you should probably descale every three to four months.
- Air Quality: Kitchens with a lot of grease, flour, or yeast in the air will clog up your air filter and condenser coils quickly. These parts need a check-up at least monthly.
- Daily Use: A machine in a busy restaurant that’s running nonstop is going to need more attention than one in a small office.
The best advice I can give is to get in the habit of inspecting the machine monthly. If you see cloudy ice, notice the cubes are getting smaller, or spot even a hint of slime in the bin, it’s time for a full cleaning, no matter how recently you did it.
What Should I Do If the 'Time to Clean' Light Won't Turn Off?
Don't panic if that "Time to Clean" light stays on after you’ve run a complete cycle. It’s a common hiccup. This usually just means the machine's sensors are still detecting a trace of something, or the internal cleaning timer didn't reset correctly.
First, try running another rinse-only cycle. This will often flush out any remaining cleaning solution that might be tripping the sensor. If the light is still on, your next move is a manual reset. The exact process can differ a bit from one model to another, so this is a good time to pull out your owner's manual. It typically involves turning the machine off, then pressing and holding the "Clean" or "Reset" button for a few seconds.
If you’ve tried both of those steps and the light is still glaring at you, it might be a sign of a faulty sensor. At that point, it’s best to call in a certified technician to take a look.
At PrepTables.com, we understand that a clean ice machine is just one part of a fully functional and hygienic kitchen. From NSF-certified stainless steel work tables to specialized sandwich and pizza prep units, we provide the durable equipment you need to maintain the highest standards of safety and efficiency. Explore our full range of professional kitchen equipment at PrepTables.com.