

A Practical Guide to Cleaning a Grease Trap
Cleaning a grease trap is more than just another chore on the kitchen checklist; it's a critical task that prevents costly plumbing backups, foul odors, and serious health code violations. When you service it properly and regularly, you're not just cleaning a piece of equipment—you're making sure your entire kitchen runs smoothly, protecting both your pipes and your bottom line.
Why Proper Grease Trap Cleaning Is So Important
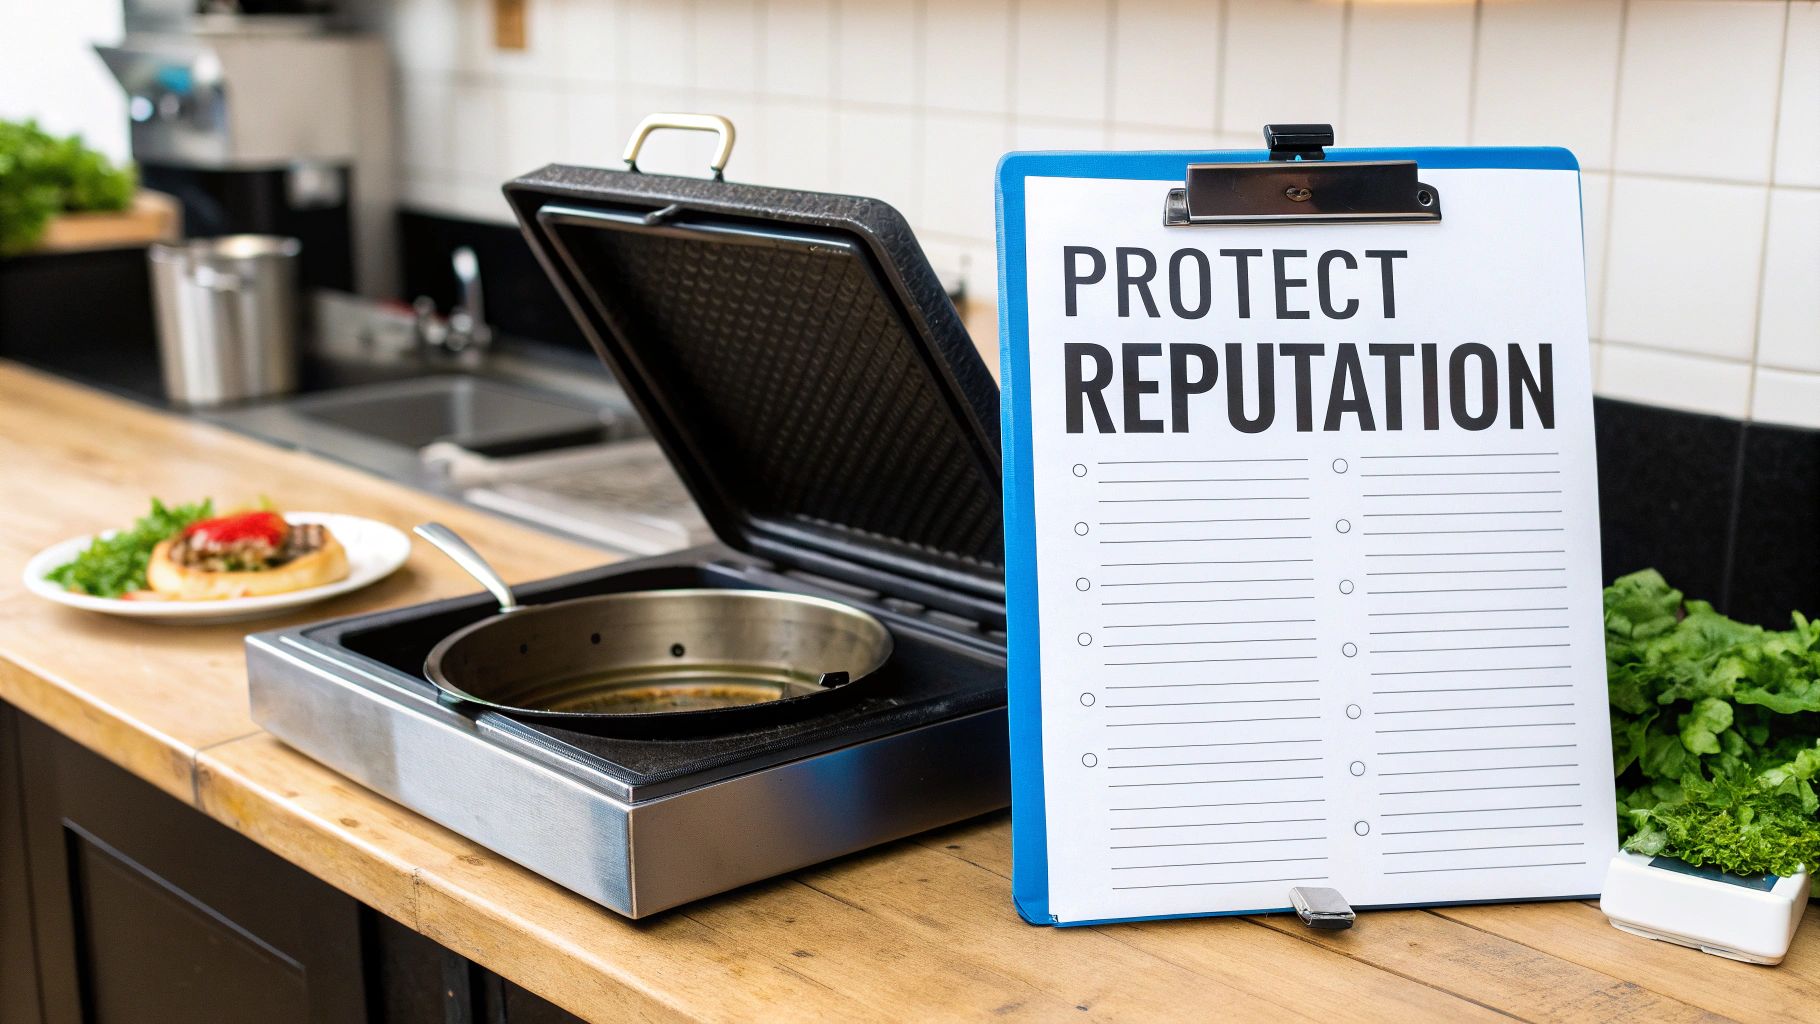
Let's be clear: a dirty grease trap is a massive problem. Neglecting this essential piece of equipment can bring a bustling kitchen to a dead stop, causing a cascade of operational headaches. This isn't just about dealing with a simple clog; it's about protecting your restaurant's reputation and financial stability.
Picture this: It's a packed Friday night. Suddenly, the sinks start backing up, and a nasty, sewer-like smell starts creeping up from the floor drains. This isn't just unpleasant—it’s a blaring alarm that your grease trap is overloaded with fats, oils, and grease (FOG). Customers will notice, your staff will be stressed, and the threat of a full-blown wastewater backup into your kitchen becomes very, very real.
The Real Cost of Neglect
Putting off a cleaning turns a routine maintenance job into a full-blown, expensive emergency. The consequences of waiting too long can be severe, affecting everything from your daily operations to your legal standing.
- Sky-High Repair Bills: A simple cleaning might run you a few hundred dollars, but an emergency call to a plumber for a major blockage can easily cost thousands. If that solidified FOG gets out of the trap and clogs up the city's sewer lines, they can hold your business financially responsible for those repairs, too.
- Health Code Fines and Shutdowns: Health inspectors don't mess around with FOG management. An overflowing or poorly maintained trap is an instant red flag. This can lead to heavy fines, forced shutdowns, and a bad health score that can scare away customers for months.
- Lost Business and a Damaged Reputation: Nothing empties a dining room faster than a bad smell or a backed-up drain. The downtime you'll face for emergency repairs means lost sales, and the negative online reviews about cleanliness can do long-term damage to your brand.
Here's the bottom line: ignoring your grease trap isn't saving you money—it's a gamble you can't afford to lose. The cost of a single clog or health code violation will almost always be more than an entire year's worth of professional maintenance.
A Growing Industry and What It Means for You
The focus on proper FOG management isn't just a local issue; it’s a global trend. The market for grease trap cleaning services is growing fast, thanks to stricter environmental rules and a better understanding of how important it is. By 2033, the market is expected to hit USD 1,277.9 million, growing at a solid 5.4% every year. This growth just shows how seriously cities and businesses are now taking FOG compliance.
Ultimately, proactive grease trap cleaning is a core part of running a smart operation. It protects your kitchen, keeps you on the right side of the law, and lets you focus on what you do best: serving great food.
Beyond just preventing clogs, keeping your trap clean is key for hygiene and stopping bad smells. For more general tips on keeping your kitchen fresh, you might want to look into effective drain odor removal.
Gathering Your Essential Cleaning Toolkit
Trying to clean a grease trap without the right equipment is a recipe for disaster. It's not just messy—it's a serious safety risk. Walking into the job with the proper gear turns a nightmare task into a manageable part of your kitchen's routine. This is about more than just grabbing a bucket and some gloves; you need professional-grade tools built to handle the thick, semi-solid gunk you're about to face.
The absolute workhorse of your toolkit is a heavy-duty, long-handled scraper. Trust me, a flimsy little scraper will bend or snap against hardened FOG (Fats, Oils, and Grease). That forces you to get way too close for comfort, risking injury. A solid scraper gives you the leverage to attack grease on the baffles and interior walls from a safe distance, ensuring you do the job right.
Another piece of equipment that will change your life is a quality wet/dry vacuum. Sure, you can scoop everything out by hand, but a powerful shop vac will suck up the liquid waste and grease in a fraction of the time. It makes the entire process faster, cleaner, and a whole lot less miserable.
Essential vs. Optional Cleaning Equipment
Having the right tools is half the battle. Below is a breakdown of the gear you absolutely must have versus some upgrades that can make the process smoother and more efficient. Think of the "must-haves" as your starting lineup and the "optionals" as your all-star bench players.
| Equipment Category | Must-Have Item | Purpose | Optional Upgrade |
|---|---|---|---|
| FOG Removal | Heavy-Duty, Long-Handled Scraper | Scrapes solidified grease from walls and baffles. | Wet/Dry Shop Vacuum |
| Liquid Removal | Bucket and Scoop | Manually removes liquid waste and sludge. | High-Power Industrial Wet/Dry Vacuum |
| Lid Access | Pry Bar | Provides leverage to safely lift and remove heavy cast iron lids. | Specialized Grease Trap Lid Lifting Key |
| Waste Containment | Heavy-Duty Contractor Garbage Bags | Holds the solid FOG waste for proper disposal without tearing. | 5-Gallon Buckets with Lids |
| Personal Safety | Chemical-Resistant Gloves, Goggles, Apron | Protects skin, eyes, and clothing from bacteria and contaminated waste. | Full-Face Shield and Steel-Toed Waterproof Boots |
| Final Cleanup | Basic Brushes and Towels | Wipes down the trap interior and surrounding area after cleaning. | High-Pressure Hose Nozzle |
Investing in a few optional upgrades can significantly cut down on cleaning time and physical effort, which is a huge win for any busy kitchen team.
Personal Protective Equipment Non-Negotiables
Let's be clear: your safety is everything. That grease trap is a five-star hotel for nasty bacteria, and splashes are almost guaranteed. Gearing up with the right Personal Protective Equipment (PPE) isn't just a suggestion—it's a requirement.
- Chemical-Resistant Gloves: Forget those flimsy latex gloves. You need heavy-duty, waterproof gloves that go up your forearms. They're your first line of defense against bacteria and whatever else is lurking in there.
- Splash-Proof Goggles: Your eyes are incredibly vulnerable. One tiny splash of that contaminated gunk can lead to a serious infection. Always, always wear sealed, splash-proof goggles.
- Waterproof Apron and Boots: A full-length rubber apron and a pair of non-slip, waterproof boots are essential. They keep the sludge off your clothes and, more importantly, prevent a dangerous slip on a greasy floor.
One of the biggest myths I hear is that you can just pour boiling water or harsh chemicals down the drain to "melt" the grease. This is one of the worst things you can possibly do. It just liquefies the FOG and sends it deeper into your plumbing, where it cools, solidifies, and creates a far more expensive blockage down the line.
Building Your Complete Toolkit
Beyond those core items, a few other things will make your life a whole lot easier. You'll definitely want a pry bar or a specialized key to get the lid off without damaging the gasket—a good seal is critical when you close it back up.
Having a full stock of the necessary cleaning supplies for restaurants on hand means your team is always ready. When you're prepared, cleaning the grease trap stops being a chaotic emergency and becomes just another controlled, routine task in your kitchen's operations.
Your Hands-On Guide to Cleaning a Grease Trap
Alright, you've got your gear lined up and you're ready to dive in. When it comes to cleaning a grease trap, taking a systematic approach is everything. It’s what separates a clean, quick job from a greasy, stinking mess that clogs up again in a few weeks. Trust me, rushing this is never worth it.
First thing's first: prep your area. Get those absorbent pads or some heavy-duty plastic sheeting laid out around the grease trap. This isn’t just for tidiness—it’s a safety measure. One slip on a greasy floor can be a disaster, and this simple step makes the final cleanup a hundred times easier.
Getting the Lid Off Safely
With your workspace protected, it’s time to pop the lid. Be gentle here. Those lids, especially the under-sink types, are fitted with a rubber gasket that’s crucial for keeping odors contained. If you damage that gasket, you're in for a world of smelly problems because it'll never seal right again.
Grab a pry bar or a sturdy screwdriver and work your way around the edge of the lid, lifting it evenly. Don't try to muscle it open from just one spot. Apply slow, steady pressure until it comes loose, then lift it straight up and set it down on the sheeting you laid out.
Before you do anything else, give that gasket a good look. See any cracks, tears, or signs of it being brittle? If it looks anything less than perfect, get a replacement on order right away. A bad gasket is one of the top reasons kitchens start to reek.
This infographic breaks down the core actions of a good cleaning: scrape, scoop, and protect.
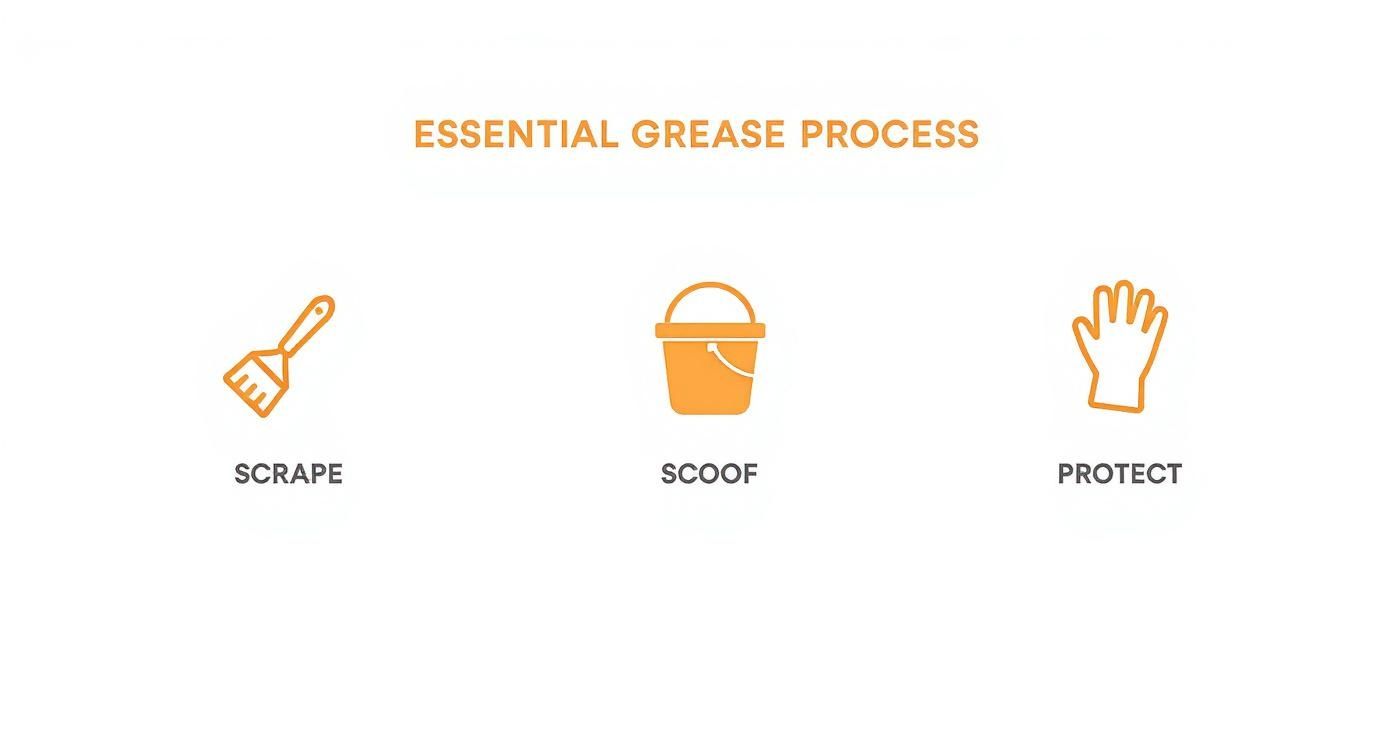
It’s a simple workflow, but it really drives home how having the right tool for each part of the job makes all the difference.
Scraping Down the Baffles and Walls
Peer inside the trap and you'll see a system of baffles. Their job is to slow down the wastewater, giving fats, oils, and grease (FOG) a chance to separate and rise to the surface. Naturally, a thick, hard layer of gunk builds up on these baffles and the inside walls. That’s what we need to tackle next.
Using your long-handled scraper, start scraping down the interior walls and every side of each baffle. You'll need to apply some firm pressure to break off that solidified grease. Just let the chunks fall back into the trap for now—you'll be scooping it all out in a minute. A thorough scrape is non-negotiable; any grease you leave behind just gives the new stuff something to cling to, speeding up the next clog.
Clearing Out the FOG and Solids
Now for the main event—getting all that gunk out. You're going to see three very distinct layers in there.
- The Grease Layer: Right on top is a solid or semi-solid mat of FOG. This is your primary target.
- The Wastewater Layer: Underneath the grease, you'll find the gray, murky wastewater.
- The Solids Layer: At the very bottom is a sludge of all the food scraps that have settled.
Start with the top layer. Scoop or vacuum out that thick blanket of grease. Once most of it is gone, you can remove the wastewater. Finally, use your scoop and scraper to get every last bit of the solids from the bottom. I’ve seen countless people leave that bottom sludge behind, and it’s a surefire way to get nasty smells and clogs returning way too soon.
Don't Forget the 25% Rule
Before you even start scooping, here's a pro tip: measure the contents. Grab a dowel or a measuring stick and push it all the way to the bottom of the trap. When you pull it out, you'll be able to clearly see the lines marking the layers of FOG, water, and solids.
This quick measurement is how you follow the "25% Rule," which is the gold standard in the industry for deciding when to clean. If the FOG and solids layers combined make up 25% or more of the total depth, it’s past time for a cleanout.
By logging these measurements each time, you can stop guessing and start creating a smart, predictable maintenance schedule that’s perfectly matched to your kitchen’s volume. A properly cleaned trap will run like a dream, keeping your pipes clear until the next service.
Handling FOG Disposal and Staying Compliant
Getting the grease trap clean is only half the job. Now you're staring at containers of thick, smelly FOG (Fats, Oils, and Grease) waste, and what happens next is absolutely critical. Getting this part wrong isn't just bad for the environment; it’s a fast track to some eye-watering fines and legal headaches.
Let’s be clear: pouring this gunk down another drain is a non-starter. Tossing it in with your regular trash is also a major no-go and a direct violation of most local codes. This waste is often classified as controlled or even hazardous, which means it requires professional handling. Your responsibility doesn't end at your back door; it extends all the way to the local water treatment systems.
The Right Way to Dispose of FOG
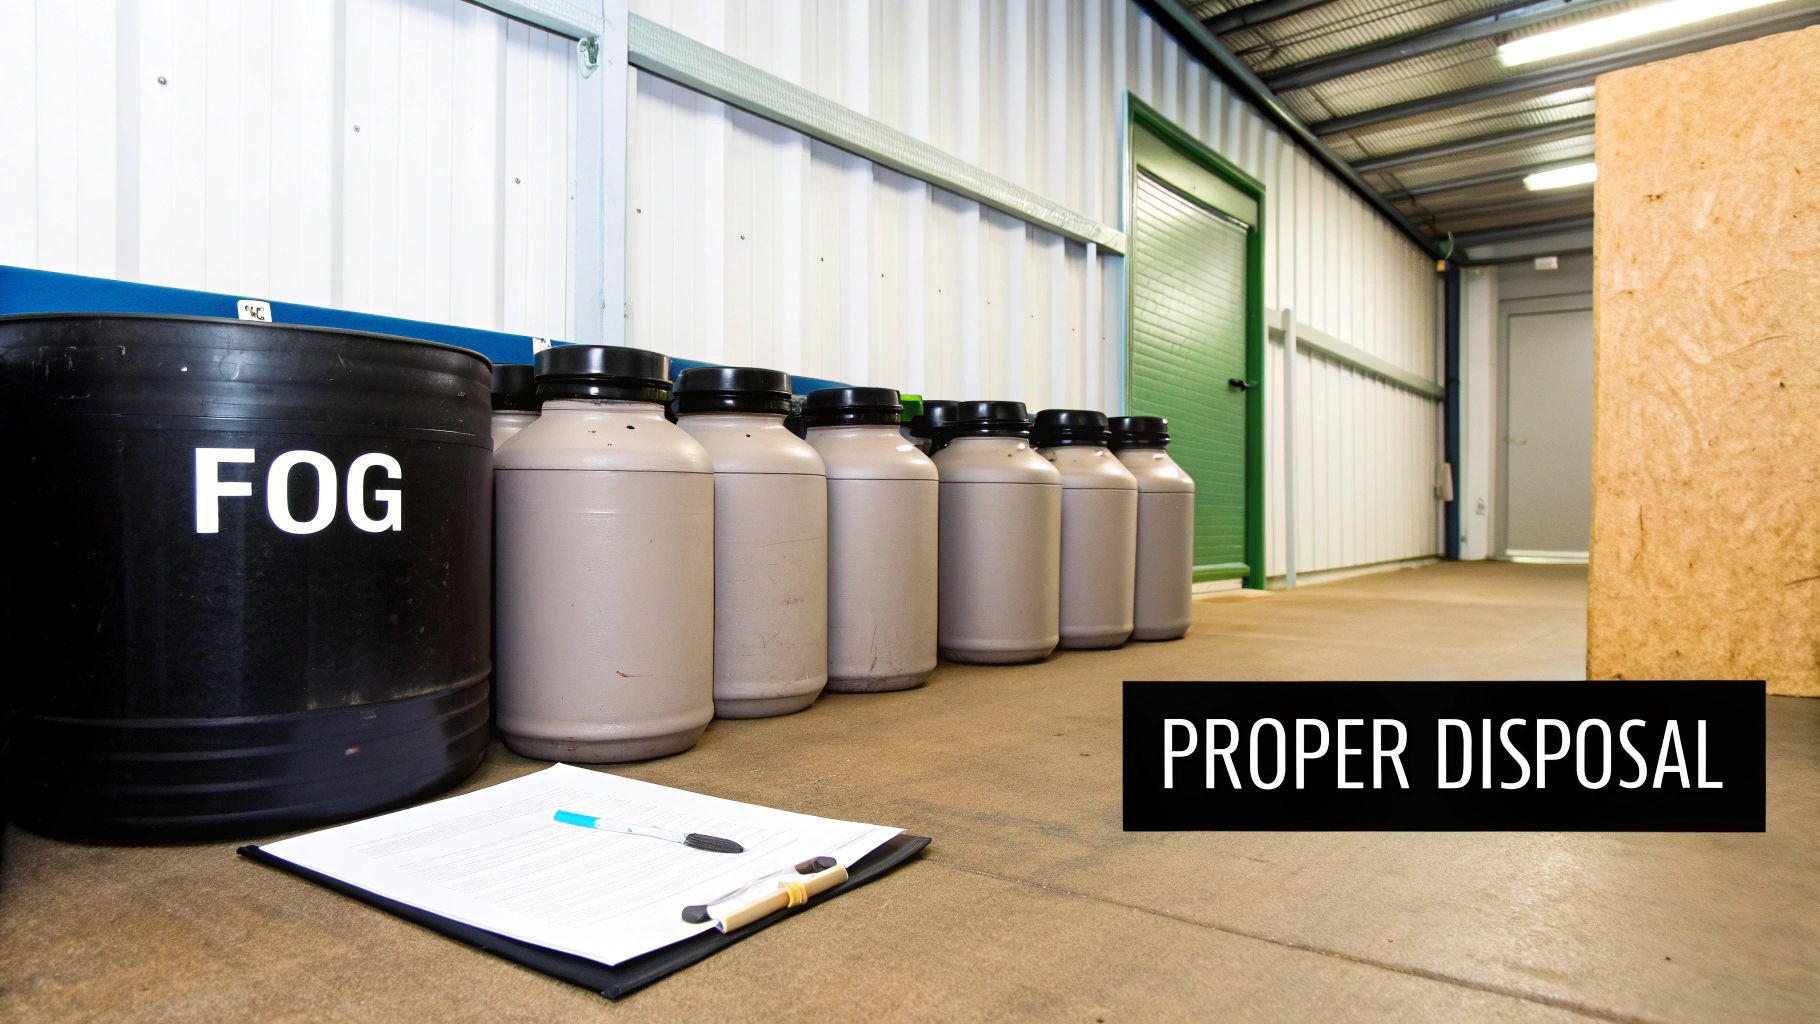
Proper disposal begins the moment you seal up the collected waste. The FOG needs to go into tough, leak-proof containers with lids that seal up tight. We’re talking 5-gallon buckets or even larger barrels, depending on how big your trap is. This step is all about preventing spills, keeping pests away, and controlling odors while you wait for pickup.
From there, the single most important thing you'll do is partner with a certified waste hauling or rendering company. These are the pros who have the right equipment and licenses to transport and process FOG according to strict environmental rules. They’ll often turn that grease into something useful like biofuel or compost, making sure it never sees the inside of a landfill or a sewer pipe.
Choosing and Vetting a Disposal Partner
Finding the right company is key to staying above board, and not just any waste hauler will do. When you’re looking at potential services, always ask to see proof of their licensing and insurance. A reputable company will have this ready to go without any hesitation.
Go a step further and ask them about their disposal methods. Where does the waste actually go? You want to be sure they're using environmentally sound practices. It’s also a great idea to check online reviews and ask for references from other restaurants in your area. Find out if they’re reliable and professional before you sign anything.
Documentation Is Your Shield
Your final responsibility here is keeping meticulous records. Every single time your FOG waste is collected, your hauler needs to give you a manifest or a service log. This piece of paper is your legal proof of proper disposal.
Keep every manifest in a dedicated logbook or a digital folder. If a health or municipal inspector shows up unannounced, that logbook is your first line of defense. It proves you're following the rules and can save you thousands in potential fines.
Make sure this documentation includes:
- The date and time of pickup.
- The volume of waste collected.
- The service technician’s name and signature.
- The hauling company’s contact info and license number.
For anyone dealing with particularly nasty FOG, it's wise to be familiar with the UK hazardous waste disposal regulations. While laws vary, this gives you a good idea of the diligence required to meet your legal "duty of care." Remember, proper disposal is also tied to your system's overall efficiency; you can learn more about the importance of correct grease trap sizing in our detailed guide.
Setting Up a Proactive Maintenance Schedule
Waiting until your kitchen smells and drains are backing up is, without a doubt, the most expensive and stressful way to deal with your grease trap. Shifting to a proactive maintenance schedule isn't just about avoiding a crisis—it's about smart, preventive care that saves you a ton of headaches and money in the long run.
Every kitchen's needs are different. The schedule for a high-volume burger joint that’s deep-frying from open to close will look nothing like that of a small cafe that mostly serves salads and sandwiches. The right cleaning frequency for you depends on your menu, how busy you are, and the size of your grease trap. A kitchen that does a lot of frying is going to need service far more often than one that primarily bakes or steams.
Finding Your Perfect Cleaning Frequency
So, how do you build a schedule that actually works? You start by tracking your FOG (Fats, Oils, and Grease) levels. The golden rule here is the 25% Rule: once the trap is a quarter full of FOG and solids, it's time to get it cleaned.
For the first couple of months, you'll want to check your trap weekly. Just use a simple dowel or measuring rod to see how quickly it's filling up.
This little bit of data collection will show you your kitchen’s unique rhythm. You might discover you need a pump-out every four weeks, or maybe you can stretch it to twelve. Once you have that baseline, you can schedule your cleanings in advance and handle it before it ever becomes an emergency.
Your best friend in this process is a maintenance log. It doesn’t have to be anything fancy—a basic spreadsheet or even a notebook will do the trick. Just track the cleaning dates, FOG measurements, and any notes on the trap's condition. This gives you a powerful record of performance and, more importantly, proof of compliance for the health inspector.
This kind of proactive approach is becoming more important as wastewater regulations get tighter. The global market for grease traps is actually projected to hit USD 3.5 billion by 2033, driven by stricter environmental rules. It’s a clear sign that proper maintenance is only going to become more critical. If you're curious about the market trends, you can explore the full report on grease trapper insights.
Daily Habits Your Staff Can Own
Your kitchen crew is your first line of defense in keeping that grease trap happy. A few simple, daily habits can make a massive difference and extend the time between cleanings.
- Scrape Everything: Make it a hard-and-fast rule. Every plate, pot, and pan gets scraped clean into the trash before it even touches the sink. Every scrap of food that avoids the drain is a win.
- Use Good Drain Strainers: Put high-quality drain screens in all your sinks. They'll catch the solid food bits that would otherwise just sink to the bottom of your trap and turn into sludge.
- Wipe Down Greasy Pans: For those really greasy pans, a quick wipe with a paper towel before washing is a game-changer. That simple step stops a huge amount of FOG from ever going down the drain.
When you combine a smart, data-driven schedule with these daily best practices, you build a solid system that keeps your kitchen running clean and your drains flowing freely.
Common Questions About Cleaning a Grease Trap
Even with a solid plan, questions always pop up when you're dealing with something as crucial as a grease trap. Let's dig into some of the most common ones we hear from kitchen managers and restaurant owners. Getting these things straight helps you tackle the job with confidence.
How Often Should My Grease Trap Be Cleaned?
The old rule of thumb is the “25% Rule.” The idea is to clean your trap once it’s about a quarter full of FOG (Fats, Oils, and Grease) and solids. For a busy kitchen, this usually means a cleaning every one to three months.
But a set schedule isn't a one-size-fits-all solution. How often you really need to clean it comes down to a few things:
- Your Menu: If you’re running a burger joint with a lot of frying and grilling, you'll fill that trap way faster than a cafe that mostly steams and bakes. More butter, dairy, and oil means more frequent service.
- Business Volume: The more plates you push out, the more grease you produce. A slow January might let you stretch the time between cleanings, but a slammed holiday season could mean you need an extra pump-out.
- Local Health Codes: This is the big one. Your local health department gets the final say. Make sure you know their rules, because they often set a minimum cleaning schedule no matter how full your trap is.
Can I Just Use Hot Water or Chemicals?
Please don't. This is one of the most common and costly mistakes you can make. It might seem like a quick fix to pour boiling water or a bottle of drain cleaner down the sink, but all you're doing is liquefying the grease for a short time.
That melted FOG just slips past the trap and travels further down your pipes. Once it cools off, it hardens again, creating a solid blockage that’s much deeper and a whole lot more expensive to deal with. The only way to properly clean a trap is to physically scoop or pump the FOG out. If you do use any additives, they must be enzyme or biological treatments specifically designed for grease traps.
Your nose is often the first indicator of trouble. A persistent, foul odor coming from your kitchen drains is a major red flag that your trap is full and needs immediate attention. Other signs include sinks that drain very slowly or make gurgling sounds, and in the worst-case scenario, wastewater backing up into your sinks.
When Is It Better to Hire a Professional?
While some of the small, under-sink traps can be handled in-house, there are definite times when calling in a pro is the smarter move. If you have a large, in-ground grease interceptor, you'll almost always need a professional service—they have the specialized pumping trucks and equipment to handle that volume.
Even for smaller traps, you should call a pro if you don't have the right tools and safety gear, aren't completely sure what you're doing, or have no idea what your local FOG disposal rules are. A professional service not only gets the job done right but also gives you the legal paperwork you need to prove you're in compliance. It's all about peace of mind.
For a professional kitchen to operate at its best, every piece of equipment needs to be reliable and easy to maintain. PrepTables.com offers a wide selection of NSF-certified stainless steel prep tables, refrigerated units, and other commercial equipment designed for durability and hygiene. From standard work tables with flat tops or backsplashes to specialized units for specific tasks, there's a solution for every kitchen layout. This includes refrigerated pizza prep tables with raised rails for toppings and spacious cutting boards, as well as sandwich prep tables that keep cold cuts, cheeses, and vegetables perfectly chilled and within easy reach. Investing in the right stainless steel surfaces ensures your workspace is not only efficient but also easy to sanitize, supporting overall kitchen cleanliness. Explore our high-quality solutions to build a cleaner, more efficient workspace.