

A Complete Guide to 3 Compartment Sinks
If you’ve ever worked in a commercial kitchen, you know the 3-compartment sink is the unsung hero of the back-of-house. It’s not just a piece of equipment; it’s a non-negotiable requirement mandated by health codes for manual warewashing. This sink is your frontline defense against foodborne illnesses, ensuring a safe and systematic process for cleaning everything from pots and pans to utensils.
Why a 3 Compartment Sink Is a Kitchen Cornerstone
In any foodservice business, whether it's a huge restaurant or a tiny food truck, the 3-compartment sink is the command center for hygiene. Think of it as a dedicated assembly line for cleanliness, where each basin has a specific, crucial job. It’s this exact structured workflow that health inspectors zero in on to ensure public safety.
The process itself is straightforward but incredibly effective:
- Wash: The first sink is for hot, soapy water to break down and remove all the initial grease and food bits.
- Rinse: The second sink uses clean, clear water to wash away every last bit of soap and residue.
- Sanitize: The third and final sink uses a chemical sanitizer or scalding hot water to kill any lingering bacteria.
The Foundation of Food Safety
This methodical separation is what stops cross-contamination in its tracks. If you skip a step or do it out of order, the whole sanitation process is compromised, putting your customers at serious risk. The fallout from failing an inspection can be brutal, from heavy fines and forced closures to a damaged reputation that’s hard to fix.
A 3-compartment sink isn't just a suggestion; it's a foundational requirement for food safety. It creates a clear, repeatable system that any staff member can follow, turning a complex health code rule into a simple, everyday practice that protects both your customers and your business.
A Critical Market Component
Just how important is this system? The numbers tell the story. The three-compartment sink segment is a major player in the global compartment sink market, valued at around $362.5 million as of 2025. That figure alone shows just how vital these sinks are for any operation that has to follow strict wash, rinse, and sanitize protocols. If you're curious, you can explore more data on the compartment sink market to see its growth firsthand.
At the end of the day, putting your money into a quality 3-compartment sink is an investment in your business’s future. It gives you the framework for top-notch hygiene, keeps you ready for any health inspection, and shows your customers you’re serious about their well-being. It’s the behind-the-scenes workhorse that keeps your kitchen safe, clean, and running smoothly.
Mastering The Wash, Rinse, And Sanitize Workflow
Think of your 3-compartment sink as the ultimate assembly line for clean dishes. Each basin has a specific, non-negotiable job. Getting this wash, rinse, and sanitize sequence down is the single most important habit for preventing foodborne illness and keeping health inspectors happy. When you master this flow, it’s not just about following rules—it’s about protecting your customers and your business.
This simple visual guide breaks down the three-step sanitation process that is the heart of any 3-compartment sink setup.
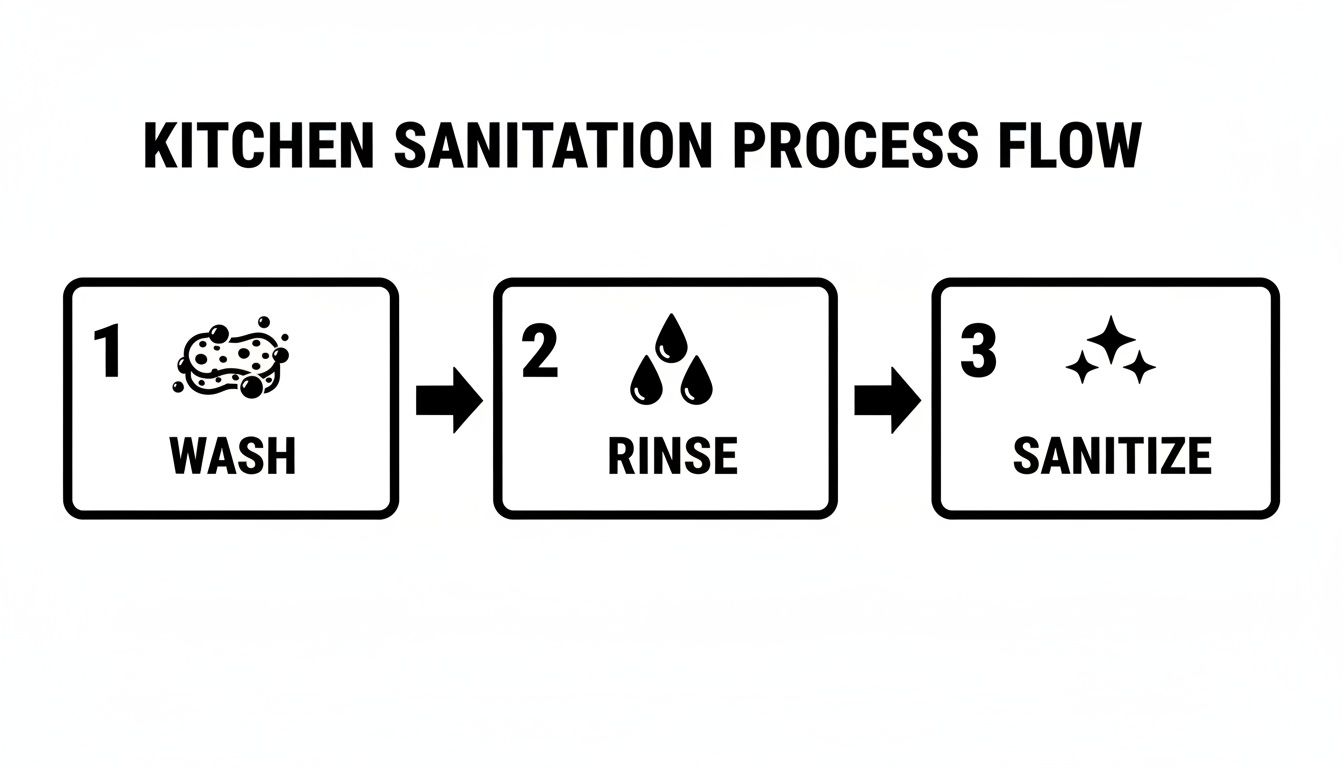
The flowchart perfectly illustrates how every item has to move from washing to rinsing and then sanitizing. There are no shortcuts to total hygiene.
Step 1: The Wash Basin
This is where the real work begins. The first basin is all about brute force—physically scrubbing off grease, grime, and leftover food from every surface.
For this step to be truly effective, the water needs to be hot, at least 110°F (43°C). That heat is crucial for breaking down fats and loosening up anything caked on. Combine that with a good commercial-grade detergent, and you’re setting the stage for a truly clean result.
Don't forget to change the water often. The second it gets greasy, cloudy, or full of floating bits, it's time for a refresh. Using dirty wash water just puts the grime right back on your dishes, which defeats the whole purpose.
Step 2: The Rinse Basin
Once the scrubbing is done, items move over to the second basin. The mission here is simple but absolutely critical: wash away every last bit of detergent and any debris that came loose.
This compartment should be filled with clean, warm water. Any soap residue left on the dishes can actually neutralize the sanitizer in the next step, making it useless. It can also leave a funky taste or film. A thorough rinse ensures the sanitizer can get to work directly on the item's surface.
Just like the wash basin, keep an eye on this water. As soon as it gets sudsy or murky, change it out. A clean rinse is the essential bridge between a soapy dish and a safe, sanitized one.
Step 3: The Sanitize Basin
The final stop is where you eliminate the invisible threats—the bacteria and other pathogens you can't see. This is the step that makes your kitchenware not just look clean but actually be microbiologically safe. You’ve got two main ways to sanitize in a 3-compartment sink.
Hot Water Sanitization: This involves dunking items in water heated to a scalding 171°F (77°C) for at least 30 seconds. It works, but it usually requires a booster heater and constant temperature checks, so it’s not the most common method you'll see.
Chemical Sanitization: This is what most kitchens do. You soak the items in a mix of water and an approved chemical sanitizer for a specific amount of time. The water temperature needs to be whatever the sanitizer’s manufacturer recommends, so always read the label.
Proper sanitization is non-negotiable. It's the final, crucial step that eradicates harmful microorganisms that washing and rinsing alone cannot. Failing to sanitize correctly is a direct path to cross-contamination and potential health code violations.
Getting your kitchenware clean goes beyond just a simple wash and rinse. Exploring options like effective sanitizing agents like food-grade hydrogen peroxide can give you more tools for the job. But no matter which chemical you land on, getting the concentration and contact time right is everything.
To help you nail this, here's a quick reference for the most common sanitizers.
Sanitizer Concentration And Contact Time Requirements
| Sanitizer Type | Required Concentration (PPM) | Minimum Contact Time |
|---|---|---|
| Chlorine (Bleach) | 50–100 PPM | 30 Seconds |
| Quaternary Ammonium | 150–400 PPM (per label) | 30 Seconds |
| Iodine | 12.5–25 PPM | 30 Seconds |
Always use test strips to verify your sanitizer concentration is in the correct range. For a complete deep dive into keeping your kitchen safe and compliant, check out our comprehensive guide on food safety and sanitation guidelines to make sure you're always ready for an inspection.
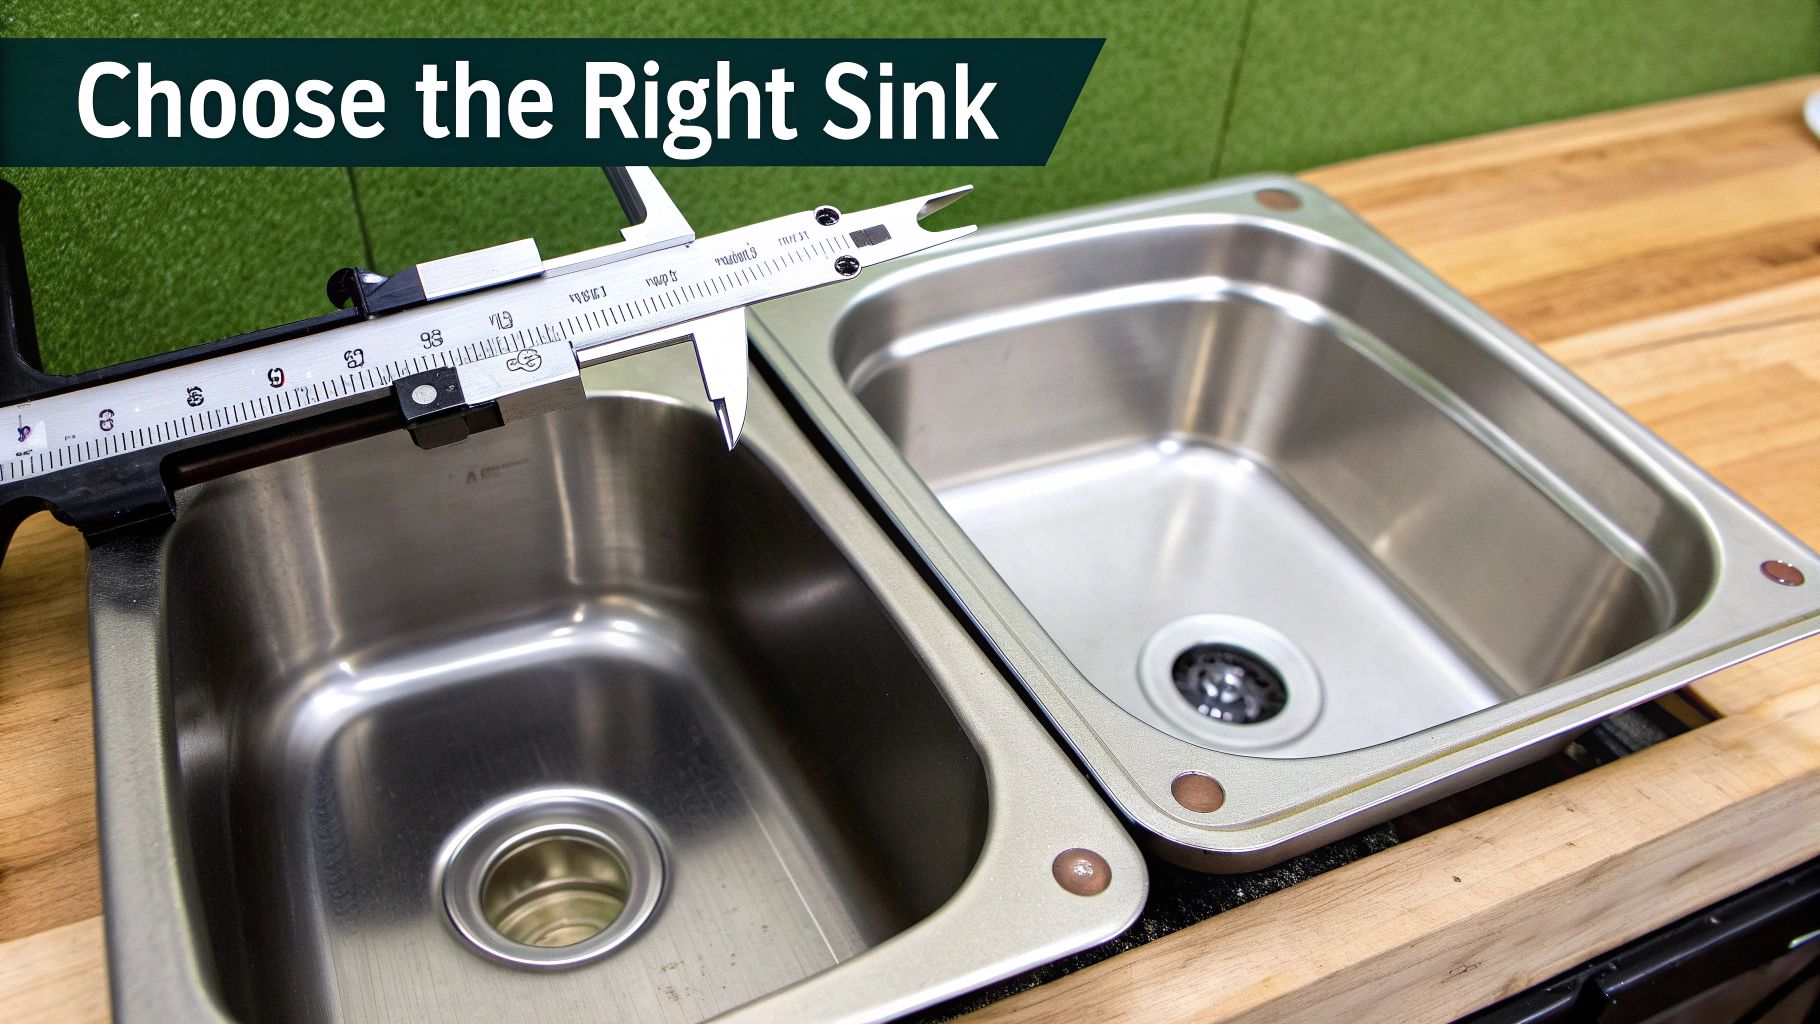
How to Choose the Right Sink for Your Kitchen
Picking out the right 3 compartment sink is a lot like choosing a chef's knife. It has to be tough, well-balanced, and built for the specific jobs you'll be doing every single day. This isn't just about size; it's about understanding the materials and construction that make the difference between a real workhorse and a piece of gear that will fall apart on you.
A smart investment now means your whole sanitation process runs smoothly and your sink can handle the chaos of a commercial kitchen for years to come.
It's no surprise that the market for these sinks is growing. Kitchens everywhere are modernizing and getting serious about compliance. In fact, projections show the compartment sink market growing steadily from 2025 to 2035, with growth rates of 6.2% in Germany and 6.3% in both Japan and China. It's all part of a bigger trend toward better sanitation and water efficiency in commercial kitchens.
Decoding Stainless Steel Grades
When you see sinks labeled as 304 or 430 stainless steel, those numbers aren't random. They tell you exactly what the metal is made of and, more importantly, how well it will fight off corrosion.
-
304 Stainless Steel: This is the gold standard for most foodservice gear. It has more chromium and nickel, which makes it incredibly resistant to rust from detergents, sanitizers, and even acidic foods. It's the best pick for a busy, wet environment.
-
430 Stainless Steel: This is the more budget-friendly option. It's still durable and perfectly food-safe, but it has less nickel. That means it's a bit more likely to corrode over time, especially if it's constantly exposed to harsh chemicals or standing water.
For a long-term investment, 304 grade stainless steel is almost always the way to go for a 3 compartment sink. If you want to get really granular, our guide on stainless steel grades explained breaks it all down.
Understanding Steel Gauge: The Durability Factor
The term "gauge" refers to the thickness of the steel. It works backward from what you'd expect: the lower the gauge number, the thicker and stronger the steel. For commercial kitchens, you’ll mostly find gauges between 14 and 18.
-
16-Gauge: This is your heavy-duty option. It’s thicker, more robust, and can take a beating from heavy pots and pans without denting or warping.
-
18-Gauge: This is a bit thinner and more economical. It’s a great fit for lighter-duty spots like delis or cafes that aren't dealing with massive, heavy cookware all day.
If your kitchen is banging around big stockpots and cast-iron pans, spending a little extra on a 16-gauge sink will pay for itself in durability.
Selecting Bowl Dimensions and Drainboards
The size of your sink bowls needs to be based on the biggest things you wash on a regular basis. Get out a tape measure and check your largest pots, sheet pans, and cutting boards. They should be able to sit fully submerged in the basin with enough room left over to actually scrub them.
A classic mistake is getting a sink with bowls that are too shallow or narrow. It just makes the whole warewashing job awkward and slow.
Don't forget about integrated drainboards. Health codes often require a dedicated space for air-drying, since wiping with a towel can just put bacteria back on clean dishes. Drainboards give you a slanted surface for sanitized items to dry, which completes your sanitation workflow and keeps the health inspector happy.
Choosing a sink with at least one drainboard—or even better, two—streamlines your entire operation. You can use one side as a landing zone for dirty dishes and the other as a clean, sanitary space for air-drying. This setup creates a clear path from dirty to clean, keeps water off your floors, and makes the whole process much more efficient.
Installation Plumbing and Essential Accessories
Picking out the perfect 3 compartment sink is a great start, but that’s only half the job. Getting it installed correctly and kitted out with the right gear is what really turns it into the sanitation powerhouse your kitchen needs. Proper plumbing and a few smart accessory choices are what make the difference between a compliant, efficient workhorse and a daily headache.

This isn't just about hooking up a few pipes. It's about building a complete system that protects your water supply, makes cleaning faster, and can handle the brutal pace of a busy kitchen.
Critical Plumbing Considerations
Don’t be fooled—the plumbing for a commercial sink is a whole different beast than what you’ve got under your sink at home. Health codes are incredibly strict about preventing any chance of contamination. That's why professional installation isn't just a good idea; it's usually a requirement. For any installation or repair work on your sink, calling in professional plumbing services is the way to go.
One of the most important plumbing parts you’ll deal with is the air gap. The easiest way to think of it is as a one-way valve for your dirty water. It’s a physical break between your sink's drain and the main sewer line, making it physically impossible for contaminated water to siphon back into your clean sink if there's a clog. This little device is a must-have to protect your clean water.
An air gap is your kitchen's best defense against backflow, a serious health hazard where sewage can contaminate the potable water system. Health inspectors will always look for a properly installed air gap, making it an essential element of your plumbing setup.
Proper drainage is also key. This means making sure pipes are sloped correctly so water doesn't pool, and installing grease traps (if your local laws require them) to catch all the fats and oils before they create a nightmare blockage in the sewer line.
Must-Have Faucets and Sprayers
The faucet you choose directly impacts how fast your team can work. A standard faucet gets the job done, but a high-pressure pre-rinse sprayer is an absolute game-changer. These things are powerful, blasting away stuck-on food before a dish even hits the soapy water. This cuts down on scrubbing time and actually saves water in the long run.
Look for these features when picking a faucet for your 3 compartment sink:
- Gooseneck Spout: That high curve gives you plenty of room to get big stockpots and buckets underneath.
- Swing Nozzle: A nozzle that can easily reach all three sink basins gives you maximum flexibility.
- Wall-Mount vs. Deck-Mount: Wall-mounted faucets keep the space behind the sink clear, which makes it much easier to wipe down and sanitize.
Essential Sink Accessories for Peak Functionality
Beyond the sink and faucet, a few other accessories are vital to making your warewashing station truly productive and up to code. These small additions can have a huge impact on your daily operations.
- Drain Strainers: These are your first line of defense against a plumbing disaster. Good strainers catch all the food scraps and debris, stopping them from going down the drain and causing a clog. Our guide on choosing a stainless steel sink drain has more tips on what to look for.
- Leg Bracing: Commercial kitchens are busy, chaotic places. Cross-bracing between the sink legs adds crucial stability, keeping the whole unit from wobbling or shifting when things get hectic.
- Overflow Pipes: These are simple tubes that let you fill up a basin for soaking without worrying about it overflowing. They maintain a steady water level and help keep your floors dry and safe.
Optimizing Your Workspace with Prep Tables
A truly efficient warewashing station is so much more than just the 3 compartment sink itself. It's a whole system built for a logical, continuous flow of work. To really nail the process from dirty to clean, you have to surround your sink with the right kind of tables. These aren't just for chopping vegetables—they’re critical landing zones and staging areas that turn a potential mess into a smooth operation, cutting down on wasted steps and making your team way more productive.
Think of it like an assembly line, but for dirty dishes. Soiled items come in, get scraped, washed, rinsed, sanitized, and then left to air-dry. Without dedicated tables for these steps, the whole process grinds to a halt in a jumbled pile of pans on a cluttered, unsafe floor. By strategically placing a couple of stainless steel tables, you create a clear, efficient path for every single item.
The Role of Standard Stainless Steel Tables
Your basic stainless steel work tables are the unsung heroes of the warewashing station. They are incredibly versatile, offering a tough, non-porous surface that’s a breeze to clean and sanitize—exactly what you need in your sink area to meet health standards.
In this setup, these tables really have two main jobs:
-
Soiled Dish Landing Zone: A table placed just before the first basin of your 3 compartment sink is your designated drop-off spot for incoming dirty dishes. Staff can stack everything here, scrape food scraps into a trash bin, and get things organized before they hit the wash water. This simple step keeps dirty dishes off the floor and out of other prep areas, which is a huge health code no-no.
-
Clean Dish Drying and Storage: After the final sanitizing rinse, you need another table. This one is crucial for air-drying. Health codes require air-drying because towels can just spread bacteria around. This table gives you a clean, sanitary surface to place racks of sanitized dishes so they can dry completely before being stored.
By creating this simple "dirty in, clean out" pathway, you get rid of bottlenecks and drastically reduce the chances of a clean plate accidentally touching a dirty one.
Specialized Prep Tables for Integrated Operations
While standard tables get the job done, some kitchens can really benefit from specialized prep tables that combine work surfaces with other features. These units are designed to fit perfectly into specific workflows, often bridging the gap between storage, food prep, and cleaning.
The strategic placement of prep tables around your 3 compartment sink is the foundation of an ergonomic and efficient workflow. This setup doesn't just make the warewashing process faster; it reinforces proper sanitation by creating a physical separation between the dirty and clean stages.
Two of the most popular specialized tables are sandwich prep and pizza prep tables. Even though their main job is food assembly, the thinking behind their design is something you can apply to your whole kitchen layout.
Sandwich Prep Tables
Sandwich prep tables, which you might hear called "sandwich/salad units," are a brilliant piece of engineering. They combine a refrigerated base for storage, a top section with cold wells to hold ingredients (called pans), and a built-in cutting board. Everything a cook needs is right there, which makes the whole process faster and more efficient. And since they’re made of stainless steel, they're just as durable and easy to clean as any other work table.
Pizza Prep Tables
Pizza prep tables are built on a similar idea. They have a refrigerated base, but the top is a wide work surface—often made of marble or granite—that's perfect for rolling out dough. They also have refrigerated rails up top to keep all the toppings cold and close by. Just like their sandwich-making cousins, these tables are built for high-volume, assembly-line-style work. Their heavy-duty construction and focus on hygiene make them a key part of any kitchen, driving home the importance of having dedicated, easy-to-clean workstations everywhere.
Keeping Your Sink in Top Shape for the Long Haul
Think of your 3-compartment sink as a serious piece of kitchen equipment—it's an investment built to take a beating. But even the toughest stainless steel needs a little TLC to keep it hygienic, looking good, and ready for any health inspection. A solid maintenance routine isn't just about cleaning; it's about protecting your investment.
If you let things slide, you’re asking for trouble. Rust, ugly scale buildup, and plumbing headaches are way more expensive to fix than they are to prevent. By working a few simple steps into your daily, weekly, and monthly routines, you can keep your sink looking and working like new for years.
The Daily Wipe-Down
Daily care is all about speed. You want to get food acids and mineral-heavy water off the steel surface before they have a chance to do any damage. This is your first line of defense.
At the end of every shift, make these two things a habit:
- Rinse and Wipe: Give all three basins a good rinse with clean water. This gets rid of any leftover food bits or soap residue.
- Dry It Off: This is the step everyone skips, but it's crucial. Use a soft, clean cloth to wipe down every surface. Standing water is the number one cause of those annoying mineral spots and can eventually lead to rust.
- Clear the Drains: Always clear out the drain strainers. This keeps water flowing and prevents clogs that can throw a wrench in the next shift’s workflow.
Weekly and Monthly Deep Cleaning
Daily wipe-downs are great, but you'll need to go a bit deeper to handle things like hard water buildup and to make sure everything is mechanically sound.
A huge mistake I see people make is grabbing steel wool or a wire brush to scrub their stainless steel sinks. Don't do it! You'll scratch the protective layer of the steel, creating tiny grooves where bacteria and rust can take hold. Stick to soft cloths or non-abrasive pads.
Once a week, set aside time for a more thorough clean:
- Deal with Scale: If your water is hard, you'll see chalky white buildup. Just fill the basins with a simple vinegar and water solution and let it soak. It'll dissolve those mineral deposits without harming the steel.
- Polish It Up: Grab a food-safe stainless steel polish and wipe in the direction of the steel's grain. This does more than just make it shine; it actually helps reinforce the natural protective layer that keeps rust away.
Then, once a month, give the whole unit a quick inspection. Check under the sink for any plumbing leaks, make sure the legs are still tight and secure, and check that your faucets aren't dripping. Catching a small leak early can save you from a massive water bill and a much bigger repair job down the road. Sticking to this simple schedule will ensure your 3-compartment sink remains a reliable workhorse in your kitchen.
Common Questions Answered
We get it. Navigating the world of commercial kitchen rules can feel like a maze. Below are some clear, straightforward answers to the questions we hear most often about 3-compartment sinks, designed to help you run your kitchen with confidence.
Do I Really Need a 3-Compartment Sink if I Have a Dishwasher?
Yes, almost every health department will require you to have a 3-compartment sink, even with a high-temperature dishwasher in your kitchen. There are a couple of really practical reasons for this.
Think of it as your essential backup plan. If your dishwasher goes down in the middle of a busy service, you can’t just stop washing dishes. The sink provides a fully compliant way to keep things moving. Also, many common kitchen items—like big stockpots, full-size sheet pans, or delicate utensils—simply won't fit in a standard dishwasher. The sink is your go-to for getting those oversized items properly cleaned, rinsed, and sanitized.
What Does the NSF Certification on a Sink Actually Mean?
When you see an NSF (National Sanitation Foundation) certification on a sink, it’s a big deal. It means that piece of equipment has gone through some serious testing to meet strict standards for public health and safety.
An NSF mark is your guarantee that the sink is built from materials that are non-toxic, resist corrosion, and are designed with a smooth, easily cleanable surface. This design is crucial because it prevents bacteria from getting trapped in tiny cracks or seams, ensuring your sink is truly sanitary. Health inspectors always look for that NSF logo, making it a must-have for passing inspection.
How Do I Properly Check My Sanitizer's Strength?
The only accurate way to know if your sanitizer is at the right concentration is to use chemical test strips made specifically for your sanitizer type—whether it's chlorine, iodine, or a quaternary ammonium compound (often called "quat").
It’s a simple process. Just dip a strip into your sanitizer solution for the amount of time listed on the package. Pull it out and immediately match the color to the chart on the test strip container. You should get in the habit of doing this often, like at the start of a shift and then every few hours, to make sure the solution is still effective. For chlorine, you’re typically aiming for a concentration between 50-100 PPM.
Is It Okay to Use Regular Household Bleach as a Sanitizer?
You can, but you have to be careful. Regular, unscented household bleach can be used as a sanitizer, but only if you dilute it to the right concentration. If your solution is too strong, it can leave behind chemical residues that aren't safe for food contact surfaces.
The correct concentration for a food-safe solution is 50-100 parts per million (PPM). A good rule of thumb is to mix about one tablespoon of bleach for every two gallons of cool or lukewarm water. But never just guess—always double-check the final mix with a chlorine test strip to confirm it’s both safe and strong enough to do its job.
Ready to build a compliant and efficient warewashing station? PrepTables.com offers a wide selection of NSF-certified 3 compartment sinks and stainless steel tables designed for professional kitchens. Explore our collection and find the perfect equipment to meet your needs at https://preptables.com.