

Mastering 3 compartment sink drains: A Guide for Commercial Kitchens
When you think about a commercial kitchen, the drains under your 3-compartment sink probably aren't the first thing that comes to mind. But these drains are the absolute bedrock of a clean, safe, and efficient operation. They're built specifically for the crucial wash-rinse-sanitize process, and when they're working right, you barely notice them. When they fail, though? Everything grinds to a halt.
Think clogs, health code violations, and expensive downtime. It's a system you can't afford to ignore.
Why Your Sink Drains Are the Unsung Heroes of Kitchen Safety
Every professional kitchen, whether it's in a busy restaurant or a school cafeteria, relies on a three-compartment sink. But the sink itself is only as good as its drains. This isn't just a collection of pipes; it's a complete system designed to keep your warewashing station flowing. A well-functioning drain system whisks away dirty water immediately, stopping bacteria from hanging around and making sure each sink basin is ready for its job.
This flow is the foundation of food safety. The wash-rinse-sanitize method is a global standard for a reason—it’s a systematic way to get rid of food scraps, soap, and dangerous germs. Your drains are the silent partner here, making sure the contaminated water from the "wash" sink doesn't back up and ruin the "sanitize" sink. A slow drain can break this whole process, re-contaminating clean gear and creating a serious health hazard.
The Foundation of Workflow and Compliance
Beyond keeping things sanitary, a good set of 3-compartment sink drains is essential for keeping the kitchen moving. A slow drain creates a major bottleneck, holding up clean pots, pans, and utensils. This directly slows down service, frustrates your staff, and kills productivity. In a high-pressure kitchen, every second is precious, and nobody has time to wait for a sink to drain.
On top of that, health inspectors zero in on drainage. A messy, poorly installed, or clogged drain is an instant red flag that can lead to a violation. Things like bad smells, standing water, or gunk in the sink signal sanitation problems to an inspector. Keeping your drains clear, properly trapped, and up to code isn't just smart—it's what protects your business from fines or even a forced shutdown.
You can see just how vital these sinks are by looking at the numbers. The global market for compartment sinks is worth around $1,145 million. The three-compartment sink segment alone makes up a massive $362.5 million of that. This just shows how non-negotiable this piece of equipment is for kitchens everywhere. Discover more insights about the compartment sink market
When you get your drain setup right, it stops being a potential problem and becomes one of your most reliable assets. Understanding its role in sanitation, workflow, and compliance helps you run a safer and more efficient kitchen every single day.
Decoding the Anatomy of Your Drain System
To really get a handle on your 3-compartment sink drains, you need to know what’s happening under the surface. It’s best to think of this system as more than just plumbing—it’s like a mini filtration plant right in your kitchen. Every single part has a job, and when they all work together, your kitchen stays clean, efficient, and up to code.
This whole setup is built on three pillars: sanitation, workflow, and compliance, with the drain system holding it all up.
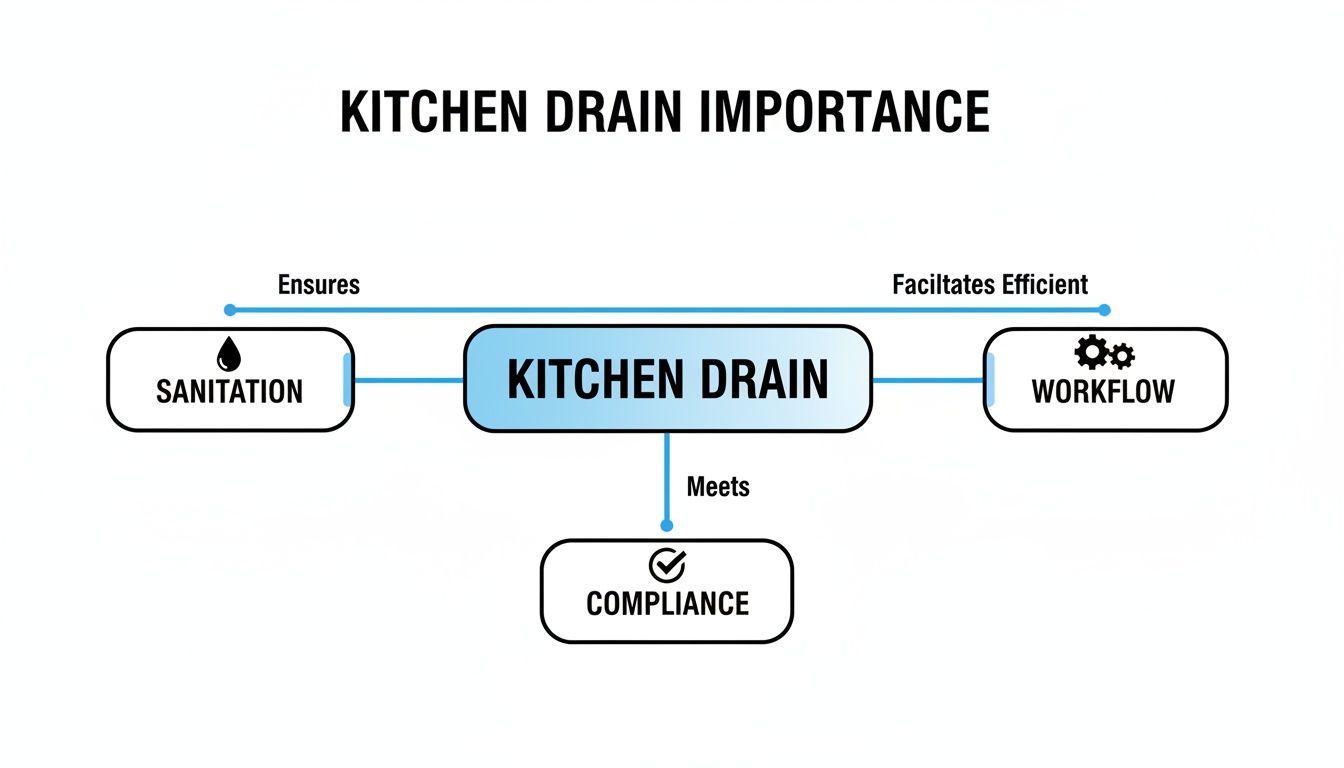
As you can see, a problem in one area quickly affects the others. Let’s break down the individual parts that keep this foundation strong.
Your First Line of Defense: Basket Strainers
The very first thing every drop of water hits is the basket strainer. Its job is simple but absolutely critical: catch all the big food scraps and debris before they get into your pipes and cause a world of trouble. Think of it as the bouncer for your plumbing, keeping the troublemakers out.
Without a good basket strainer, you’re just asking for clogs, nasty smells, and expensive calls to the plumber. Having your staff clean these out regularly is probably the single easiest—and most effective—piece of maintenance you can do.
Controlling the Flow: Lever and Twist Drains
Once the water gets past the strainer, you need a way to hold it in the sink. That’s where lever drains (sometimes called handle drains) and twist drains come in. They’re the gatekeepers, letting you fill up each compartment for washing, rinsing, and sanitizing.
- Lever Drains have a handle on the outside that you lift or push to open and close the drain. They’re a favorite in busy kitchens because your staff doesn't have to stick their hands into a sink full of hot, greasy water.
- Twist Drains are simpler—you just turn a knob on the drain itself. They create a really solid seal and are a dependable, no-fuss option for many commercial kitchens.
The choice between a lever or twist drain usually just comes down to how your kitchen operates. Both are built tough for commercial use. If you want to see the different options out there, you can dig into a great guide to stainless steel sink drains.
The Network: Connectors and Overflow Pipes
Tying all these drains together is the network of pipes running underneath. These pipes are the veins of the whole system, moving wastewater from all three sinks to the main drain, which is usually a floor sink or a grease interceptor.
A crucial but often forgotten part of this network is the overflow pipe. This little piece is your safety net. If someone leaves a faucet running, the overflow gives the water somewhere to go, preventing a messy, unsanitary flood all over your kitchen floor.
Having properly sized and connected pipes isn't optional; it's essential. If the pipes are too small or don’t fit right, you’re going to get bottlenecks, slow draining, and backups. Every piece matters, from the basket strainer all the way down to the last pipe, to keep things flowing smoothly.
Navigating Plumbing Codes and Compliance Without the Headache
Plumbing codes can feel like a tangled web of technical rules, but let's cut through the noise. Getting the plumbing right for your 3 compartment sink drains isn't just about passing an inspection or dodging fines—it's about building a safe, functional kitchen from the ground up. This is the bedrock of your food safety plan.
Every regulation, from the specific curve of a pipe to the required space between a drain and the floor, is there for a good reason. These rules are designed to stop the two biggest invisible threats in any commercial kitchen: the spread of dangerous pathogens and the public health nightmare that comes from mishandling wastewater.
The Unseen Guardians: P-Traps and Air Gaps
Look under any sink, and you'll find two simple yet brilliant pieces of engineering doing some heavy lifting for your kitchen's safety. The first is the P-trap, that distinct U-shaped bend in the pipe directly beneath the drain. Its only job is to hold a small plug of water 24/7. This little bit of water acts as a perfect seal, blocking nasty and potentially hazardous sewer gases from creeping up your drain and into your kitchen.
The second is the air gap. This isn't a fancy part, but rather a mandatory physical space between where your sink's drain pipe ends and where the floor sink begins. This gap is your best defense against backflow—a disgusting scenario where a clog in the floor drain could cause contaminated water to get sucked back up into your clean sink bowls. Health inspectors look for this simple gap every single time.
Compliance Takeaway: A proper P-trap and an air gap aren't optional upgrades. They are non-negotiable requirements in virtually every health code. Think of them as your kitchen's first line of defense against both airborne and waterborne contamination.
These parts are so critical because they work passively. They don’t require anyone to flip a switch or press a button; they just provide constant, silent protection for your staff and customers.
Here's a quick breakdown of the core plumbing components you'll need to know for compliance.
Key Plumbing Requirements for 3 Compartment Sinks
| Component | Primary Function | Why It's Required by Code |
|---|---|---|
| P-Trap | Blocks sewer gases from entering the kitchen. | Prevents foul odors and the spread of airborne bacteria and pathogens. |
| Air Gap | Creates a physical separation to prevent backflow. | Stops contaminated water from a clogged floor drain from siphoning back into a clean sink. |
| Grease Interceptor | Separates and captures fats, oils, and grease (FOG). | Prevents FOG from solidifying in and clogging municipal sewer lines, which can cause backups. |
| Proper Venting | Allows air into the drain system to regulate pressure. | Ensures drains flow smoothly and prevents the water seal in the P-trap from being siphoned out. |
Understanding these four elements is the key to a plumbing setup that will pass inspection and keep your kitchen running smoothly.
The FOG Mandate: Why Grease Interceptors Are Crucial
Fats, Oils, and Grease—known in the industry as FOG—are public enemy number one for any commercial plumbing system. When hot, greasy water goes down the drain, the FOG cools, hardens, and clings to the inside of your pipes. This buildup creates massive, stubborn blockages that can shut down your entire kitchen and even cause problems for the city's sewer lines.
This is why most health departments and municipalities require a grease interceptor (often called a grease trap). This is a tank that your drain line flows through, designed specifically to catch FOG before it escapes into the sewer system.
- How it works: Wastewater from the sink enters the interceptor tank, where a series of baffles slows the water down.
- Separation: As the water cools, the lighter-than-water FOG solidifies and floats to the top.
- Collection: The now grease-free water flows out from an outlet near the bottom of the tank, leaving the thick layer of FOG trapped inside to be professionally pumped out later.
Imagine a restaurant that skips installing a proper grease interceptor. The FOG buildup is inevitable. Eventually, it leads to a complete sewer backup, flooding the kitchen with raw sewage. This isn't just a mess; it means expensive emergency plumbing bills, hefty fines, and a mandatory shutdown for deep cleaning and sanitization. The lost revenue can be catastrophic.
Ensuring your 3 compartment sink drain setup is compliant with local regulations is absolutely vital. A great starting point is to familiarize yourself with the standards that apply in your area, such as the Dubai Building Codes, to avoid these costly headaches.
The stakes are higher than you might think. Across North America and Europe, strict regulations like the FDA Food Code mandate that commercial sink drains connect to systems like grease interceptors. And for good reason: FOG is responsible for an estimated 40% of municipal sewer backups, costing taxpayers millions. For a business, getting this right pays off. Properly installed, NSF-certified sinks with compliant drain systems can cut down on emergency maintenance calls by as much as 35%, saving a single location thousands of dollars every year.
How to Select and Install the Right Drain System
Picking out the right parts for your 3 compartment sink drains isn't just another purchase—it's a critical investment in your kitchen's entire workflow. Get this right from day one, and you'll save yourself a world of headaches, from backed-up sinks to frustrating compliance issues. Let’s walk through what you need to know to select and install a drain system built for the real world of a commercial kitchen.
It all boils down to two things: drain size and the material you choose. These decisions will make or break your system’s performance and how long it lasts, making sure it can handle the daily grind without giving up on you.
Matching Drain Size to Your Sink and Workload
Most commercial sinks come with a standard 3.5-inch drain opening, which is perfect for a regular basket strainer. But the real decision lies in the pipework that connects everything underneath. For this, 1.5-inch diameter piping is the go-to standard.
Think of your drain pipes like a highway. A 1.5-inch pipe is like a solid two-lane road—it’s more than enough for the average restaurant or cafeteria sink. It can manage a steady flow of water from all three compartments without causing a traffic jam (or, in this case, a nasty backup).
If you’re running an exceptionally high-volume kitchen or your sink bowls are deeper than 14 inches, you might need to upgrade to a 2-inch diameter pipe to handle the extra flow.
Pro Tip: Don't forget to factor in the depth of your sink bowls. Deeper bowls dump a whole lot more water at once. A 1.5-inch system is usually fine, but it never hurts to double-check your local plumbing codes just to be safe.
Why Stainless Steel Is the Industry Standard
When you’re talking materials for 3 compartment sink drains, stainless steel is king. No debate. You might see plastic or brass parts in a home kitchen, but they just can't take the punishment of a commercial environment.
Here’s why stainless steel is the only real choice:
- Durability: It shrugs off high heat, harsh chemicals, and the daily clanging of heavy pots and pans.
- Sanitation: The surface is non-porous, meaning bacteria has nowhere to hide. This makes it a breeze to clean and sanitize—a must for passing health inspections and getting that NSF certification.
- Corrosion Resistance: Stainless steel is tough against rust and corrosion, which means a longer life for your drains and no risk of contamination.
Trying to save a few bucks with cheaper materials is a mistake you’ll pay for later. A plastic drain might seem like a good deal, but it will almost certainly crack or warp in a few months. That leads to leaks, downtime, and replacement costs that blow your initial savings out of the water.
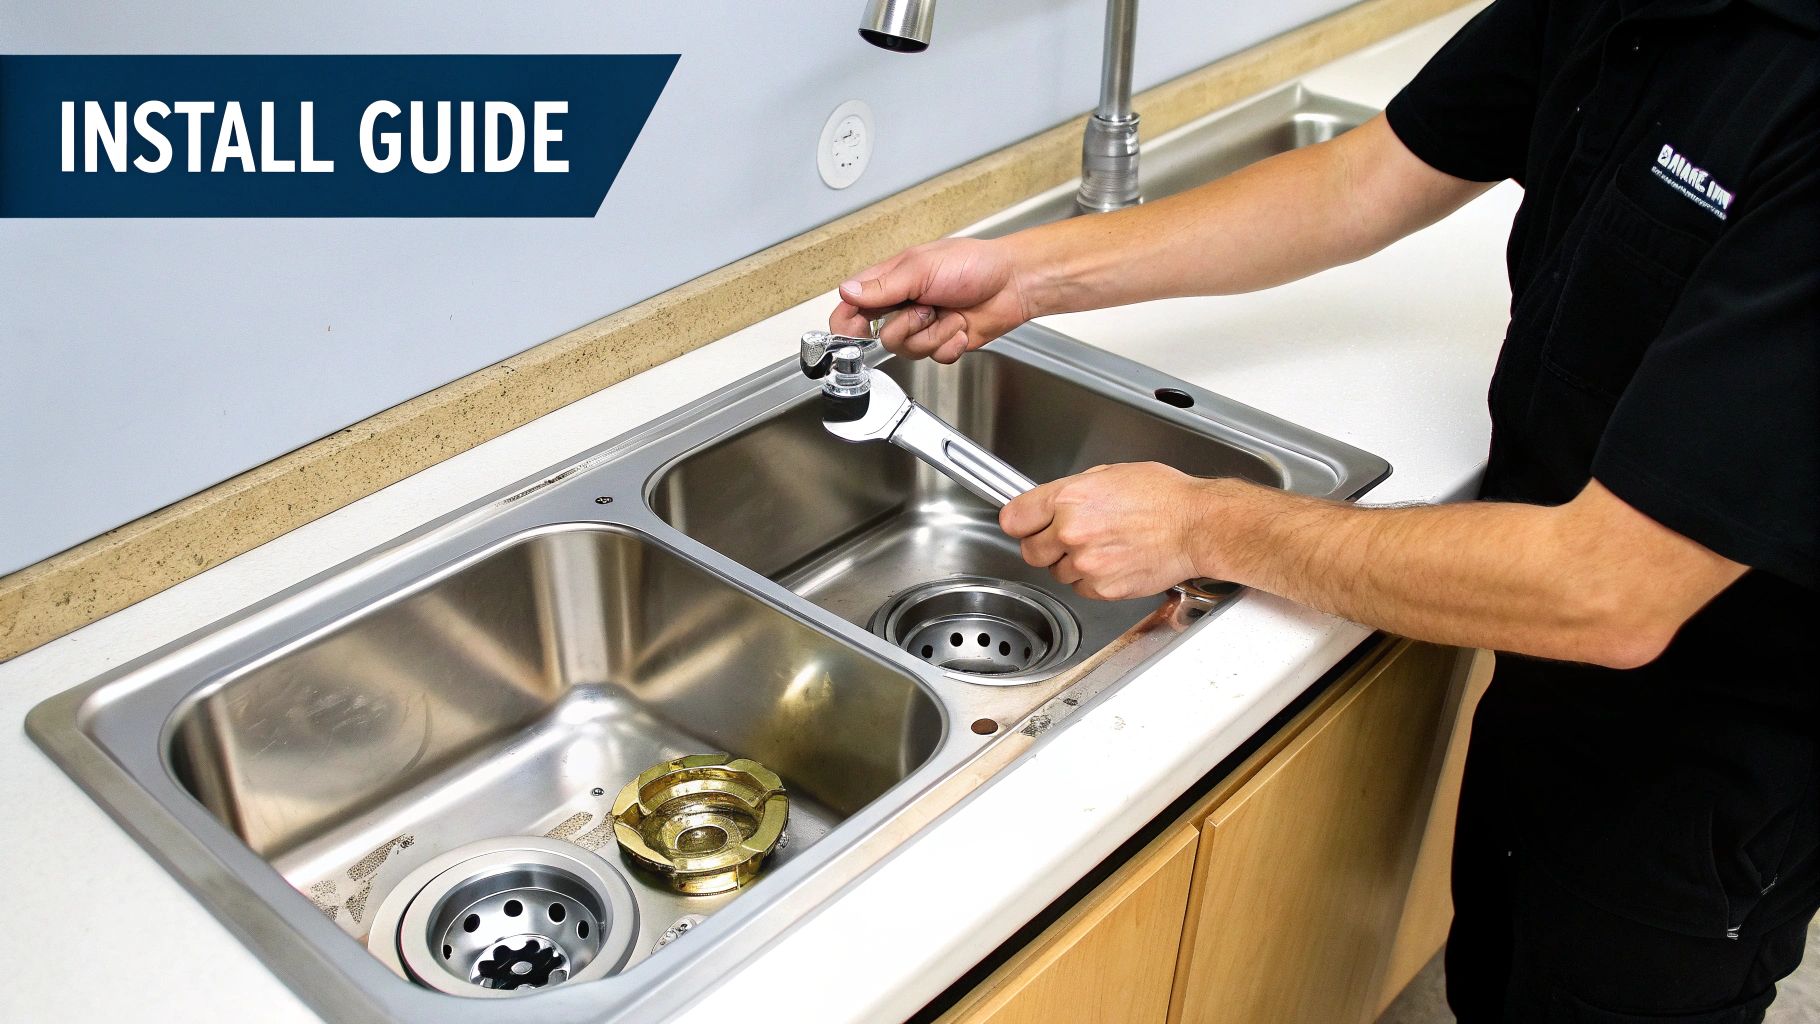
A Step-by-Step Installation Overview
Putting your drain system together is a straightforward process. While we always recommend hiring a licensed plumber to make sure everything is up to code, knowing the steps helps you understand what’s happening.
-
Install the Basket Strainers: Start by putting a ring of plumber's putty around the drain opening in each sink bowl. Push the basket strainer down into it to create a seal that won't leak. From underneath, add the rubber gasket and locking nut, then tighten it down with a wrench.
-
Connect the Tailpieces: Next, attach a flanged tailpiece to the bottom of each basket strainer. These short pipes are the on-ramps to your drain network.
-
Assemble the Continuous Waste Outlet: Using slip joint nuts and washers, connect the horizontal pipes that link the three tailpieces. This setup is often called a continuous waste outlet, and it gathers water from all three bowls into one main line.
-
Install the P-Trap: Connect the P-trap to the end of your continuous waste assembly. This U-shaped pipe is non-negotiable—it holds water to block sewer gases from coming up into your kitchen.
-
Final Connection to the Floor Sink: The last step is running a pipe from the P-trap down to your floor sink. Make sure there’s a proper air gap, as required by pretty much every health code out there.
For a deeper look into sink setups, our guide on choosing a 3 bay commercial sink offers more great tips to help you pick the perfect one for your kitchen. A solid installation right from the start means your system will work like a charm, creating a safe and efficient kitchen for years to come.
Proactive Drain Maintenance and Troubleshooting
The smartest way to deal with a plumbing catastrophe is to make sure it never happens in the first place. With your 3 compartment sink drains, being proactive isn't just a good idea—it's your best defense against the clogs, nasty smells, and expensive downtime that can cripple a kitchen. A few simple, consistent habits are all it takes to keep water flowing and give your whole plumbing system a longer, happier life.
Think of it like preventative care for your kitchen's circulatory system. If you ignore it, you’re asking for blockages and breakdowns. But with regular check-ups, everything stays in peak condition. This mindset empowers your team to stamp out minor issues before they blow up into major problems.

Establishing a Simple Cleaning Routine
Consistency is everything when you're fighting against the daily onslaught of food bits, grease, and soap scum. By breaking the work into daily, weekly, and monthly tasks, drain maintenance just becomes another seamless part of your kitchen's rhythm.
Daily Habits (Less than 5 minutes):
- Empty Strainers Constantly: This should be non-negotiable. Every time a sink is drained, the basket strainer gets emptied. This simple step stops the vast majority of food scraps from ever entering the pipes.
- Final Hot Water Flush: End each day by filling every sink compartment with hot water and pulling the drains at the same time. This powerful flush helps melt and push out any grease that's just starting to build up.
Weekly Tasks (10-15 minutes):
- Thorough Pipe Flush: Give your pipes a deeper clean. A commercial-grade enzymatic drain cleaner or even a simple mix of hot water, vinegar, and baking soda can work wonders to break down stubborn organic gunk.
- Inspect for Leaks: Do a quick visual check of all the connections under the sink. Look for any drips, moisture, or tell-tale water stains.
This kind of structured care is part of a bigger shift in how modern kitchens operate. The plumbing under a three-compartment sink has evolved from basic pipes into smarter, more resilient systems. It's a big deal—this market is expected to hit $2.087 billion by 2035. That growth is fueled by the hard reality that improper draining is flagged in 22% of health inspections, often leading to hefty fines.
Troubleshooting Common Drain Problems
Even with the best maintenance plan, things can still go wrong. The key is knowing how to spot the signs and what to do next, which can often save you an emergency call to the plumber.
Slow Draining: This is the classic warning sign. Nine times out of ten, it means a clog is starting to form from food debris or a buildup of FOG (Fats, Oils, and Grease). If a hot water flush doesn’t clear it, your P-trap is the next place to look.
Foul Odors: A persistent bad smell is a dead giveaway that food particles are trapped and rotting somewhere. The P-trap and the grease interceptor are the usual suspects. A good cleaning of the trap and a deep flush of the system will typically get rid of the stench.
Gurgling Sounds: That gurgling noise you hear is the sound of trouble. It's often a sign of a venting issue or a more serious blockage further down the line. The sound is made by trapped air fighting its way past the water, which tells you there's a significant restriction somewhere in the pipe.
To make things easier, here’s a quick guide for diagnosing and fixing the most frequent issues.
Common Drain Problems and Solutions
| Symptom | Likely Cause | DIY Solution | When to Call a Plumber |
|---|---|---|---|
| Water drains slowly | Partial clog from food or grease (FOG) buildup. | Flush with boiling water. Clean out the P-trap manually. | If the clog persists after cleaning the trap. |
| Unpleasant smell | Trapped, decaying food in the P-trap or grease interceptor. | Clean the P-trap. Perform a deep flush with an enzymatic cleaner. | If the odor continues after cleaning, especially from walls. |
| Gurgling noises | Venting problem or a significant blockage downstream. | Check that the vent stack on the roof is clear (if safe). | Almost always. Gurgling points to a systemic issue. |
| Water backing up | Severe clog in the branch line or main sewer line. | Stop using the sink immediately to prevent flooding. | Immediately. This indicates a major blockage. |
This table should help you tackle the small stuff, but remember that knowing your limits is just as important as knowing how to fix a minor clog.
When to DIY and When to Call a Professional
For a simple slow drain, you can often handle it in-house. The first step is always to clear the P-trap. Just put a bucket underneath, unscrew the connections at both ends, and clean out whatever you find inside. A basic drain snake is also great for snagging clogs that are just past the trap.
But some jobs are definitely best left to the experts. It's time to pick up the phone and call a plumber if:
- You've cleaned the P-trap and the drain is still clogged.
- You see water backing up in multiple sinks or drains at the same time.
- You hear that persistent gurgling sound, which points to a bigger main line or venting problem.
Trying to force a major blockage with the wrong tools can easily lead to cracked pipes and a much bigger bill. To keep your operation running smoothly, investing in routine professional drain cleaning services is one of the smartest moves a commercial kitchen can make.
Frequently Asked Questions About Sink Drains
Working with 3 compartment sink drains always seems to bring up a few questions. From figuring out the right specs during an install to dealing with day-to-day clogs, getting straight answers is crucial for keeping a kitchen running smoothly and up to code. Let's tackle some of the most common questions we hear from kitchen managers and their staff.
What Size Drain Do I Need for My Commercial Sink?
For pretty much any commercial three-compartment sink you'll come across, the standard drain opening is 3.5 inches across. This size is made to fit a standard commercial basket strainer like a glove. The pipes that connect underneath are usually 1.5 inches in diameter, which is more than enough to handle the wastewater from a typical kitchen without backing up.
Now, if you're working with extra-deep sink bowls (think over 14 inches) or you're in a super high-volume spot, bumping up to a 2-inch pipe system is a smart move. It'll give you that extra capacity for faster, more dependable drainage when you really need it.
Can I Use a Food Disposer with a 3 Compartment Sink?
Technically, you can, but it's an idea you should probably shelve. Installing a garbage disposal on a 3-compartment sink is often frowned upon, and in many places, it's outright banned by the local health department. The big issue is that disposals turn food waste into a fine slurry that can slip right past the grease interceptor, causing major blockages down the line in the main sewer.
Important Note: Always, always check with your local health department before even thinking about a garbage disposal. Most codes are pretty clear: they want you scraping solid food into the trash and using basket strainers. This protects both your plumbing and the city's sewer system.
Many cities have tracked major FOG (Fats, Oils, and Grease) problems back to commercial disposals, so trying to get one approved can be a real headache.
What are the different types of stainless steel prep tables?
While sinks are for washing, prep tables are for working. In a commercial kitchen, stainless steel prep tables are essential for durability and sanitation. There are several types:
- Standard Work Tables: These are the most common, featuring a flat, open top for general prep work like chopping vegetables or portioning ingredients. They often come with an undershelf for storage.
- Tables with Backsplashes: A small lip at the back prevents ingredients and liquids from falling behind the table, making cleanup easier and protecting walls.
- Sandwich Prep Tables: These are refrigerated units with a work surface on top and refrigerated wells for holding cold ingredients like lettuce, tomatoes, and meats. They are crucial for delis and sandwich shops to maintain food safety and speed up assembly.
- Pizza Prep Tables: Similar to sandwich tables, these refrigerated units have a large, often marble or granite, work surface for dough preparation and refrigerated rails to hold pizza toppings. They are designed to streamline the pizza-making process.
Why Does My Sink Drain Smell Bad?
If you're getting a nasty smell from your sink, it’s almost always because of old, rotting food particles stuck somewhere in the drain. The usual suspect is the P-trap—that U-shaped bend in the pipe right under the sink. Its job is to hold a bit of water to block sewer gas, but it's also the perfect spot for gunk to settle and build up.
The fix is simple. Just put a bucket under the P-trap, unscrew the fittings, and give it a good cleaning. If you've scrubbed the trap and the smell is still there, the odor is probably coming from your grease interceptor. That's a sign it's well overdue for a professional pump-out and cleaning.
At PrepTables.com, we know that a great kitchen depends on reliable equipment. From the NSF-certified sinks to the heavy-duty drains that keep them from backing up, we stock the quality parts you need for a safe, efficient operation. See our full lineup of commercial kitchen solutions today.