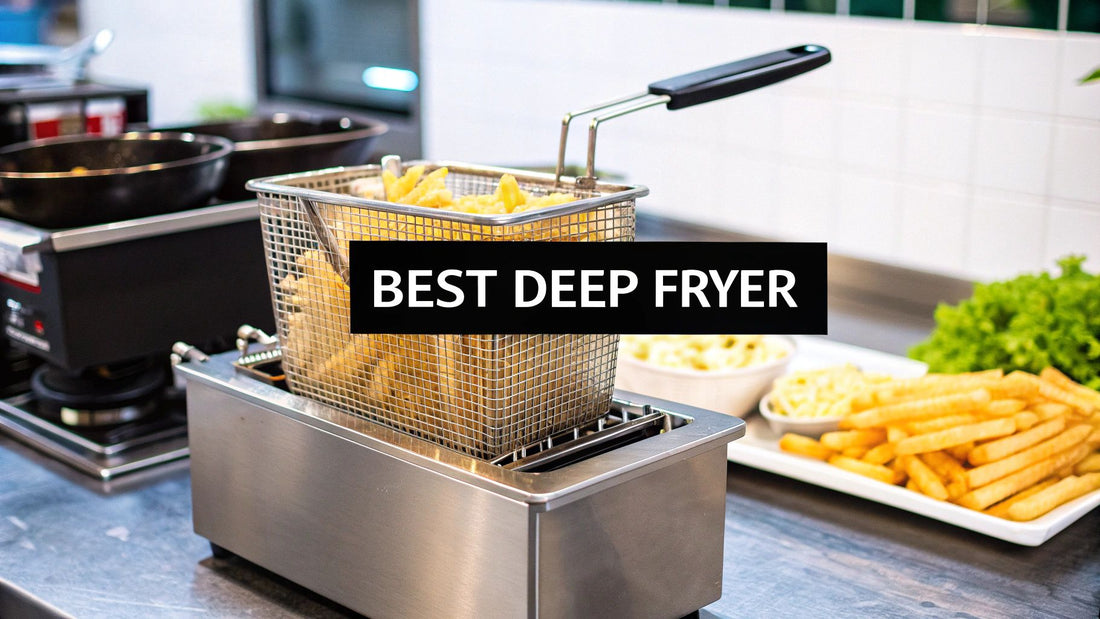
Choosing the Best Commercial Deep Fryer for Your Kitchen
Share
Choosing the best commercial deep fryer isn't about finding the most expensive or powerful model. It's about a perfect match: the right unit for your specific menu and volume.
For a busy kitchen cranking out hundreds of pounds of fries and chicken, a beast of a gas floor fryer from a brand like Vulcan or Pitco is often the answer. But for a smaller café or food truck, a nimble electric countertop model might be all you need. The right fryer is the engine that powers your most popular dishes, delivering that perfect golden-brown crunch customers expect every single time.
Your Guide to Choosing the Right Fryer
Let's be honest, picking a new commercial fryer is a big deal. It directly impacts your kitchen's speed, the consistency of your food, and your bottom line. A great fryer can speed up service and deliver a perfect product, while a smart choice can even lower your costs through better energy and oil use.
This decision is only getting more important. The global market for commercial deep fryers hit about USD 583.92 million in 2024 and is expected to jump to nearly USD 798.24 million by 2032. That's a lot of fried food, and it shows just how central these workhorses are in kitchens everywhere.
Key Factors to Consider
Before you even start looking at specific models, you need to get clear on the fundamentals. Nailing these down first will make the rest of the process much easier and save you from buying the wrong machine.
- Fryer Type: Are you frying heavily breaded chicken or delicate, airy donuts? Your menu dictates whether you need a tube, open-pot, or flat-bottom fryer.
- Power Source: Take a look at your kitchen's setup. Do you have the right gas line, or is electric a better fit? Gas units usually heat up faster, but electric models can offer incredibly precise temperature control.
- Capacity & Volume: Think about your busiest Friday night. How much food are you pushing out? This will tell you the fry pot size you need to keep up without getting bogged down.
- Filtration System: Don't overlook this. A good built-in oil filtration system will make your oil last longer, which saves a ton of money over time and makes your food taste better.
Choosing the right fryer is more than an equipment purchase; it's an investment in consistency. A reliable fryer with precise temperature recovery ensures that the last batch of fries on a busy Friday night is just as crisp and delicious as the first.
It's also crucial to think beyond just the fryer itself and consider your entire fry station workflow. The fryer might be the star of the show, but its supporting cast—like sturdy stainless steel prep tables—is just as important. You need dedicated space for breading, seasoning, and plating to keep things moving smoothly.
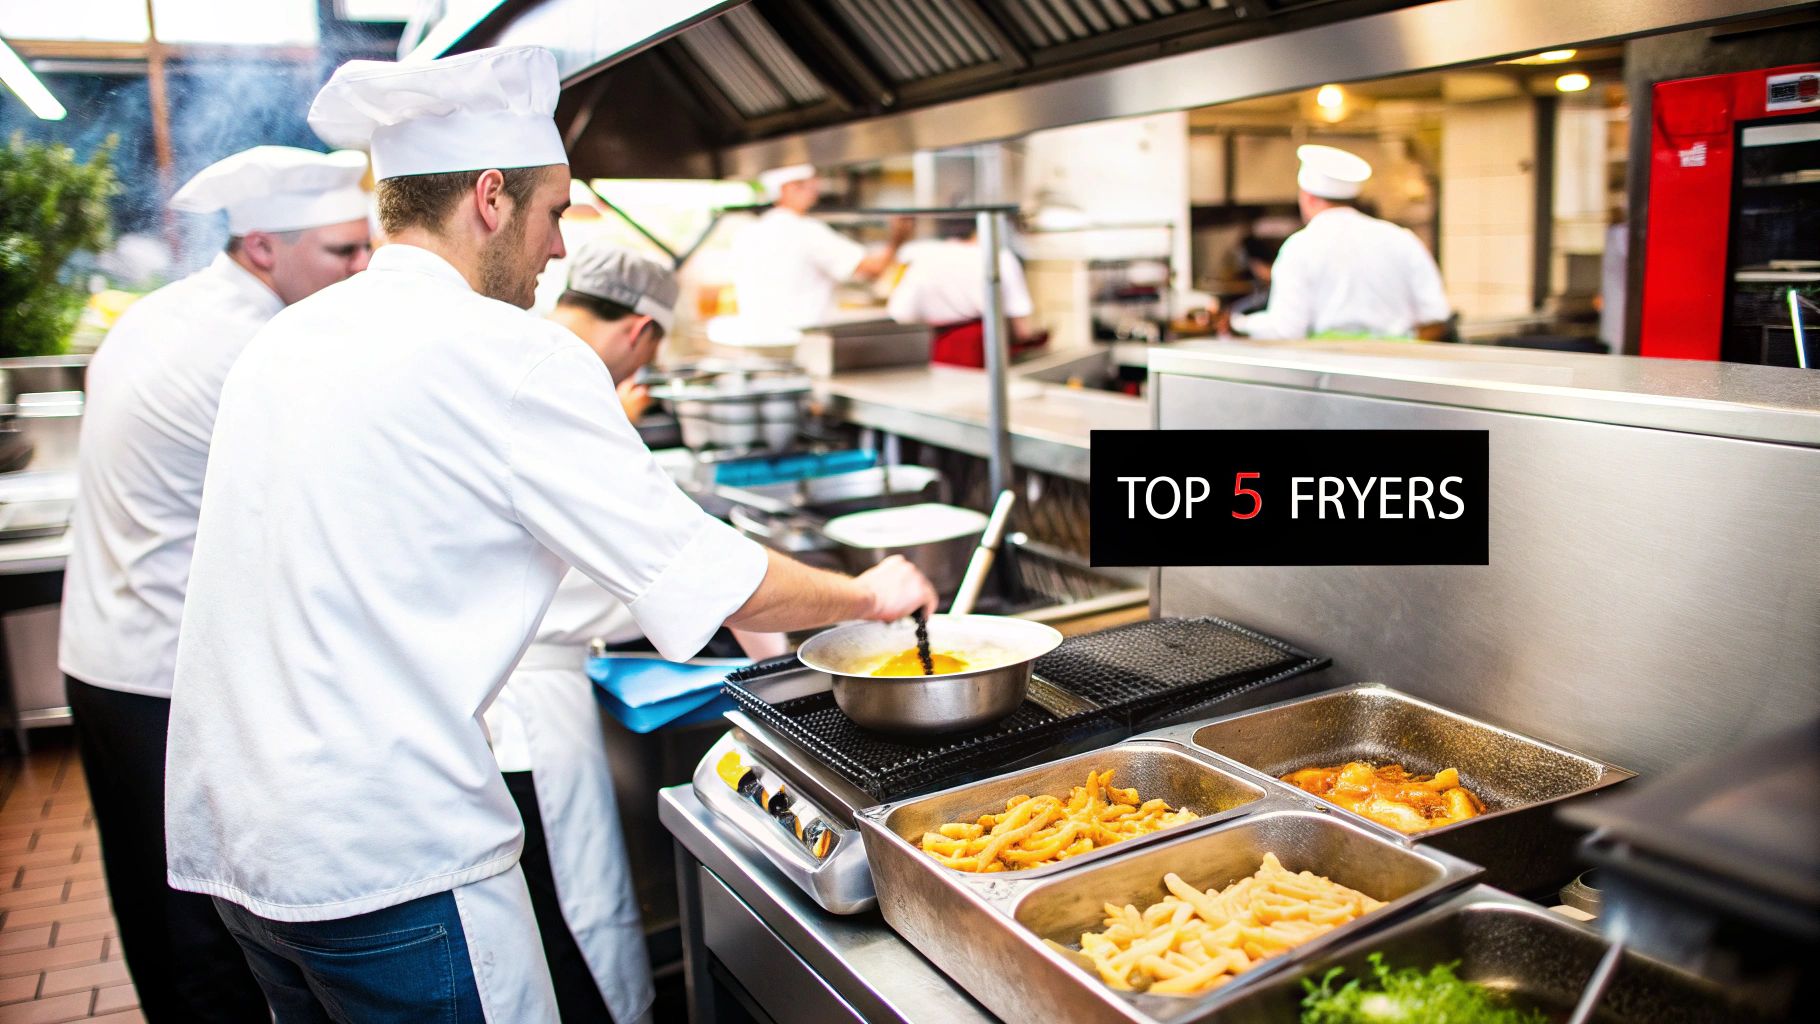
You might even integrate specialized tables to create a seamless production line, turning raw ingredients into finished dishes with zero wasted steps. If you're ready to see what's out there, you can explore our full collection of commercial fryers.
Comparing Fryer Types and Power Sources
Choosing the right commercial deep fryer for your kitchen is a bit like picking the perfect knife for a specific task. You wouldn't use a cleaver for delicate pastry work, and you definitely shouldn't use a fryer built for donuts to crank out batches of breaded chicken. The first step to a smart investment is understanding the fundamental designs: tube, open-pot, and flat-bottom.
Each style is engineered with a specific type of food in mind, and that design directly impacts your cooking efficiency, the final quality of your food, and even how long your cooking oil lasts. Getting this choice right from the start saves you from a world of operational headaches down the road.
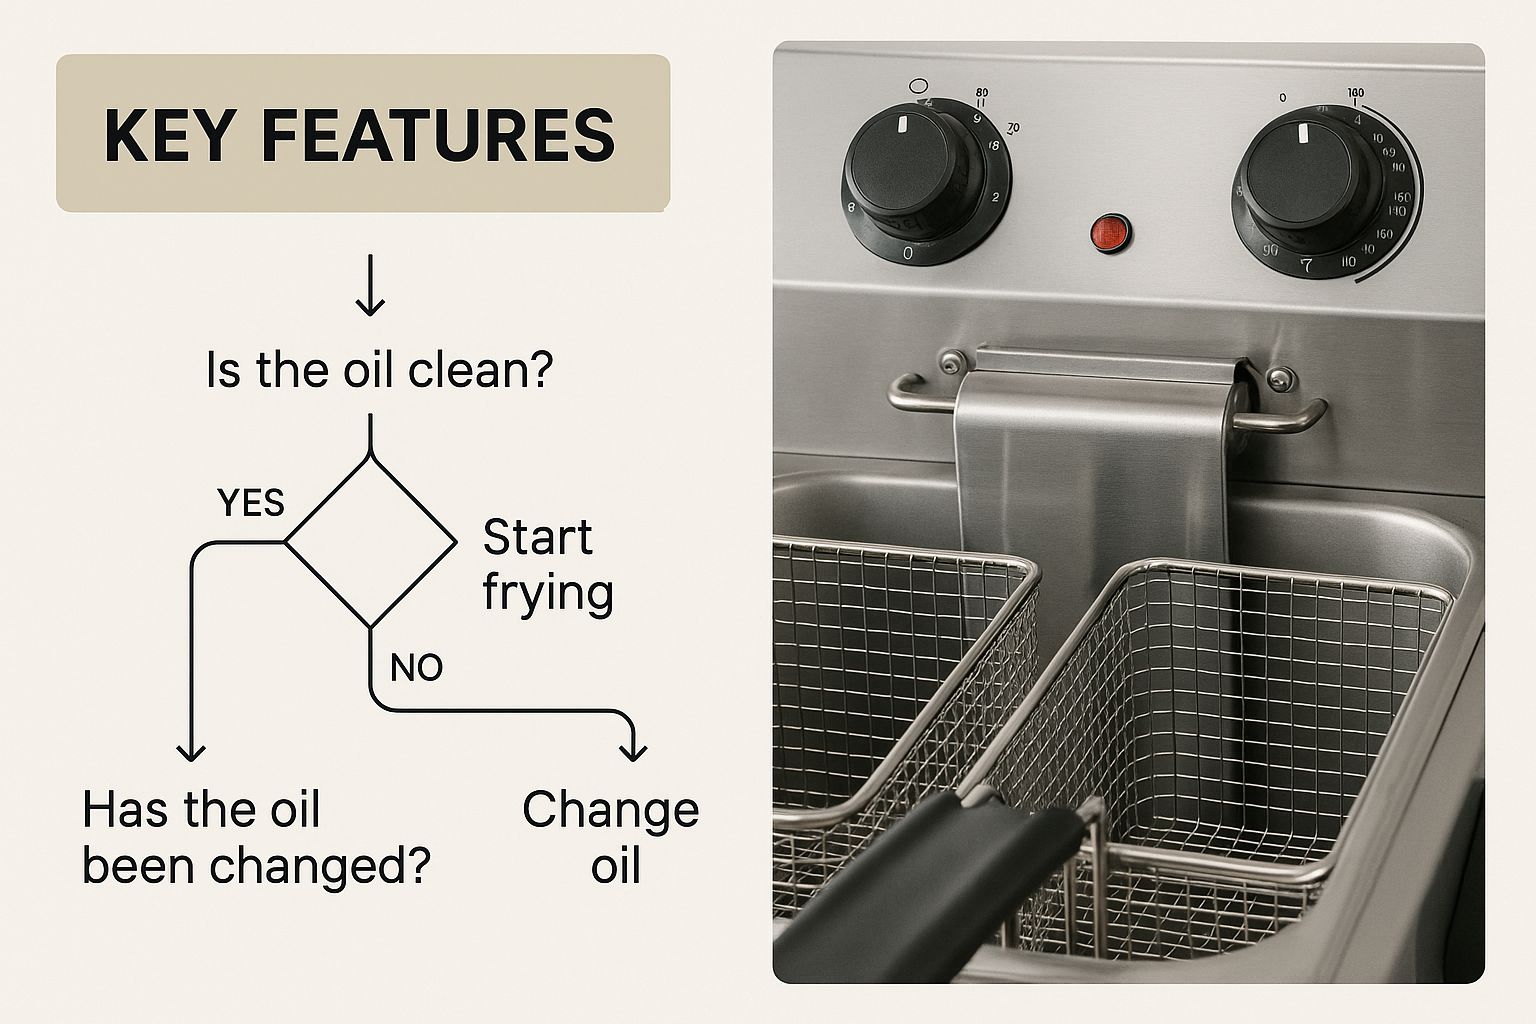
As you can see, matching the fryer's capabilities to your kitchen's real-world demands is the secret to getting consistent, delicious results every time.
Tube Fryers For High-Sediment Foods
Tube fryers are the undisputed heavy-lifters in a busy kitchen. They’re built to handle the high-volume frying of foods that leave a lot of crumbs and sediment behind—think breaded chicken, battered fish, and onion rings. The design is clever: tubes containing the heating elements run directly through the oil vat.
This setup creates a large "cold zone" at the very bottom of the fry pot, right below the hot tubes. All that loose breading and other food particles sink down into this cooler area instead of scorching in the hot oil. This simple feature is a game-changer for extending the life of your oil, which can save you a serious amount of money over time. While cleaning around the tubes takes a little more elbow grease, their sheer durability makes them a fixture in most high-volume operations.
Open-Pot Fryers For Versatility and Easy Cleaning
If your menu is heavy on items that don't create much sediment, like french fries or mozzarella sticks, an open-pot fryer is your best friend. Just as the name implies, these fryers feature an open, completely unobstructed fry pot. The heating elements are on the outside.
This design makes them an absolute dream to clean, which is a massive bonus for any busy kitchen crew. With no tubes to scrub around, daily maintenance is quicker and more effective. Their cold zone is smaller than a tube fryer's, but it's more than enough for low-sediment foods. Their all-around versatility and simple upkeep make them a go-to choice for countless restaurants.
The decision between fryer types isn't just about what you cook; it's about optimizing your entire kitchen workflow. A fryer that's easy to clean saves labor, while one that extends oil life directly impacts your food costs.
Flat-Bottom Fryers For Delicate and Specialty Items
Flat-bottom fryers are the specialists of the fryer world. They are specifically designed for delicate, free-floating items that you don't want touching hot heating elements. We're talking about donuts, funnel cakes, tempura, or even fresh tortillas for house-made chips.
These fryers have no baskets and a perfectly flat bottom, allowing food to float freely and cook evenly. Because they have no real cold zone to speak of, they are the wrong tool for anything breaded or high in sediment—the debris would just burn and instantly ruin your oil. But for a kitchen that specializes in pastries or other delicate fried goods, a flat-bottom fryer is absolutely essential. Knowing how each piece of equipment fits into your kitchen's rhythm is critical; you can explore this further in a comprehensive guide to commercial kitchen equipment.
Choosing Between Gas and Electric Power
Once you've matched the fryer type to your menu, the next big decision is the power source. This choice often boils down to your kitchen's existing utility hookups and what you prioritize more: raw power and speed or efficiency and precision.
- Gas Fryers: These are the workhorses known for lightning-fast heat-up and recovery times, making them a favorite in high-volume kitchens. They hook up to a natural gas or propane line and get oil up to temperature quicker than electric models. The downside? Installation can be more involved and costly if you don't already have a gas line in place.
- Electric Fryers: What electric units lack in sheer speed, they make up for in energy efficiency and incredibly precise temperature control. They lose less ambient heat into the kitchen, which can help create a cooler workspace and lower your utility bills. That precision is also a huge benefit when you're cooking more delicate items that demand consistent heat.
Understanding Features That Boost Performance
Alright, you've pinpointed the right type of fryer for your menu. Now it's time to dig into the details that separate a decent fryer from a truly great one. These are the specs that will directly impact your kitchen's daily grind, your operating costs, and the quality of the food you serve. Think of this as your buyer's checklist for what really matters.
Choosing the best commercial deep fryer isn't just about the basic design. It's about focusing on the guts of the machine—the components that drive efficiency and consistency day in and day out. From how a fryer handles stray bits of batter to the precision of its thermostat, these features are the difference between a kitchen workhorse and a constant headache.
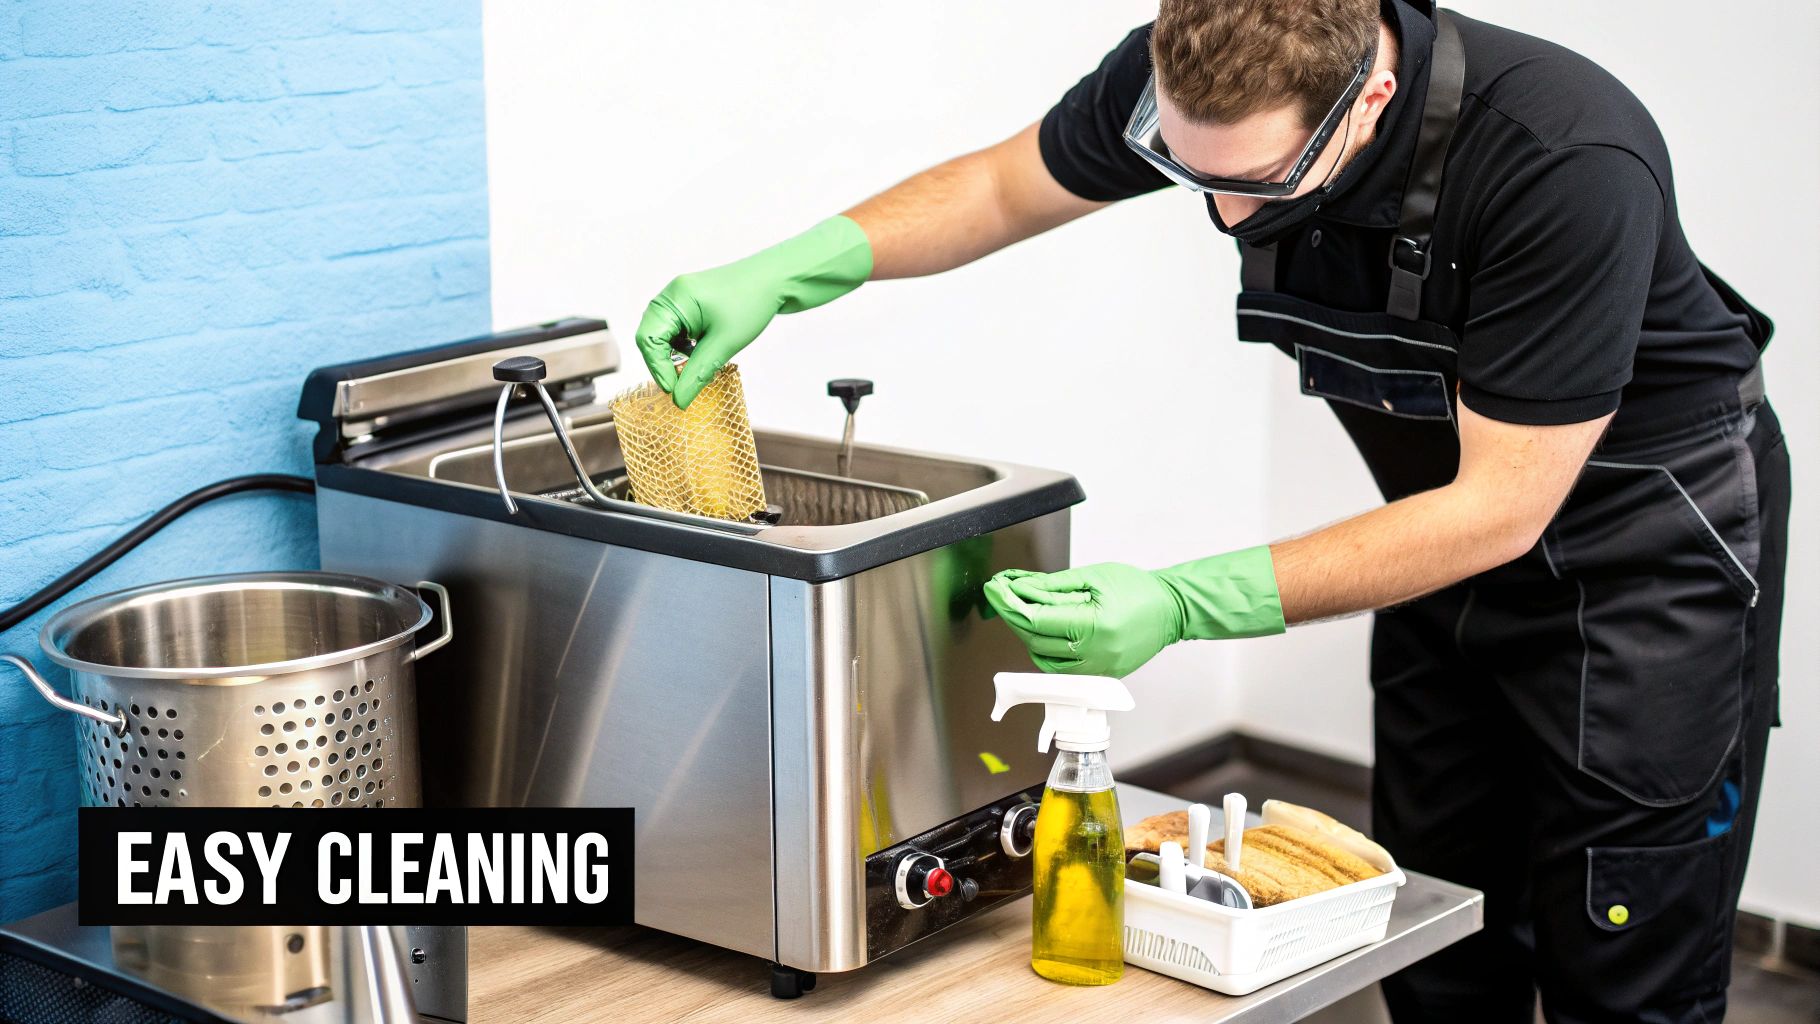
Decoding Fryer Capacity and Output
Fryer capacity can be misleading. It’s usually listed in pounds, but that number is about the weight of the oil the pot holds, not the amount of food you can cook. A 40-pound fryer, for example, is built to hold 40 pounds of oil.
The number you really need to care about is the pounds-per-hour output. This tells you exactly how much food the fryer can crank out in an hour—the true measure of its muscle. A good rule of thumb is that a fryer can cook about twice its oil capacity in food per hour. So, that 40-pound fryer should be able to produce roughly 80 pounds of fries every hour.
Getting this right is crucial. An undersized fryer just can't keep up during a rush. The oil temperature will plummet between batches, leading to slow ticket times and soggy, greasy food.
The Importance of a Cold Zone
One of the most vital—and most overlooked—features of a quality fryer is the "cold zone." This is a space at the very bottom of the fry pot, sitting just below the heating elements, where the oil is significantly cooler than the rest of the pot.
It's a clever design. As bits of breading, batter, and food break off during frying, they naturally sink. In a fryer without a cold zone, those particles would just sit there and burn, quickly ruining the oil, turning it dark, and giving your food a nasty, burnt flavor.
A well-designed cold zone acts like a sediment trap, preserving the integrity and lifespan of your cooking oil. By preventing food particles from scorching, it directly translates to better-tasting food and significant savings on oil costs over time.
This feature is a game-changer, especially for tube fryers designed for high-sediment items like fried chicken or onion rings. The larger cold zone lets them maintain oil quality even when they're getting hammered.
Filtration Systems That Save Time and Money
Filtering your fryer oil is a daily, non-negotiable chore. Clean oil makes for better-looking, better-tasting food and stretches your oil budget much further. Fryers come with a few different filtration setups, each with its own pros and cons.
- Manual Filtration: This is the old-school method. You have to drain the hot oil through a filter cone or a separate machine and then pour it all back in. It’s a lot of work and involves handling hot oil, but it's the cheapest option upfront.
- Built-in Filtration: A massive upgrade. These systems have a filter pan right inside the fryer cabinet. Just flip a switch, and the oil drains, filters, and pumps itself back into the pot. It's way safer, faster, and cleaner.
- Automated Filtration: This is the top-of-the-line option. The fryer can be programmed to filter itself automatically on a schedule. The system handles everything without your staff having to touch it, guaranteeing the job gets done right, every single time.
Thermostats and Controls for Consistency
The secret to perfectly crispy food is precise temperature control. Most fryers operate in a sweet spot between 170°C to 200°C (about 340°F to 390°F), the ideal range for creating that perfect golden-brown texture. This market is a big deal, valued at USD 470 million in 2024 and expected to hit USD 720 million by 2033. You can dig deeper into commercial fryer market trends on businessresearchinsights.com.
Your thermostat choices range from simple to high-tech:
- Millivolt Thermostats: These are your basic dial controls. They're built like tanks and are easy to use, but they don't offer pinpoint precision.
- Solid-State Thermostats: These digital controls give you much more accurate temperature readings. They also have faster recovery times, meaning the oil gets back up to temperature quickly after you drop in a cold batch of food.
- Programmable Controls: These let you pre-program specific cook times and temperatures for different items on your menu. This is a huge win for consistency, cutting down on staff error. It's perfect for multi-unit operations or any kitchen that needs identical results shift after shift.
The Non-Negotiable NSF Certification
Last but not least, always, always look for the NSF certification mark. This little seal means the fryer has been put through its paces by NSF International and meets strict public health and safety standards.
An NSF-certified fryer is designed to be cleaned easily and thoroughly, which helps prevent bacteria from growing. For most health departments, this isn't a suggestion—it's a requirement. Buying a fryer without it is a gamble with your business and your customers' health.
Designing an Efficient Fry Station Workflow
A great fryer is only half the battle. To really hit your stride during a busy service, you need to think about the entire fry station as a single, ergonomic system. The real secret weapon here? The humble stainless steel prep tables that connect every part of the process.
Think of it like an assembly line. Raw food goes in one side, and finished, plated dishes come out the other. If you don't have the right surfaces for landing baskets, seasoning, and plating, even the fastest fryer on the market will create a traffic jam. This is where a smart layout of prep tables turns a potentially chaotic spot into a smooth, money-making machine.
The Foundation: Stainless Steel Prep Tables
Stainless steel prep tables are the unsung heroes of the commercial kitchen, providing the durable, sanitary surfaces needed for every task. They come in a variety of configurations, each designed to optimize a specific workflow.
- Standard Work Tables: These are the simplest and most common type, featuring a flat top with either an open base or an undershelf for storage. They are versatile workhorses used for everything from chopping vegetables to plating finished dishes.
- Tables with Backsplashes: A small but crucial feature, a backsplash prevents ingredients and liquids from splashing onto the wall, making cleanup easier and improving sanitation. These are ideal for placing against walls, especially in messy prep areas.
- Enclosed Base Work Tables: These tables feature cabinets with sliding or hinged doors instead of an open base. They offer a clean look and protect stored items from dust and splashes, perfect for storing clean pans, small appliances, or dry goods.
Configuring Tables for Maximum Output
Beyond the basic types, the design of your tables has a huge impact on how smoothly your kitchen runs. A simple flat-top table is a good start, but a few smart features can dramatically boost your speed and organization.
A work table with an undershelf, for instance, is a game-changer. The top surface gives you a clear spot to land hot baskets, while the shelf underneath keeps your scoops, seasoning, and serving boats right where you need them. No more walking across the kitchen to grab something—everything is within arm's reach, keeping your main workspace free of clutter.
An efficient fry station isn't an accident. It's the result of intentionally placing the right tools in a logical order to cut down on wasted movement. Every second you save is a second shaved off your ticket times.
Integrating Specialized Prep Tables
For more complex menus, bringing in specialized refrigerated tables can take your workflow to the next level. These units blend a durable work surface with integrated cold storage, creating a self-contained station for a seamless prep-to-cook or cook-to-finish process.
- Sandwich Prep Tables: These units are perfect for a fry station that serves loaded fries or fried chicken sandwiches. They feature a cutting board work surface and refrigerated wells (or pans) for holding toppings like cheese, lettuce, and sauces. The cold base below stores backup ingredients. Placing one next to the fryer allows staff to immediately assemble dishes with fresh, cold toppings as soon as the hot food comes out.
- Pizza Prep Tables: While designed for pizza, these tables are incredibly versatile. They have a deep, refrigerated rail that can hold a larger variety of ingredients in different-sized pans. This makes them ideal for a high-volume appetizer station next to the fryer, where they can hold an array of dipping sauces, garnishes, and toppings, all kept at a safe temperature.
By integrating these pieces, you create a complete fry-and-plate system that keeps your staff moving efficiently and ensures every component of the dish is held at the perfect temperature right up until it's served.
Extending the Life of Your Fryer and Oil
A top-tier commercial deep fryer is a serious investment. And like any piece of heavy-duty equipment, how long it lasts and how well it performs comes down to one thing: how you take care of it. Think of maintenance as more than just cleaning—it's your strategy for protecting that investment, keeping your food quality high, and keeping your running costs in check.
Your fryer is like a high-performance engine in your kitchen's arsenal. You wouldn't drive a car for thousands of miles without an oil change, right? The same logic applies here. Sticking to a consistent care routine stops carbonized grease from building up, protects the guts of the machine, and keeps your oil fresh. That’s the secret to perfectly crispy, clean-tasting food every time.
Daily and Weekly Cleaning Routines
The secret to a long-lasting fryer isn't complicated; it's all about daily habits. A quick, consistent wipe-down at the end of each day prevents a little grease from turning into a baked-on, weekend-killing project. This simple step is your best line of defense.
Your weekly deep clean is when you really get in there and fight back against the tougher grime. This more intense cleaning makes sure your heating elements are running efficiently and your thermostats are giving accurate readings, which saves you money on energy and keeps your food tasting great.
Essential Cleaning Tasks:
- Daily Wipe-Down: After service, give all the outside surfaces a good wipe with a food-safe degreaser. This stops that sticky film from ever taking hold.
- Fry Basket Scrub: Pull the fry baskets out and give them a thorough scrub every single day. Little bits of caked-on food can flake off into fresh oil, ruining it way ahead of schedule.
- Weekly Boil-Out: At least once a week, it's time for a "boil out." You'll drain the old oil, fill the pot with water and a special boil-out cleaner, and bring it to a simmer. This is what dissolves that stubborn, carbonized gunk.
The Art of Oil Filtration and Management
Let's be real: your cooking oil is one of the biggest recurring checks you'll write for your fryer. Learning how to manage it and make it last is a skill that directly pads your bottom line, potentially saving you thousands of dollars a year. The name of the game is getting food particles and sediment out before they have a chance to burn and break down the oil.
Filtering your oil isn't a friendly suggestion—it’s an economic must. You could have the best commercial deep fryer on the market, but it won't matter if you're cooking with old, dirty oil.
"Treat your cooking oil like liquid gold. Every day you can extend its life through proper filtration is a direct deposit into your business's bank account. Clean oil means better food and lower costs, period."
You've got options for filtration, from simple manual setups to fully automated systems. For a kitchen that’s always slammed, a fryer with a built-in filtration system is a game-changer. It saves a massive amount of time and is much safer than lugging around giant pots of hot, used oil. Filtering at least once a day is the single most powerful thing you can do to get the most out of every drop of oil.
Performing a Fryer Boil Out
That weekly boil out is the deep-cleaning reset your fryer is begging for. The process uses a heavy-duty, high-alkaline cleaner to strip away the tough, baked-on carbon that daily scrubbing just can't touch. It’s a non-negotiable maintenance step that gets your fry pot looking almost new again.
Step-by-Step Boil Out Process:
- Safety First: Make sure the fryer is completely off and the oil has cooled down to a safe temperature before you even think about draining it.
- Scrape Debris: Grab a scraper and get any big, loose bits of food off the bottom and sides of the fry pot.
- Fill and Add Cleaner: Fill the pot with water up to the oil-fill line, then add the recommended amount of your boil-out cleaning solution.
- Heat Gently: Turn the fryer back on and slowly bring the water to a gentle boil. Let it simmer for about 20-30 minutes so the cleaner can work its magic on the grime.
- Drain and Rinse: Carefully drain the hot cleaning solution. Now, rinse the inside of the pot really, really well with clean water. Add a splash of vinegar in the final rinse to neutralize any leftover cleaner.
- Dry Completely: This is critical. Dry the fry pot until it’s bone dry before you add fresh oil. Any water left behind will cause a violent, dangerous splatter fest when the new oil heats up.
A deep clean like this keeps your equipment running efficiently and safely. And just as a well-kept fryer is crucial, having the right refrigerator is essential for food safety. To learn more about that, check out our detailed guide on choosing your commercial refrigerator.
Common Questions About Commercial Fryers
Even after you've weighed all the features and mapped out your workflow, a few practical questions always pop up. Getting straight answers to these common queries is the final step in making a confident choice and hitting the ground running from day one.
This last section tackles the most frequent questions we hear from chefs, managers, and new restaurant owners. Our goal is to cut through the noise with straightforward advice that helps you run a smarter, more efficient fry station.
How Often Should I Change the Fryer Oil?
This is the million-dollar question, and the answer really depends on your kitchen’s volume and what you're frying. There’s no single, one-size-fits-all schedule.
For a high-volume kitchen pushing out heavily breaded items like chicken or fish, filtering the oil daily is non-negotiable. You'll likely need a full oil change every 3 to 5 days to keep your food tasting great. On the flip side, a lower-volume café might get 7 to 10 days out of their oil, as long as they're filtering just as diligently.
The best move is to train your staff to spot the signs of spent oil.
- Dark Color: Fresh oil is light and golden. If it’s starting to look dark and murky, it's time for a change.
- Smoking: See smoke coming off the oil at normal cooking temps? That means the oil is breaking down.
- Off-Flavors: Old oil will make your food taste rancid or burnt. That's a major red flag for any customer.
If you want to get more scientific about it, using oil quality test strips takes the guesswork out of the equation. These strips give you a clear reading so you can change the oil at the perfect moment—saving money without sacrificing food quality.
What Is the Difference Between Standard and High-Efficiency Fryers?
The big difference here comes down to energy use and how fast the fryer recovers its heat. Think of it like an old, drafty window versus a modern, triple-pane one.
A standard fryer bleeds a ton of heat into the kitchen, just like that drafty window. All that wasted energy means it has to work harder and burn more gas or electricity to stay hot.
A high-efficiency fryer, on the other hand, is built with better insulation and smarter heat exchangers to get more of that energy directly into the oil. They cost more upfront, but they can seriously slash your monthly utility bills. Their super-fast heat recovery also means the oil temperature bounces back almost instantly after you drop in a basket of frozen fries, which is absolutely critical for crispy results during a dinner rush.
"Investing in a high-efficiency fryer is a strategic move for any high-volume kitchen. The initial cost is quickly offset by lower energy bills and faster cook times, improving both profitability and throughput."
Can I Use Any Type of Cooking Oil?
Definitely not. The oil you choose is just as important as the fryer itself. For the intense heat of a commercial fryer, you need an oil with a high smoke point—that’s the temperature where oil starts to break down and smoke.
Oils with low smoke points, like extra virgin olive oil or butter, just can't handle it. They’ll burn almost immediately. You need oils that are designed to withstand high, sustained temperatures.
Excellent Oils for Deep Frying:
- Canola Oil: A popular and budget-friendly choice with a neutral flavor.
- Peanut Oil: Known for its very high smoke point and the subtle nutty flavor it adds to food.
- Soybean Oil: Another cost-effective, neutral option that’s a workhorse in the industry.
- Blended Vegetable Oils: Many suppliers offer special frying blends engineered for stability and a long life.
Your choice will ultimately be a balance of flavor, performance, and budget. Always check what your fryer’s manufacturer recommends, too. Getting this right is crucial, especially as the deep fryer industry—valued around USD 1.29 billion in 2024—continues to grow, putting a bigger spotlight on quality. You can see more about these deep fryer industry trends on 360iresearch.com.
At PrepTables.com, we know that the right equipment is the backbone of any successful kitchen. From high-performance fryers to the stainless steel tables that create a seamless workflow, we provide the durable, NSF-certified gear you need to get the job done right. Explore our full collection and build the kitchen your business deserves. Find your perfect setup today at https://preptables.com.
